Building a Wet Bar on a Budget - The Uncluttered Basement Series
In September 2020 we started our biggest DIY ever...finishing our basement. Over the next few weeks I’m going to be sharing all of our accomplishments here on the blog in what we are calling, “The Uncluttered Basement Series”. We are kicking things off today with this totally affordable Wet Bar!
The wall behind the Wet Bar was essentially built to close off the unfinished side of our basement and once the framing was done, I knew right away it would be the perfect location for our Wet Bar. And let me back up by saying, the “plans” for this basement were never put on paper, they swirled around in my head and my husband would make notes to take measurements and order supplies!
The Wet Bar did require some plumbing by a professional, but since our house was only a year old, it was an easy and affordable job. He was able to do it at the same time he was here moving our drain in the roughed in bathroom. (Plumbing is one of 3 things we hired out for this project and I highly recommend you do the same!)


PLANNING
In planning our Wet Bar, these are the things we wanted to include:
lower bank of cabinets, including drawers
butcher block countertop
a sink and faucet
backsplash
open shelving
statement light fixture
Bar Fridge
a microwave for popcorn and a coffee maker for when we have guests stay over
My budget was $2000 - and if you know me, you know I ALWAYS challenge myself to come in under Budget!
BACKSPLASH
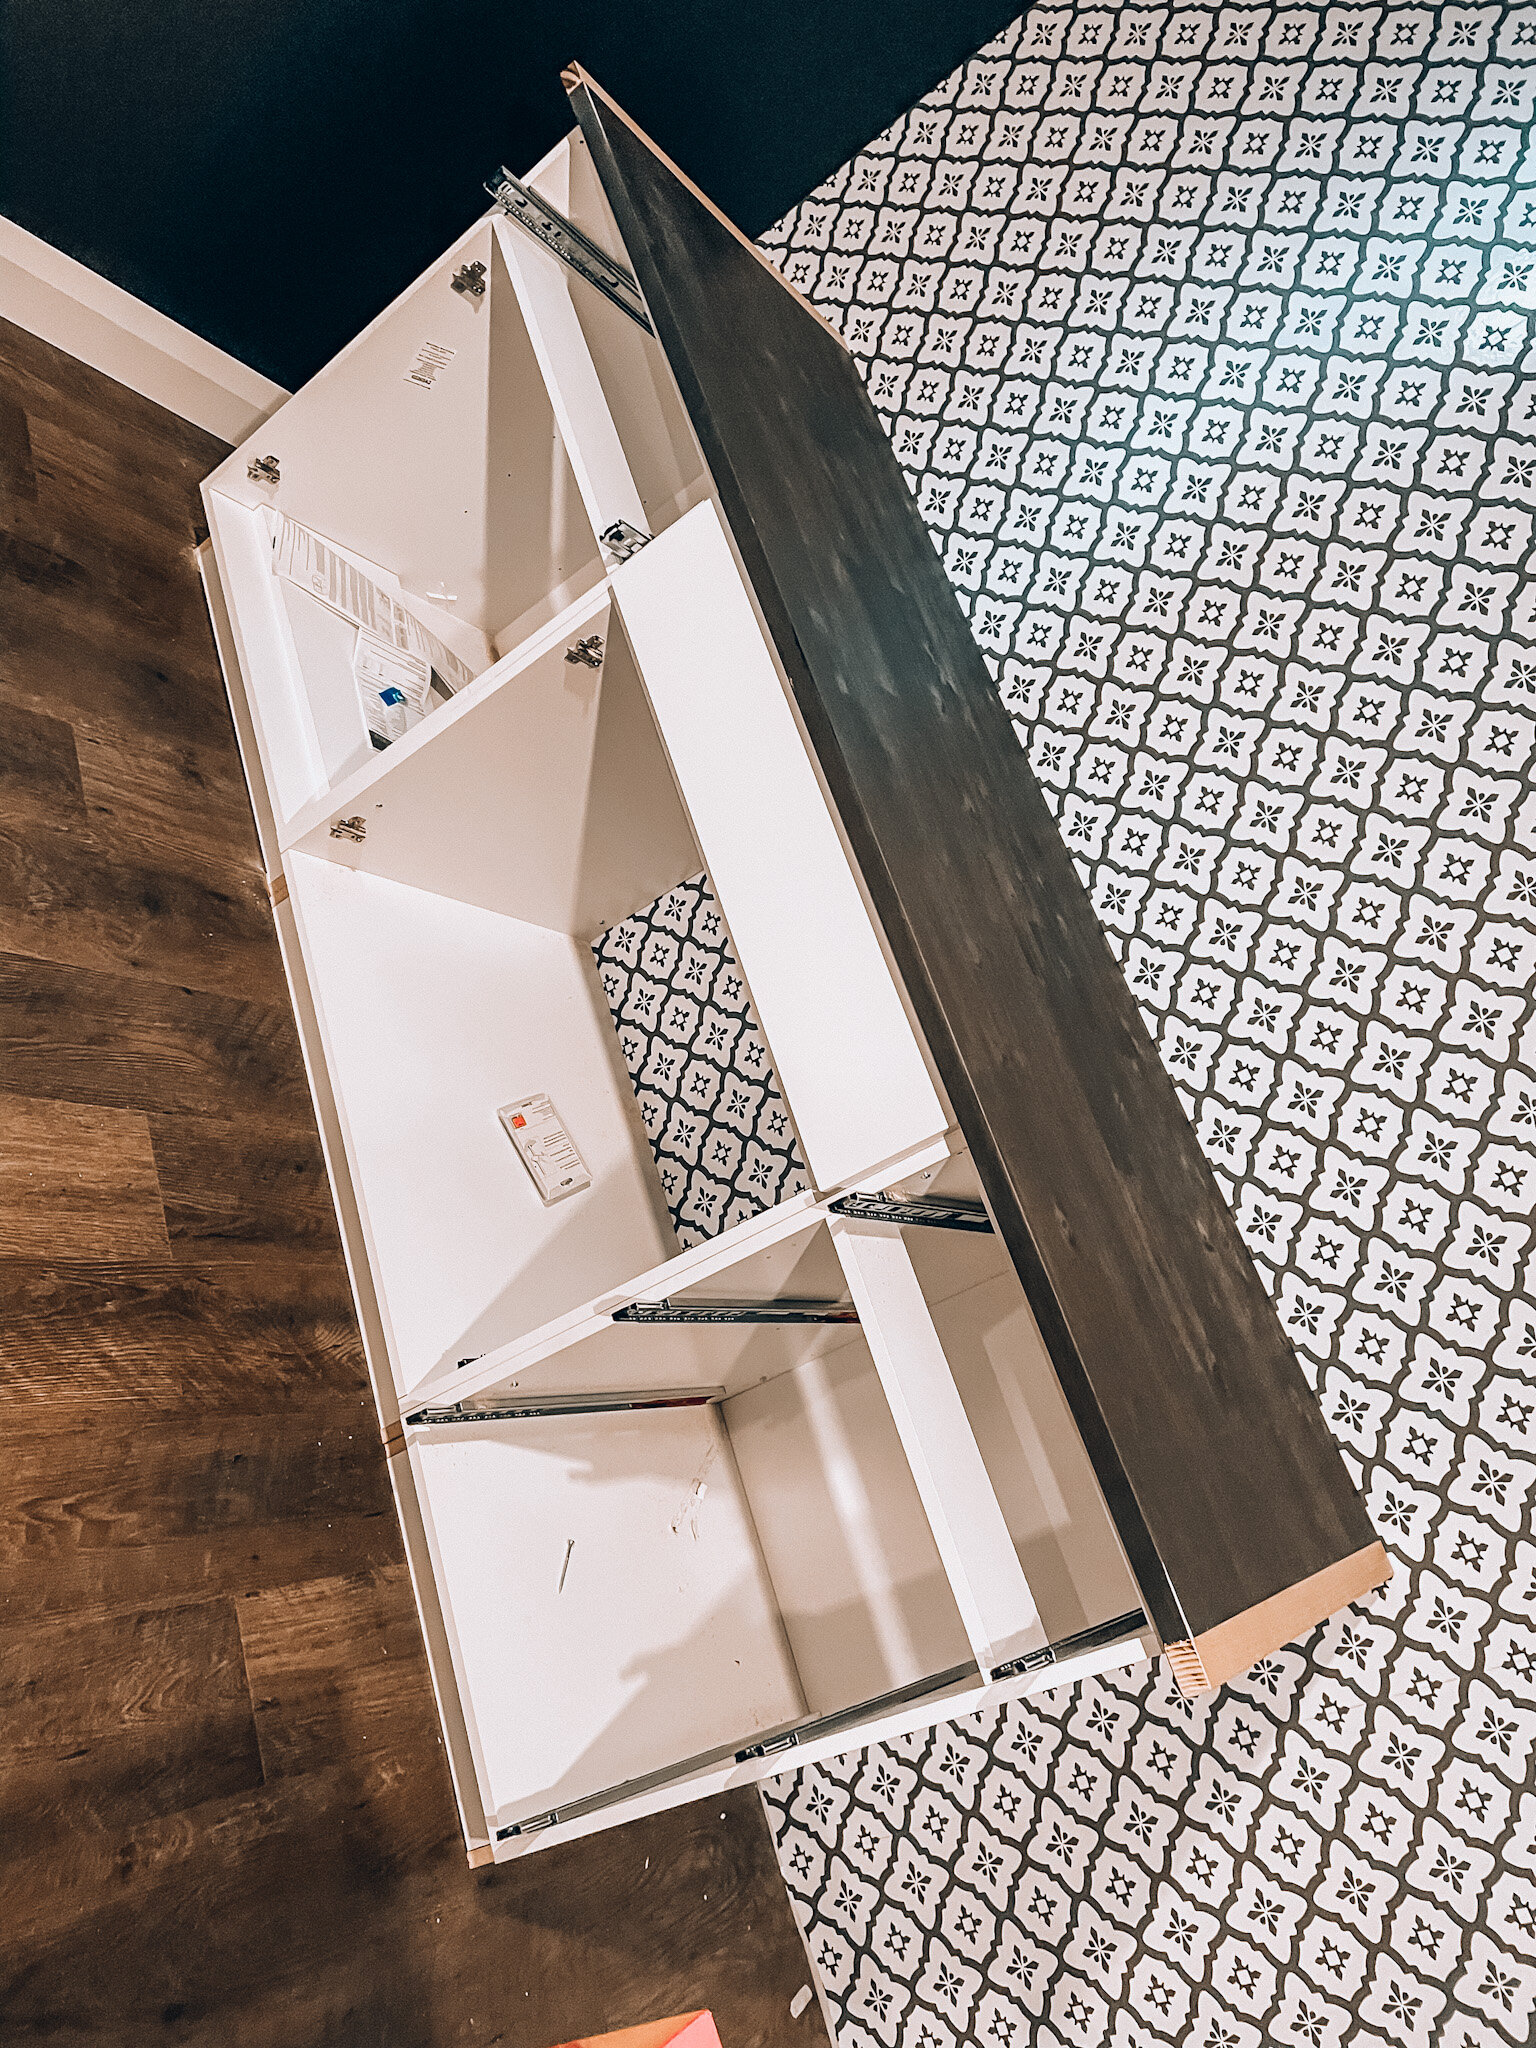
Being a lover of peel and stick wallpaper, I immediately knew that one of the best ways to stay within our budget was to use a peel and stick backsplash instead of tiles. . Our walls in the rec room are painted “Stargazing” by Digby Paints which we LOVE, so I knew choosing a lighter backsplash would make the space pop.

We partnered with Wallpops for this project and installed their peel and stick backsplash in “Algarve” from floor to ceiling around the wet bar.
What can I say, it is STUNNING, it totally makes a statement. The Wallpops backsplash comes in a 9’x18” piece so it is simple to install vertically in a larger space like ours.. We used 8 packages of this backsplash to go floor to ceiling. It was easy to match and it has this great glossy finish that gives it the look and feel of tile and makes for easy cleaning. This was our first time using Wallpops products and we are now big fans. What a great cost effective solution to adding a backsplash to your space. (This product was gifted to us but is affordable at $19.99/package)
Next up, cabinetry.
Call me naive but I was shocked by some of the prices for cabinetry we received from local businesses. And I’m not saying that in a bad way, I just knew it was WAY outside of the Budget we had for this part of our Basement Project.
I headed to Home Depot and talked to one of their Kitchen Specialists who was extremely helpful and informed. She showed me their assembled instock Hampton Bay Cabinets and I was impressed! Shaker style cabinet doors, concealed & adjustable hinges, soft closing drawers, and the best part AFFORDABLE!
We knew we wanted our Wet Bar to be six feet in length and chose the following three cabinetry pieces:

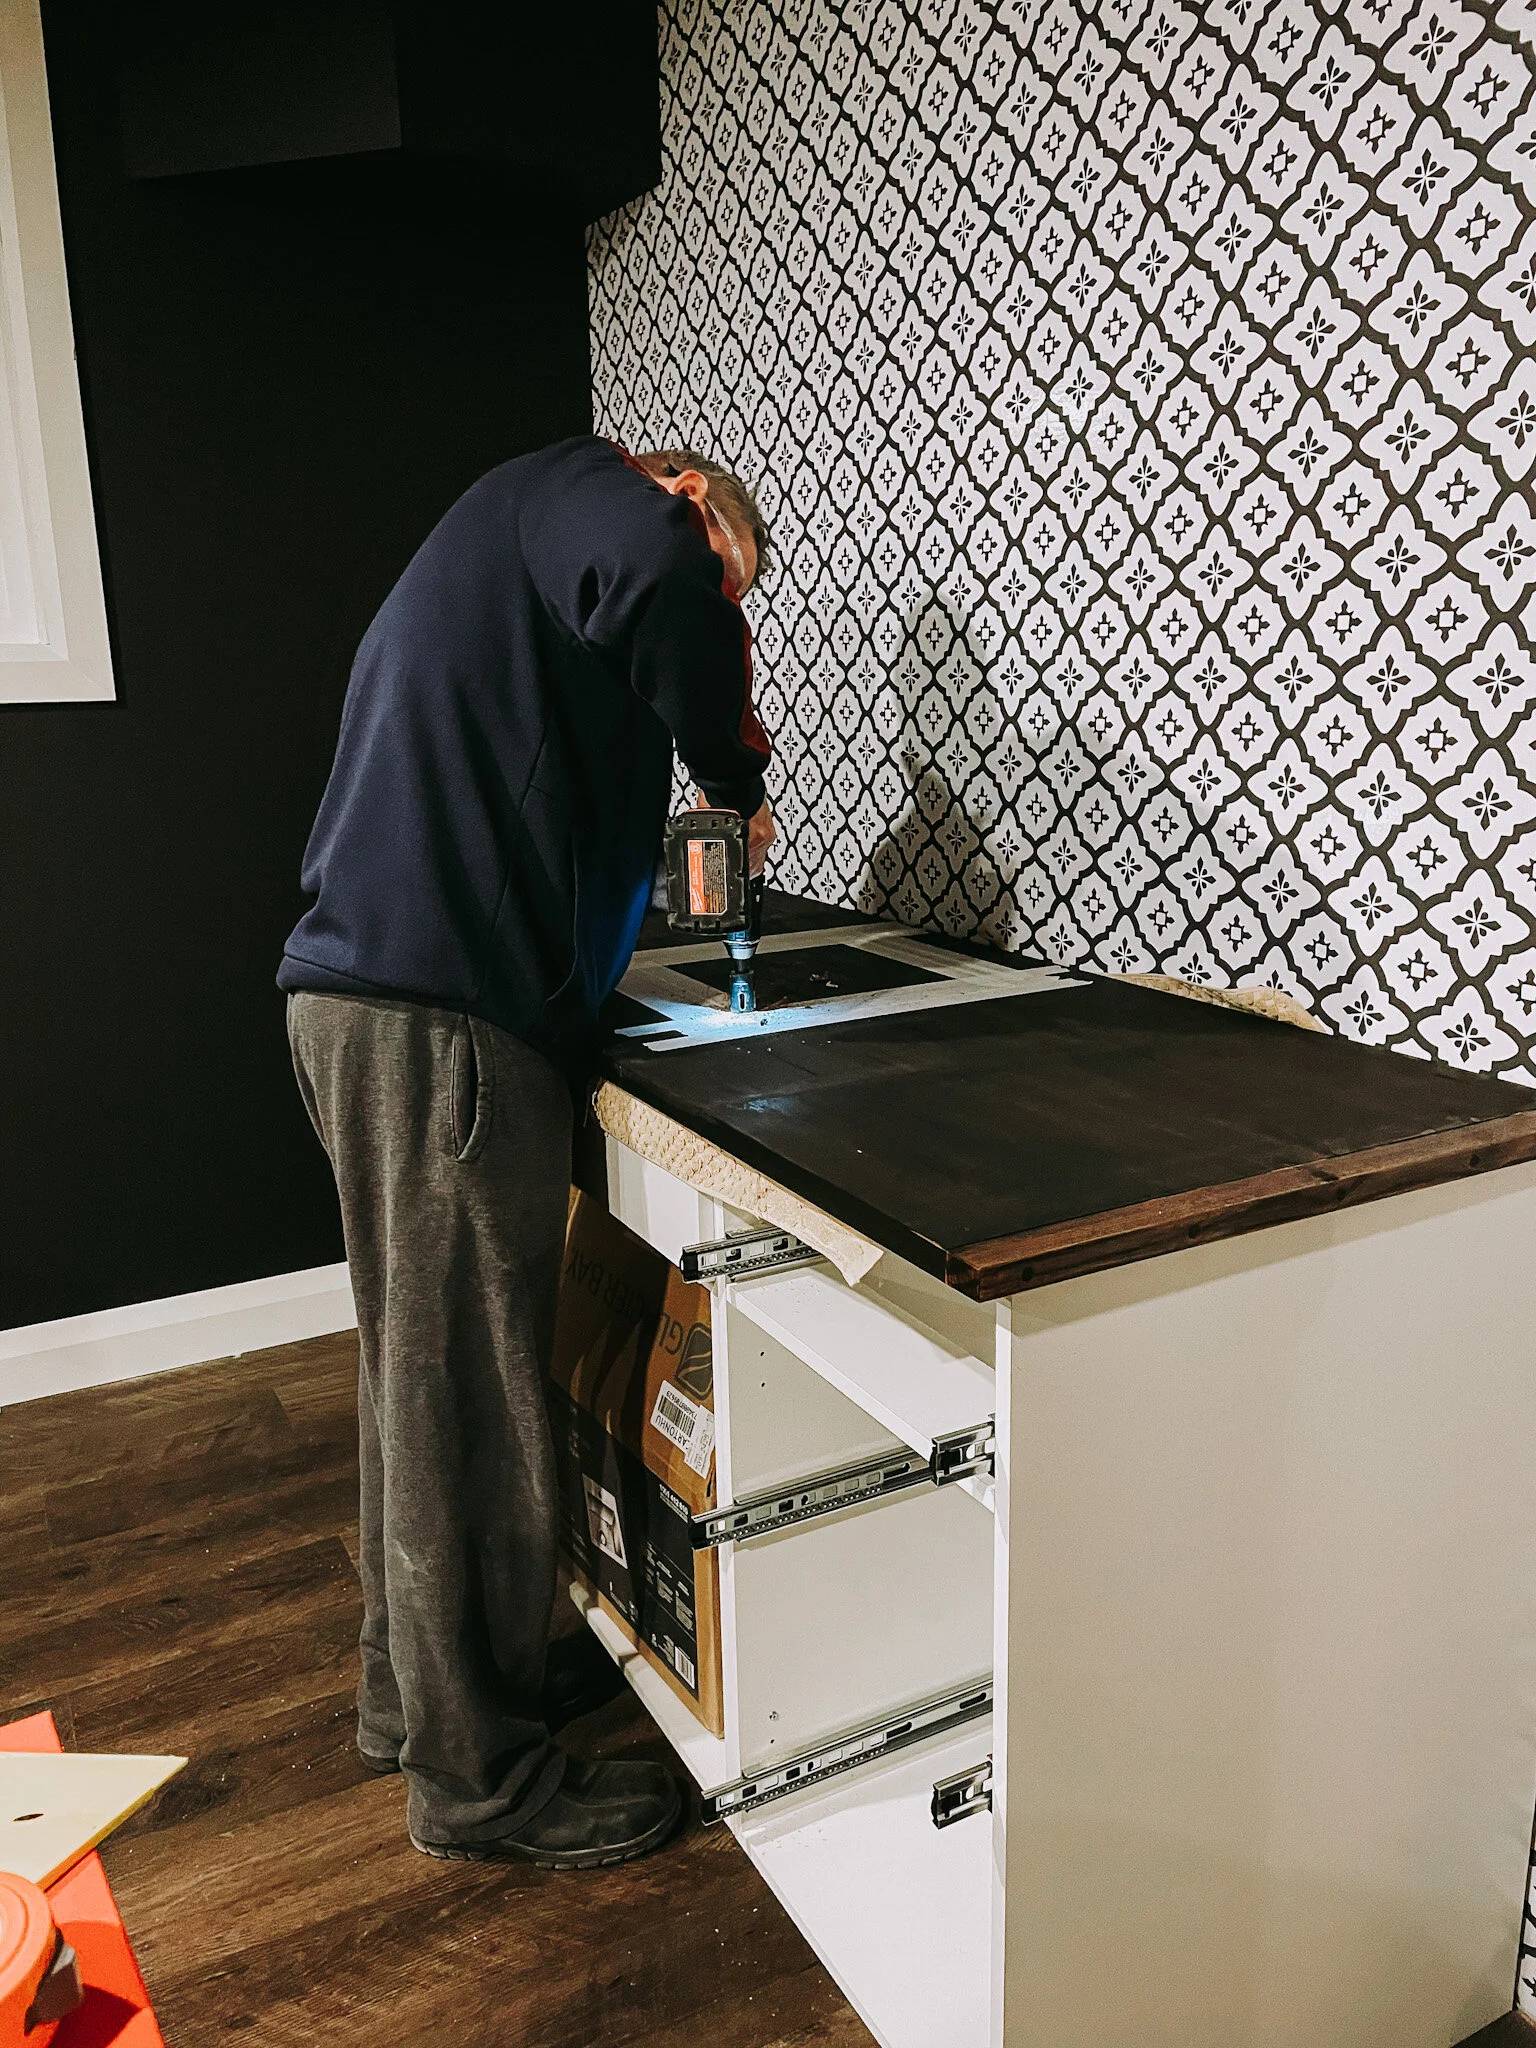
We also chose the wood countertop from Home Depot in a cappuccino finish. It was also affordable and I loved the look. We did run into a glitch with spacing and the cabinets being out just a titch. It was a huge moment of panic for us because we definitely didn’t want to have to order a custom sized countertop (cha-thing!) and the next “instock” size was 96 inches which was much too big. Thankfully we have skilled friends! One in particular whose passion is woodworking, he effortlessly added a “bread board” finish to the ends of our off the shelf countertop, and not only gave us the extra length we needed, it makes it look like a custom countertop!

These cabinets and the countertop were very easy to install and I can say that without hesitation because we have NEVER installed either before!
The cabinetry hardware is also from Home Depot, they tie in so perfectly with the open shelving/industrial style brackets. They were meant to be….and affordable too, totalling less than $40 for the pulls and knobs.
SINK OR SWIM
Next up was the sink and faucet install. We chose a small bar sink, from Home Depot’s Glacier Bay product line, It’s stainless steel, came with a sink grill and was super affordable. We used our trusty old jig saw to cut out the hole with the template included and it was simple enough to install.

The only snag we hit was the faucet we had planned for the space was a kitchen faucet, and the arc made it impossible for us to use - we would have had water outside of the sink. Another learning curve! In hindsight I wold have went to the next size up in the bar sink and been able to use our kitchen faucet but hindsight is 20/20.
We still wanted a black faucet and needed it to be affordable, while still giving us the rustic industrial vibe we were going for. I decided to think outside the box with this one and ended up choosing a bathroom faucet. Yep, that’s right, this Glacier Bay “Wilmont” faucet from Home Depot ,that is technically a bathroom faucet, ended up being the perfect fit for our wet bar and the price was right!
LIGHT UP MY LIFE
Now let’s talk lighting. I am a huge fan of Globe Electric products, I love their vast line up of fixtures and I especially love their smart bulbs and smart plugs. We have them throughout our home (in our attempt to make it SMARTER) and use them with our Alexa. Globe Electric fixtures and accessories are not only affordable, their quality is great too.
Globe Electric generously sent us this gorgeous “Aeden” gooseneck fixture which again, is total perfection for this space! And although we could have added a wall switch, what fun would that be? Instead we used a Globe Electric smart bulb that we can adjust the colour/dimming etc and have Alexa turn it on and off. We call this one “Bar Light”. This fixture is not only aesthetically pleasing, I love the swivel feature which showcases our open shelving. This fixture is conveniently linked in my Amazon Shop for anyone who loves it as much as we do! And here’s another hot top - buy your Globe Electric Smart Bulbs at Costco to save yourself some money!
OPEN SHELVING
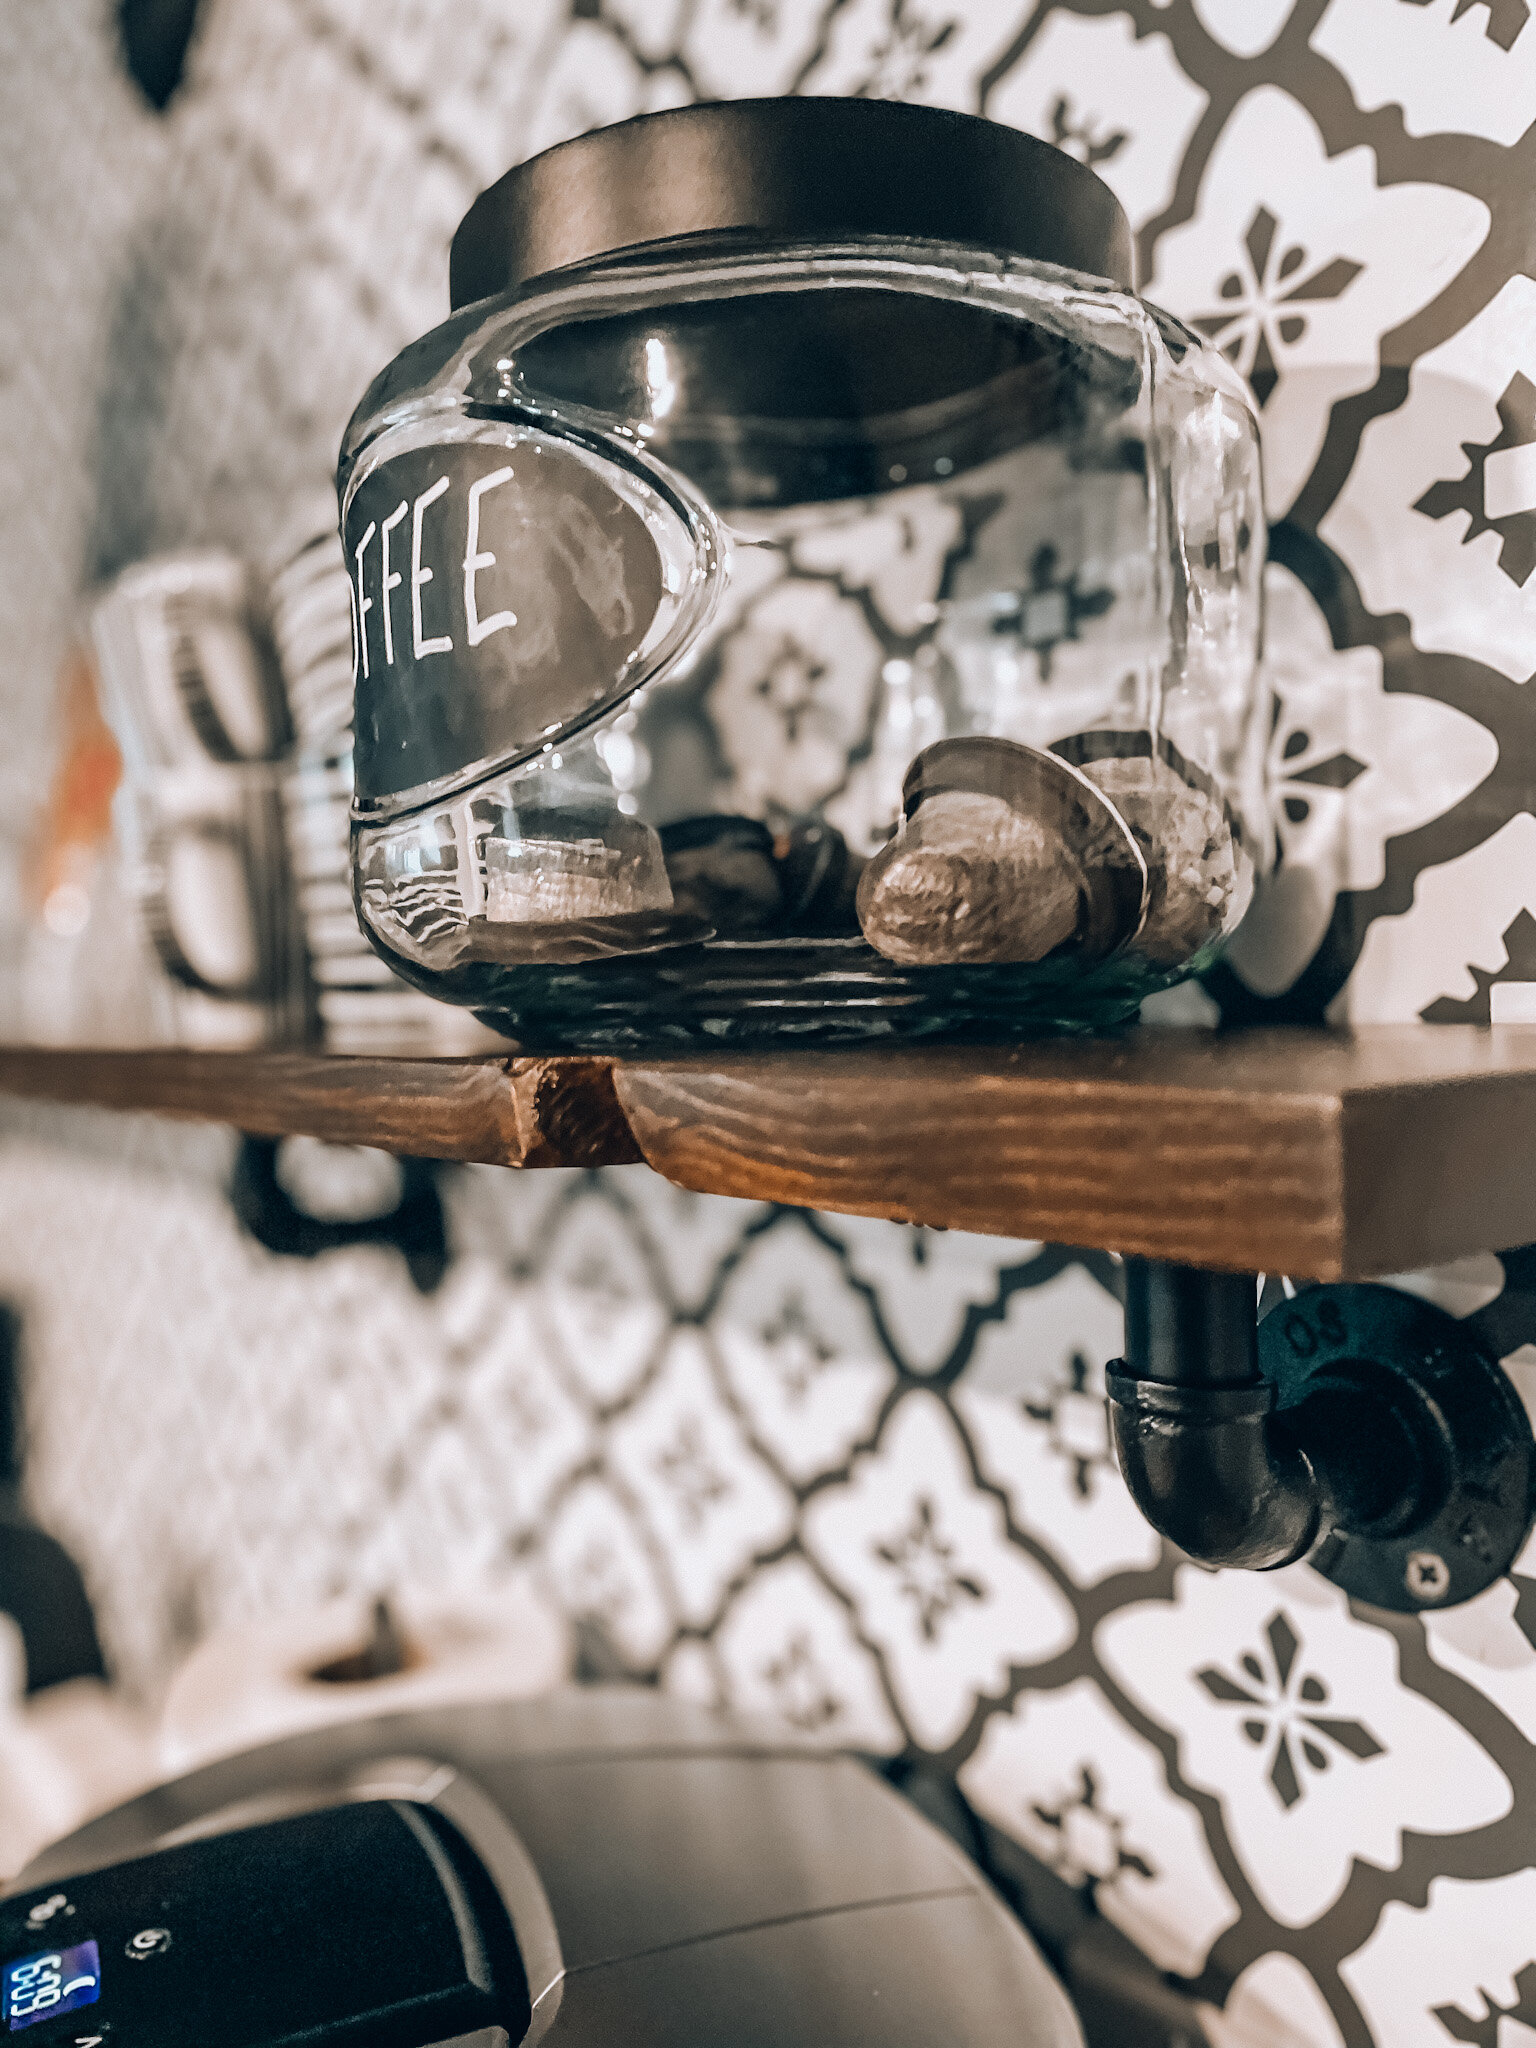
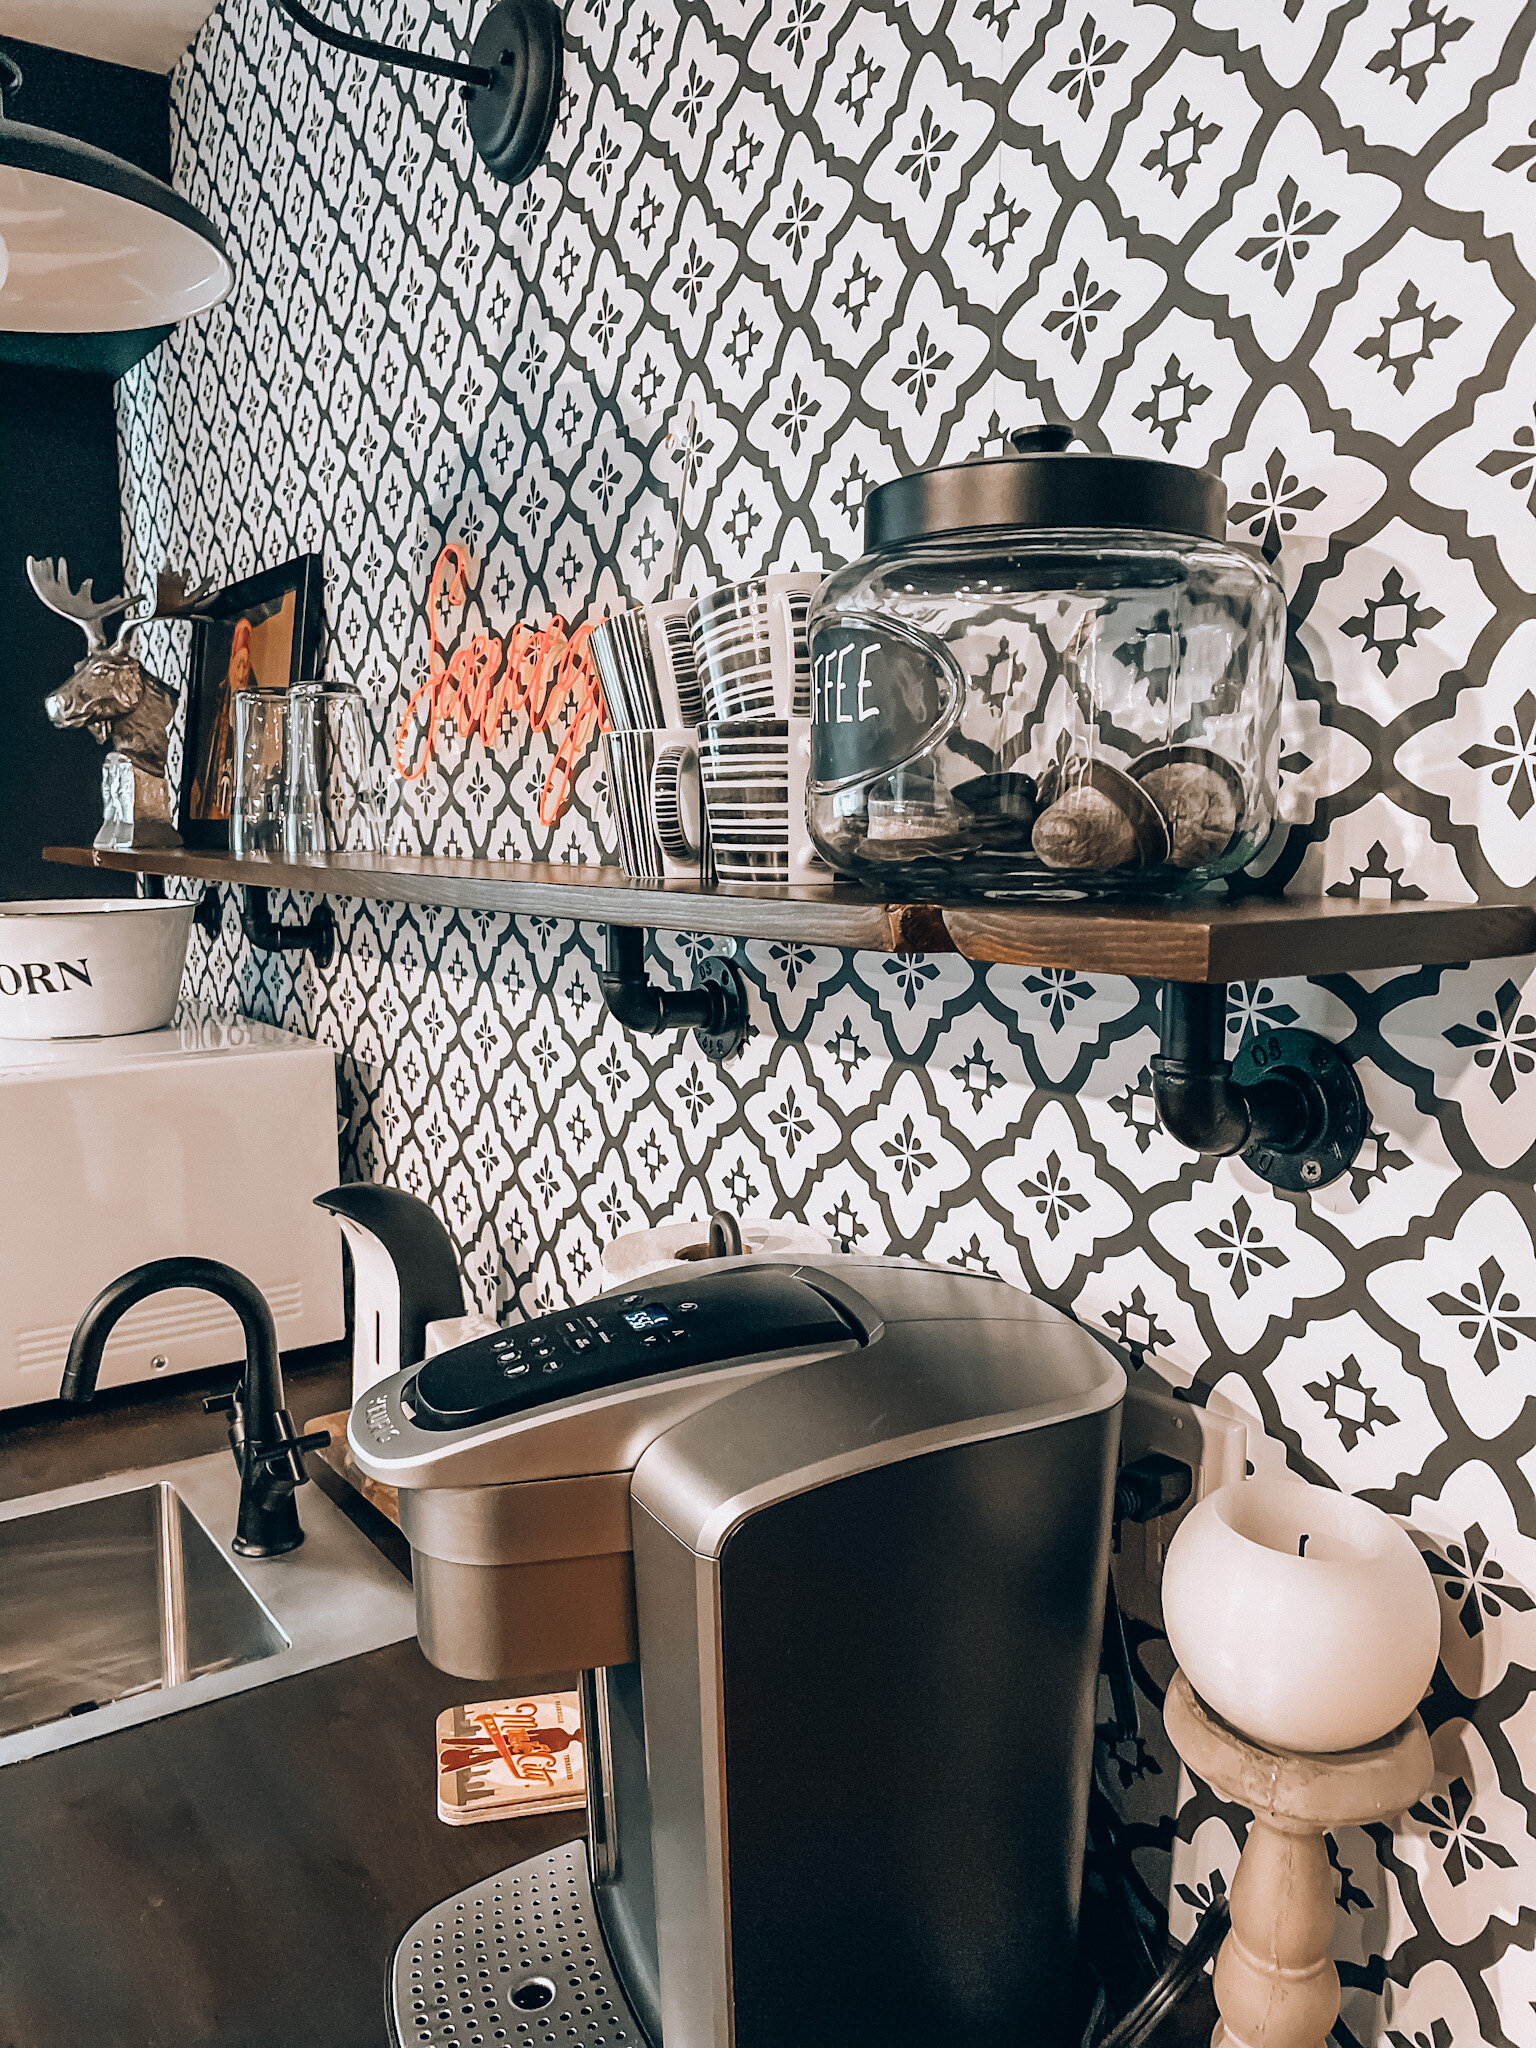
We definitely wanted some open shelving above the wet bar. I was going to source some old barn board but then in a fun twist of fate, I won a Giveaway from a local small business called Plank and Pin. While perusing their website I saw these gorgeous shelves with the industrial pipe brackets and it was fate! I asked Plank and Pin to make us one 72 inches long and they were happy to do so! Located in Peterborough, Ontario, this small shop does amazing work, affordable prices and they ship if you can’t pick up. Check them out and mention Our Uncluttered House gives them two thumbs up!
RETRO LOVE
And now let’s talk about our bar fridge. My retro dreams came true when our friends at Fridgidaire sent us this fun, RED, retro style bar fridge! Is it not the most perfect part of this space? This 3.2 cubic foot beauty has a flush back and a reversible door which makes it the perfect fit. The retro vibe, sliding shelf and adorable ice cube tray are just a few of the fun things we love about this fridge! (This product was gifted to us by Fridgidaire but is available to purchase locally at Best Buy in various colours).


FINISHING TOUCHES
As you can see we have added a microwave, stocked up on popcorn, our old Keurig made its way down here and some other odds and ends. Our neon “SAVAGE” sign is so fun and a great conversation piece. This was made by a Canadian Etsy shop called “Cutie Woodie Shop”. They were AMAZING to work with, affordable and fast! This was a gift for my husband who is finally enjoying this space that he has worked so hard to complete!
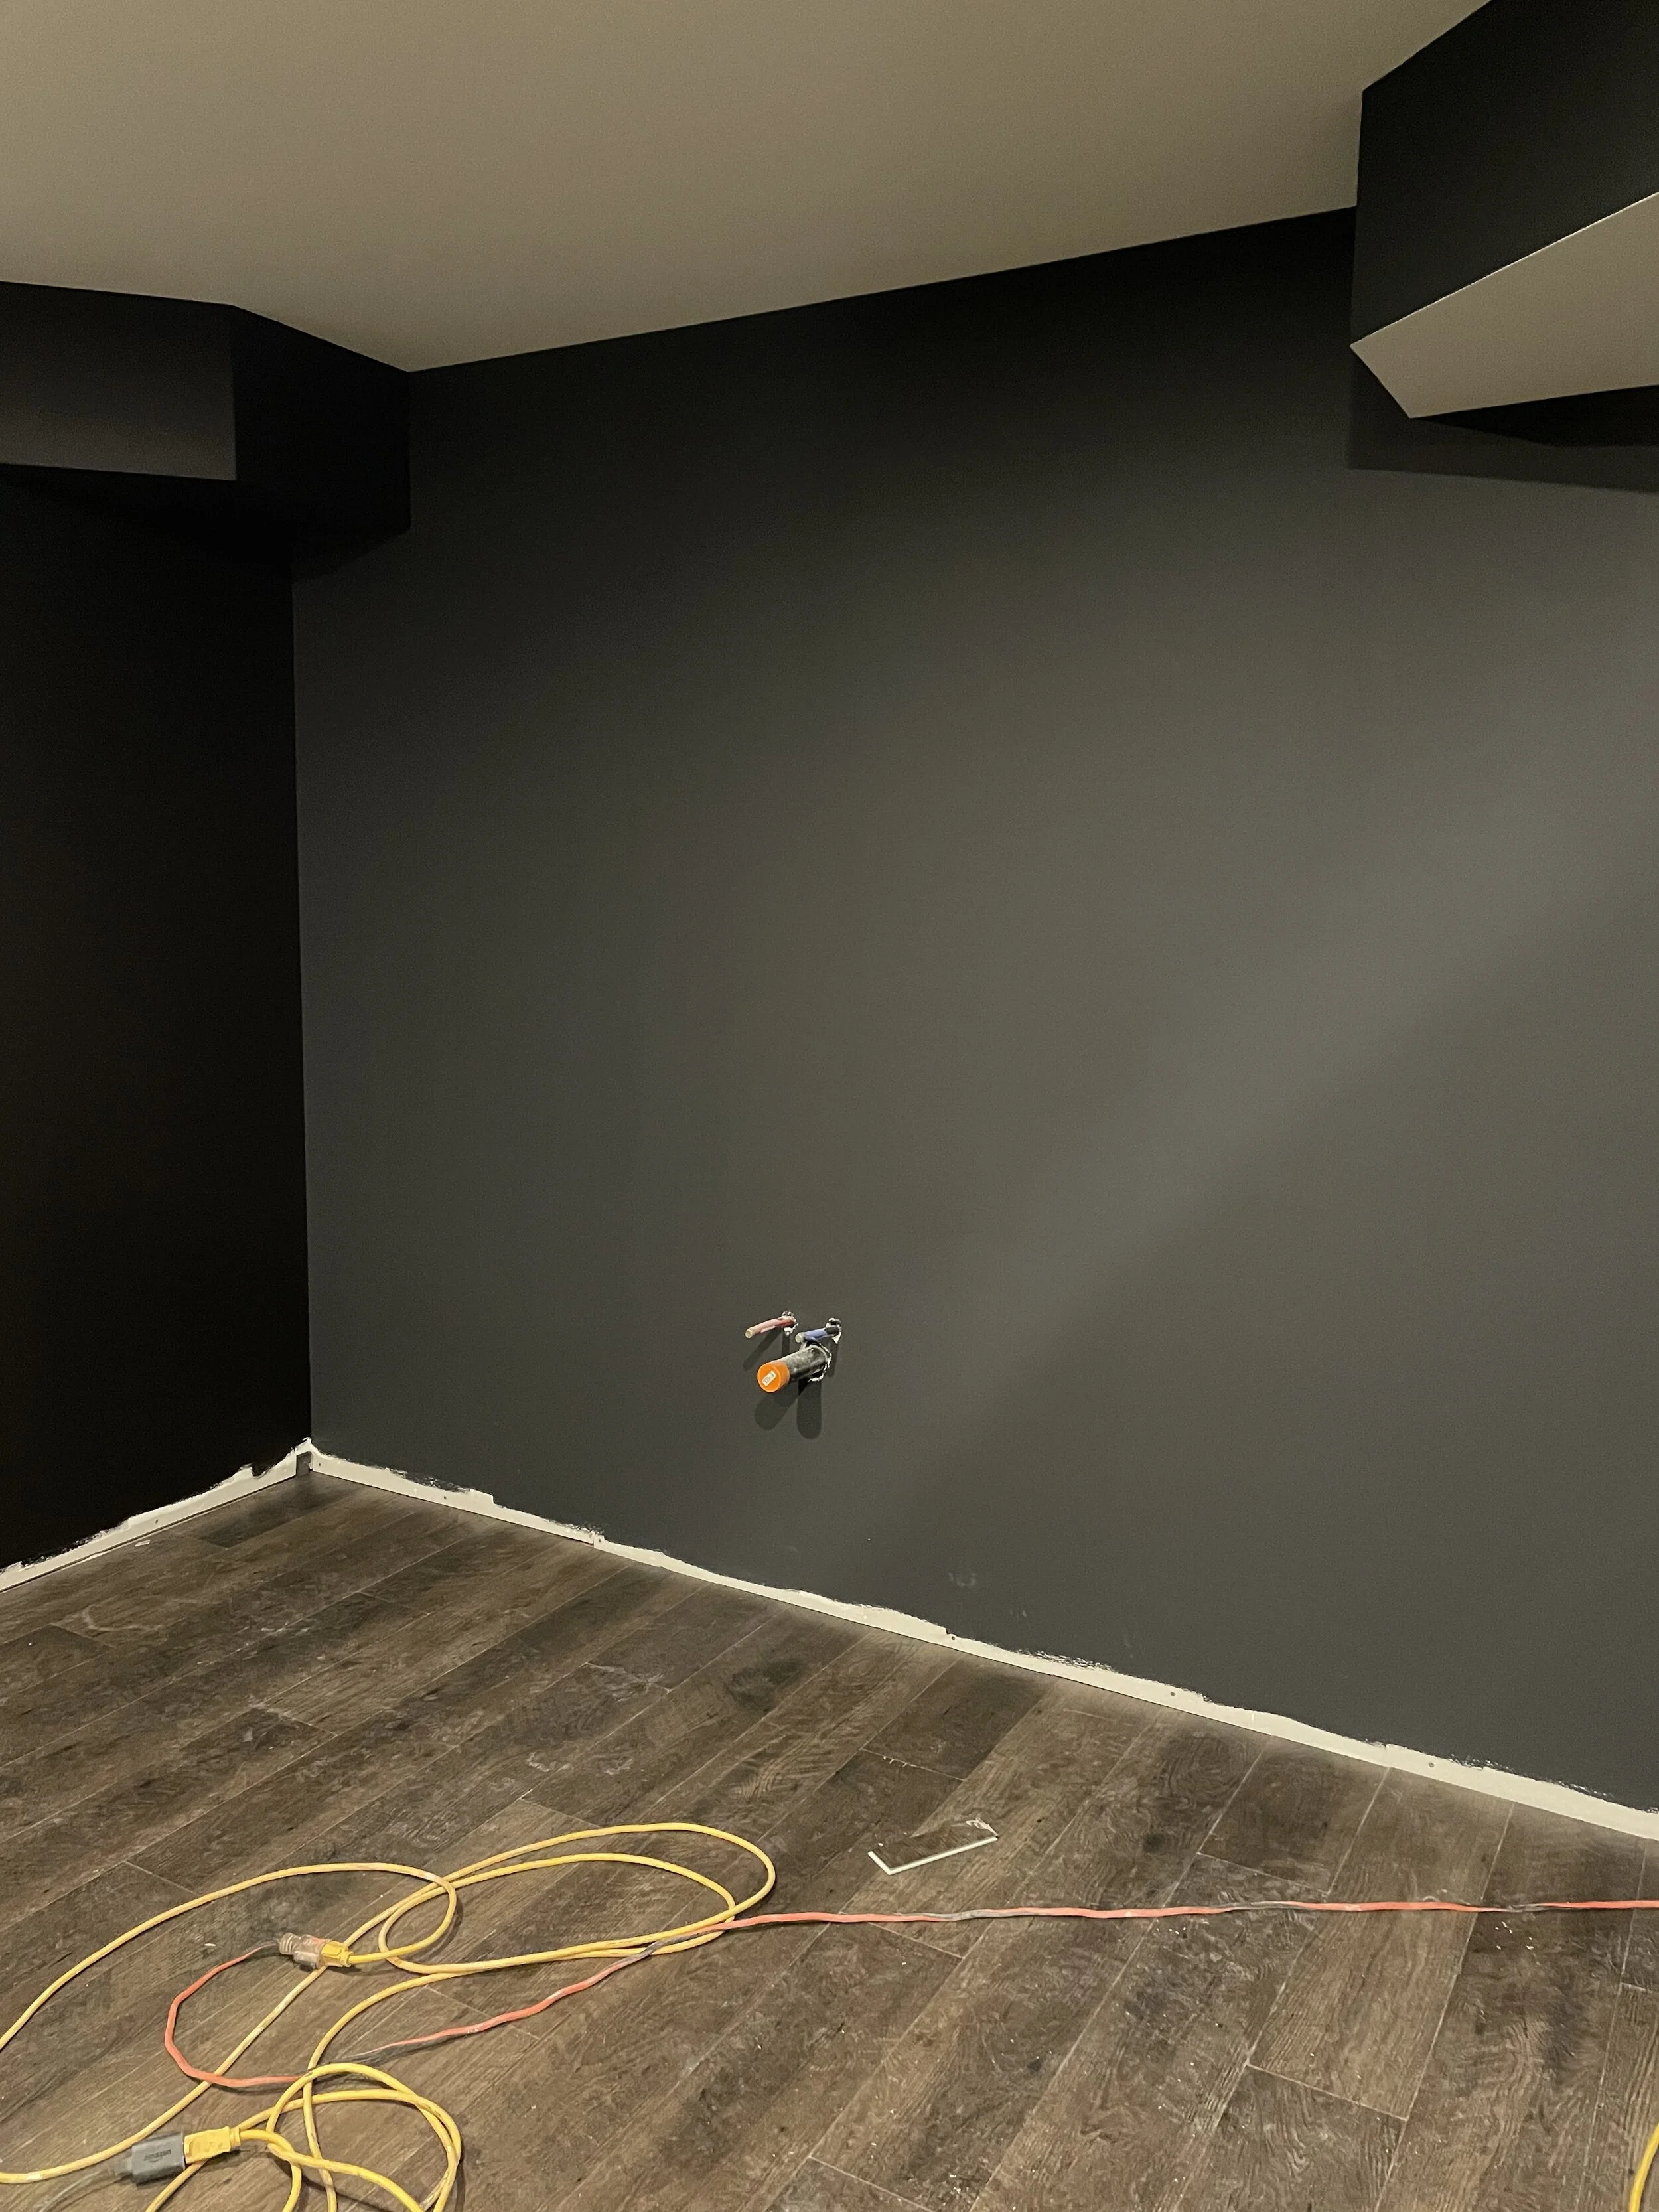
PAINT IT BLACK
You can see our dark and moody paint colours in and around the wet bar, all from our fave online paint store, Digby Paints. Pictured here is “Stargazing” and “Limousine Leather” (yes Digby does colour matching now!)
Stay tuned for paint SPAM in the days and weeks ahead!
FLOORED!
And of course the foundation of it all, our gorgeous Vinyl Plank Flooring in “Tuscan Oak” by Golden Select. Available to purchase at Costco online and in store. I’ll talk more about these great products In upcoming blog posts in the “Uncluttered Basement Series”.
For now, let me total the wet bar cost for you....
Three pieces of cabinetry $858
Cabinet Hardware $39
Sink $199
Faucet $135
Countertop $165
For a grand total of $1396! We couldn’t be happier with the end result and the cost of our Wet Bar. If you wanted to add the same square footage of peel and stick backsplash as we did, you could add $200 and to include a fridge and open shelving identical to ours, you could add another $400 to the total, still coming in under $2000.
This entire part of our Basement Project is not only budget friendly, it is something anyone of you could do! Like I always say, if we can do it, so can you. Do a little research, utilize installation videos on manufacturers websites and when all else fails, You Tube - a DIYers life line at times!
A huge thank you to all of our sponsors…not only for the products but for the patience needed for us to complete this project.
And now my friends, the Bar is officially open!
Michele xo