Laundry Room Backsplash
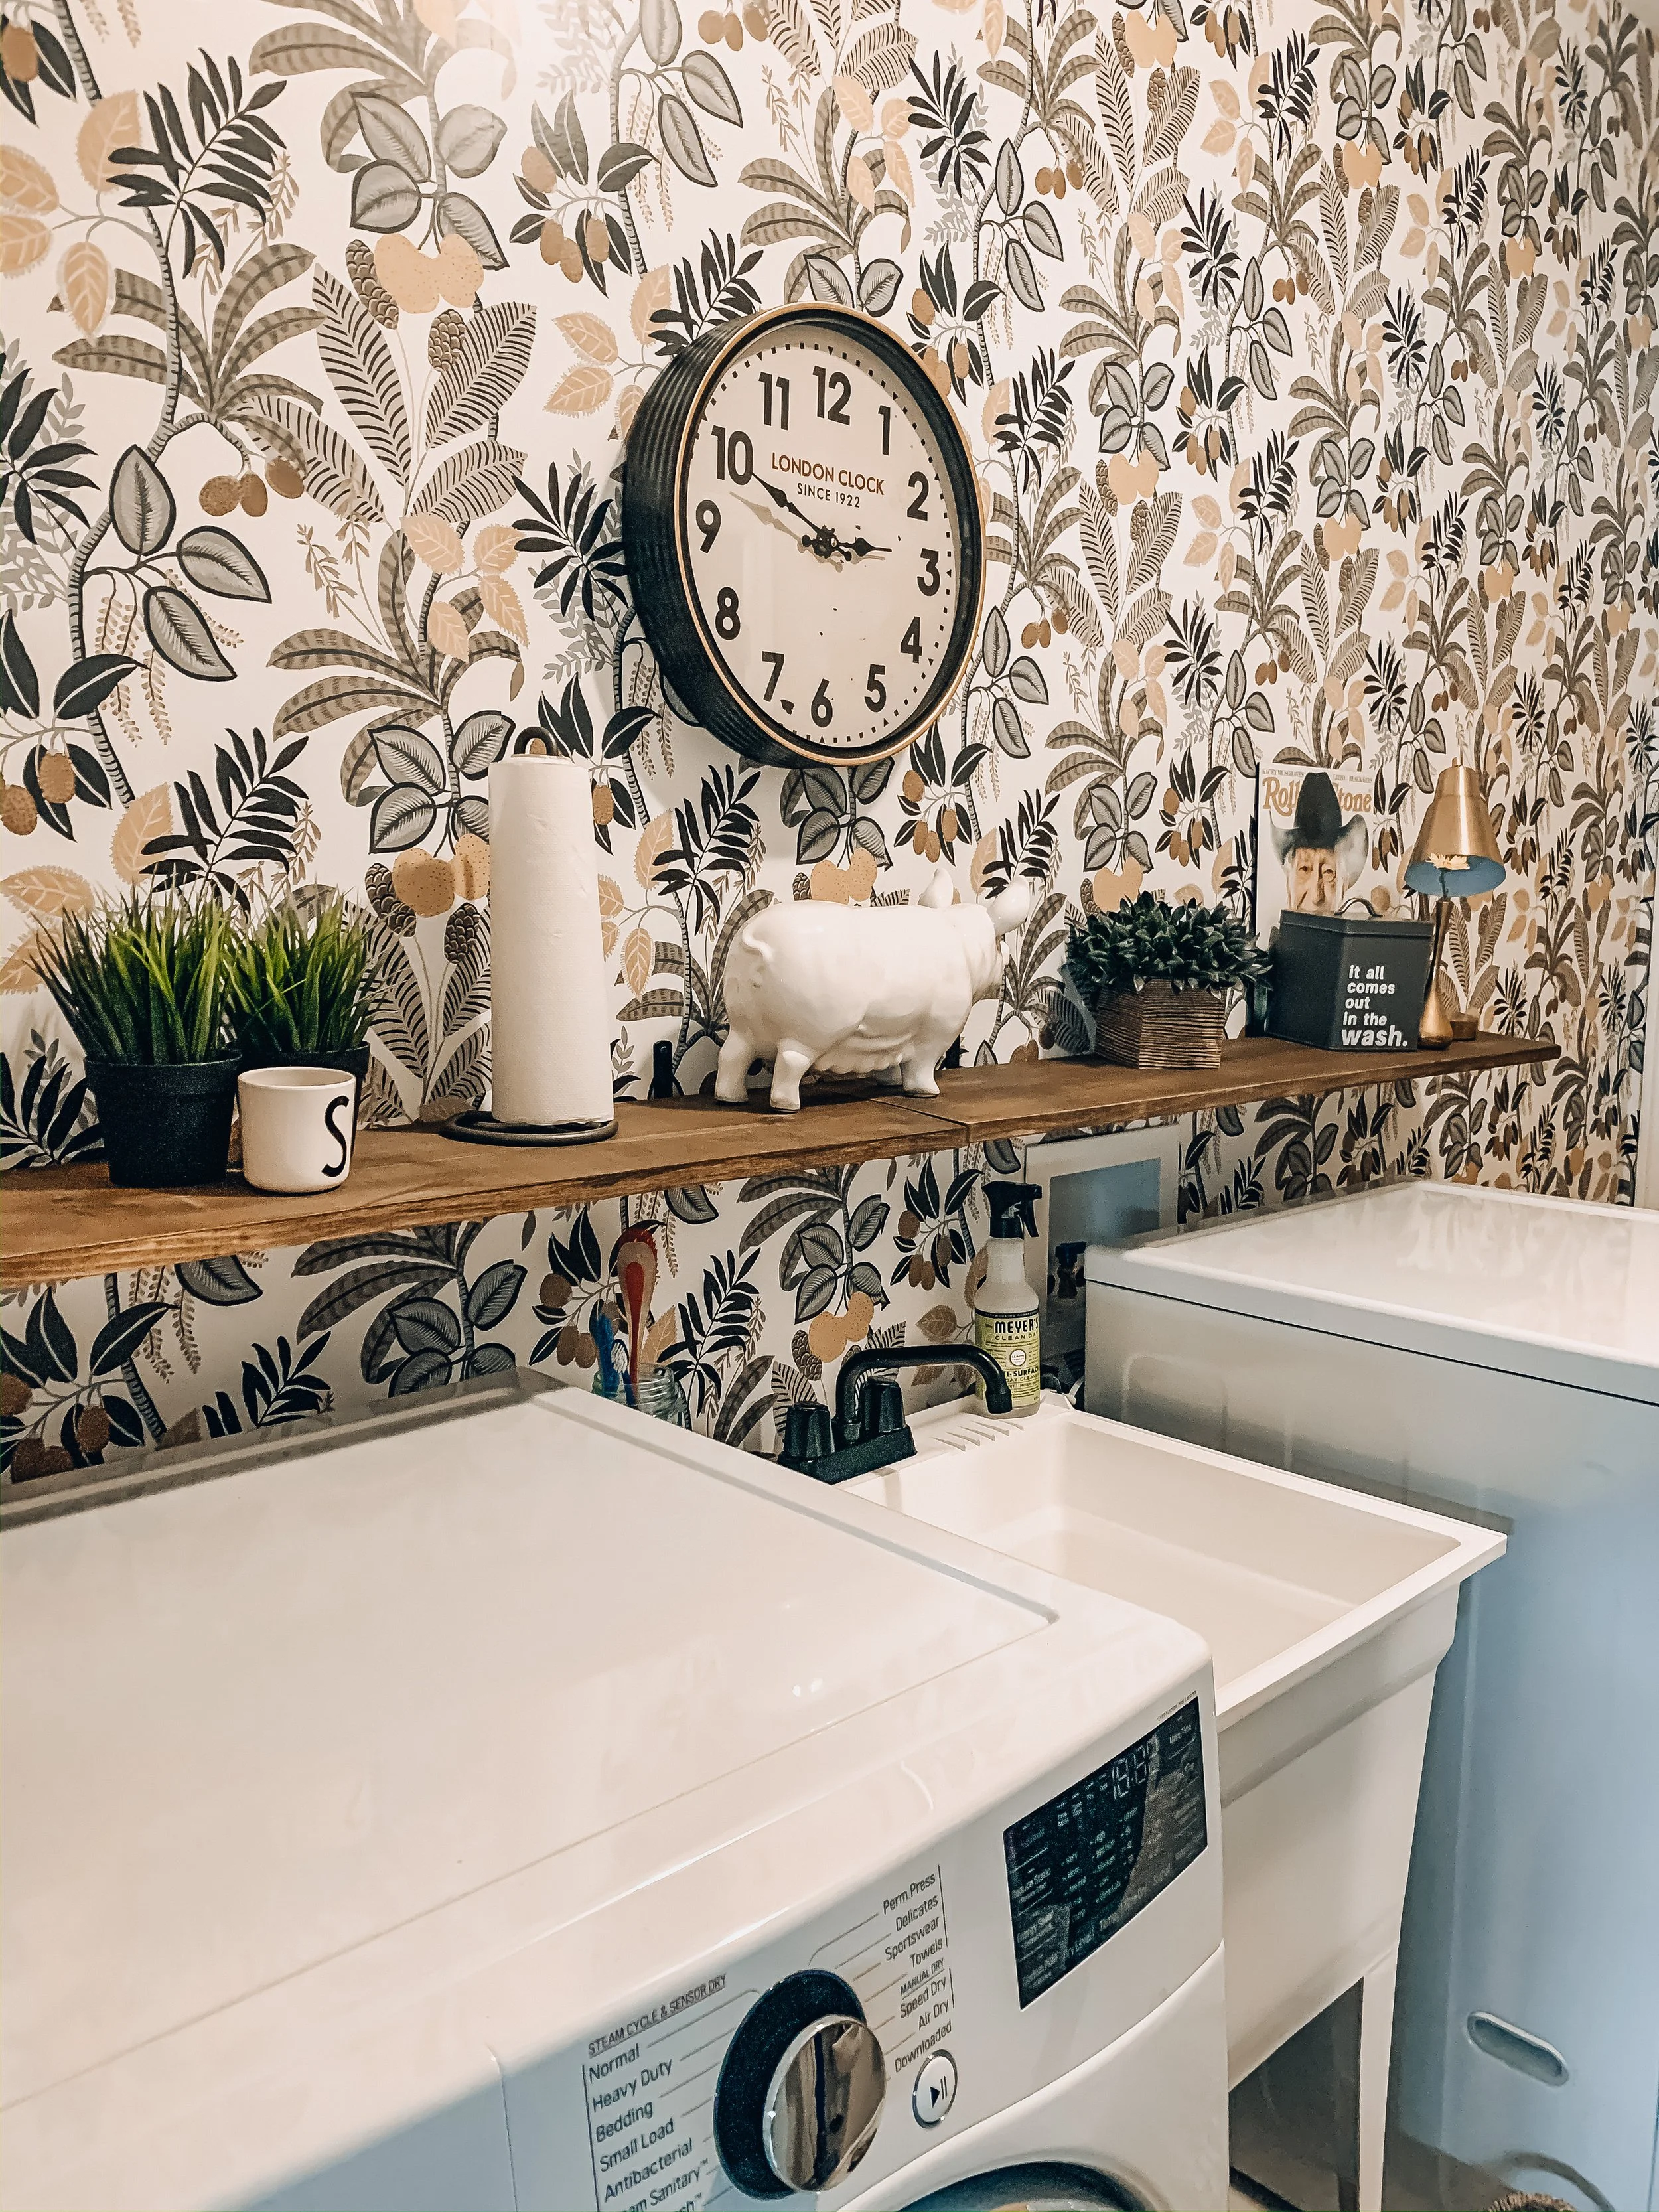
Week four has definitely put us in a good place! Remember the wallpaper I was not so patiently waiting for? It arrived on my birthday!
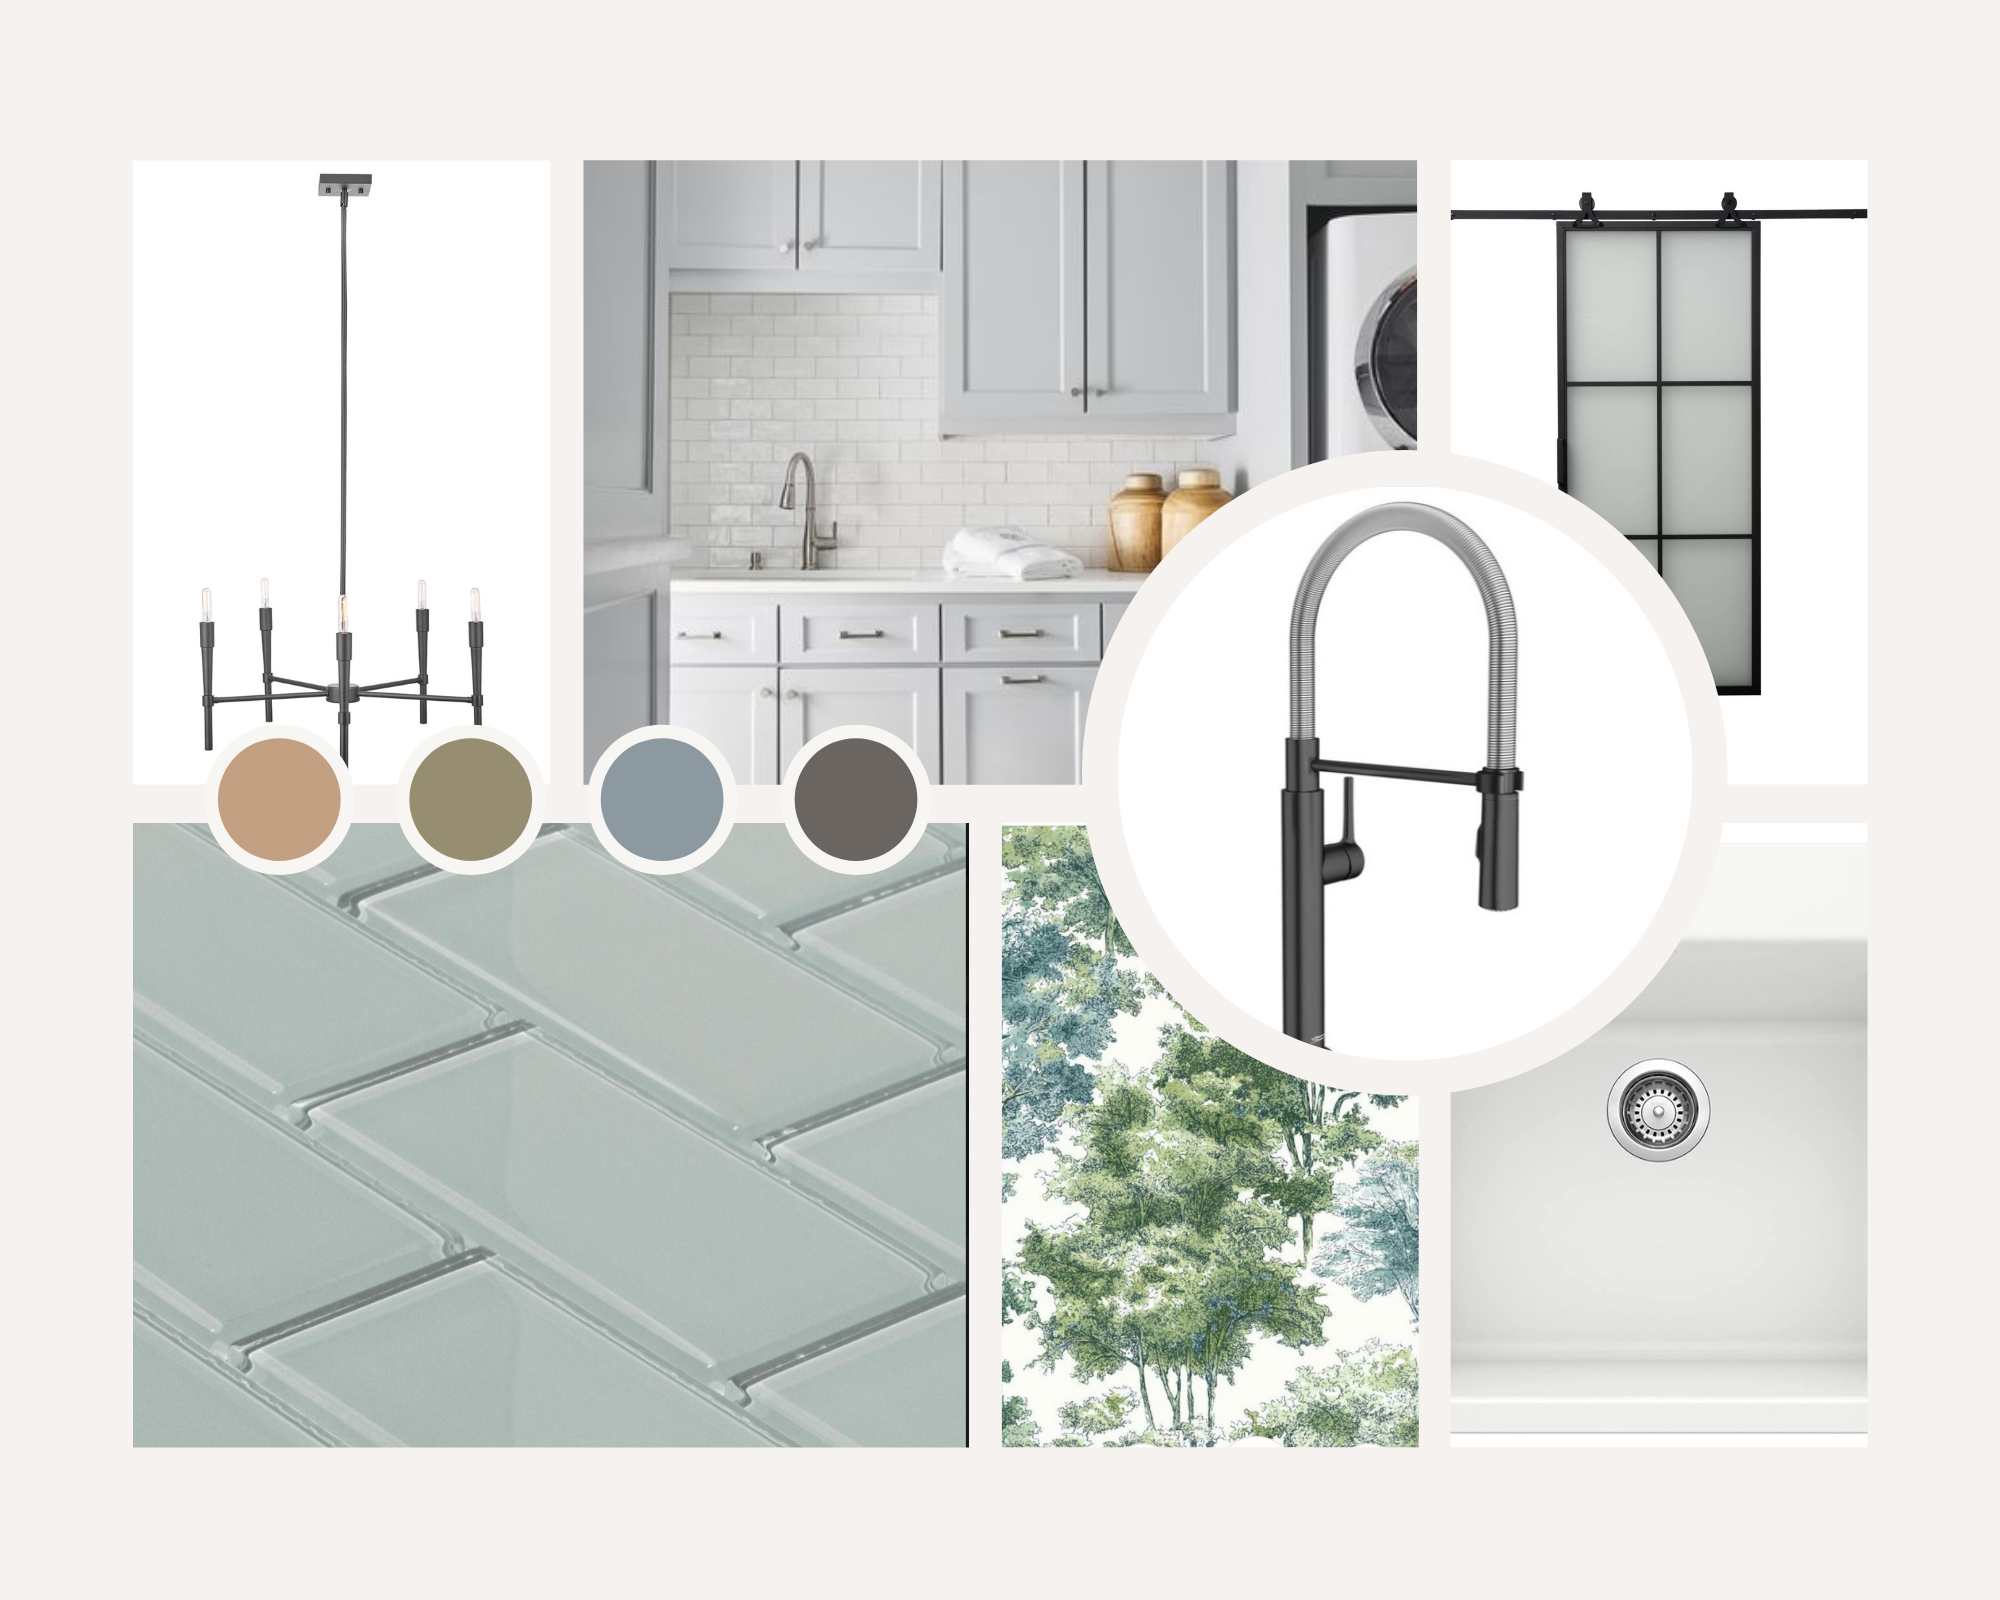
Here’s a reminder of where we started…..and what our original plans for this space were:
And here is what we accomplished this week:
rerouted the dryer vent
attached lower cabinets to the wall
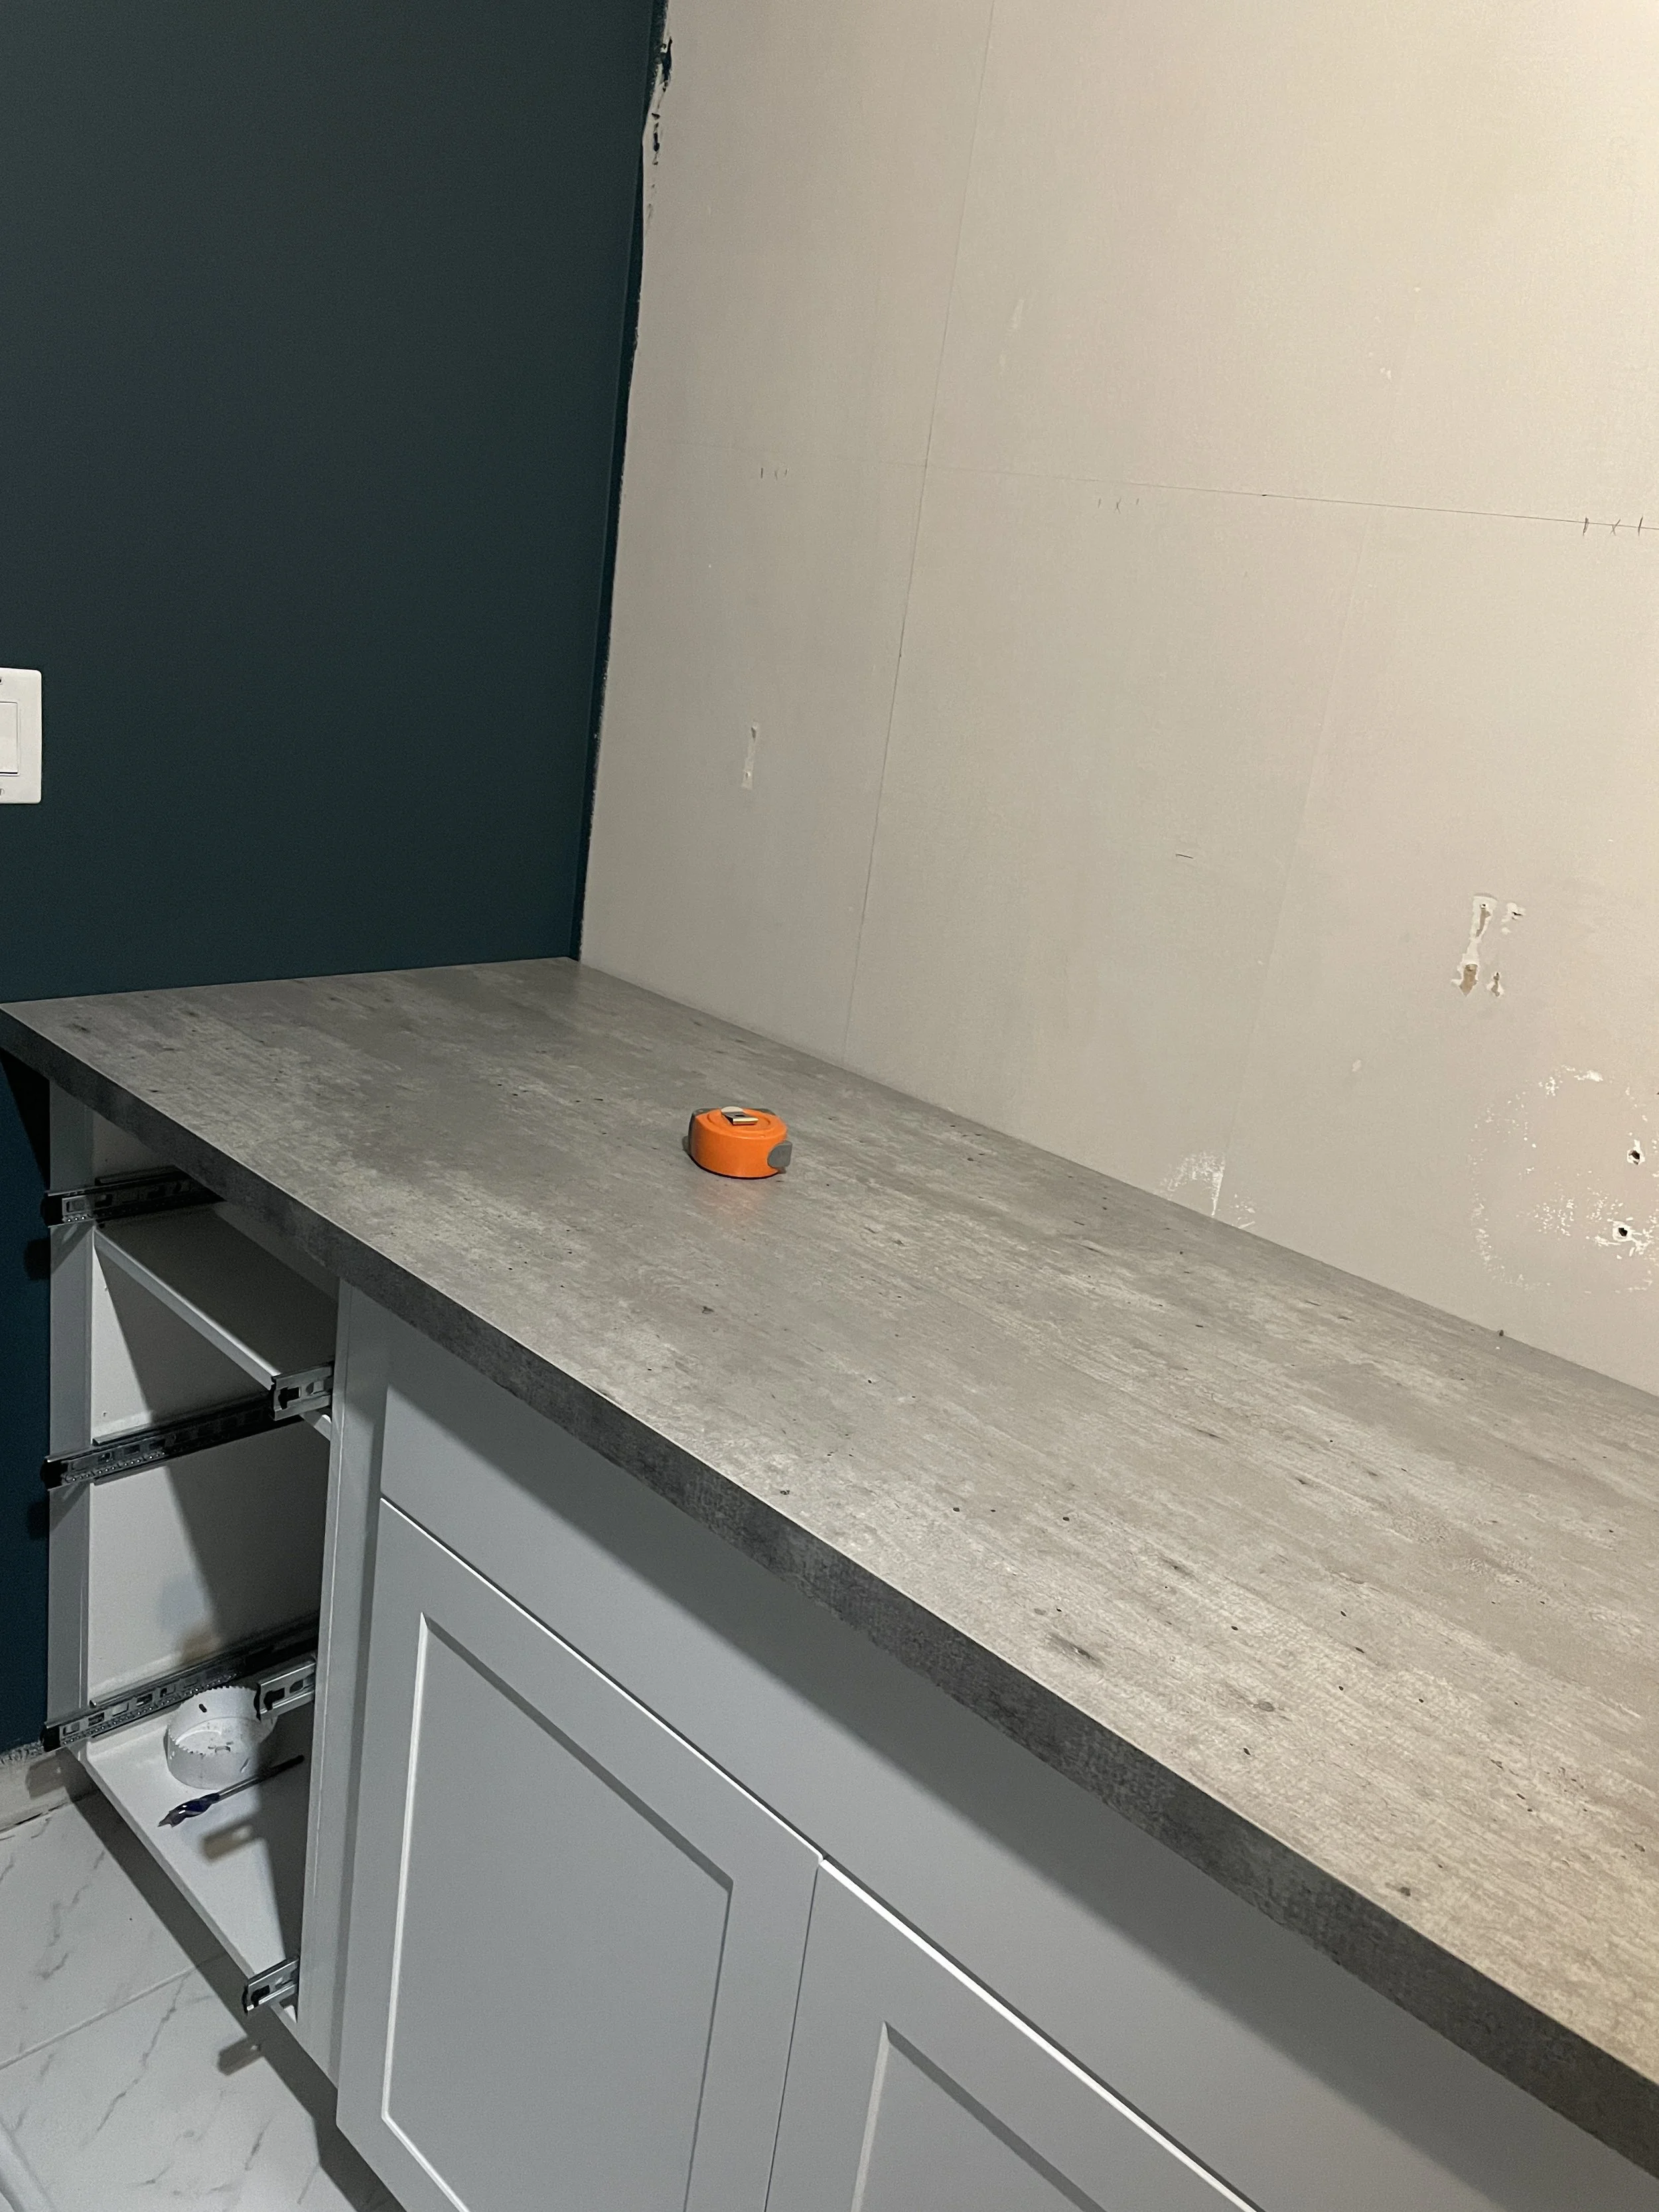
cut and attached laminate countertop top
started wallpapering
did a backsplash!
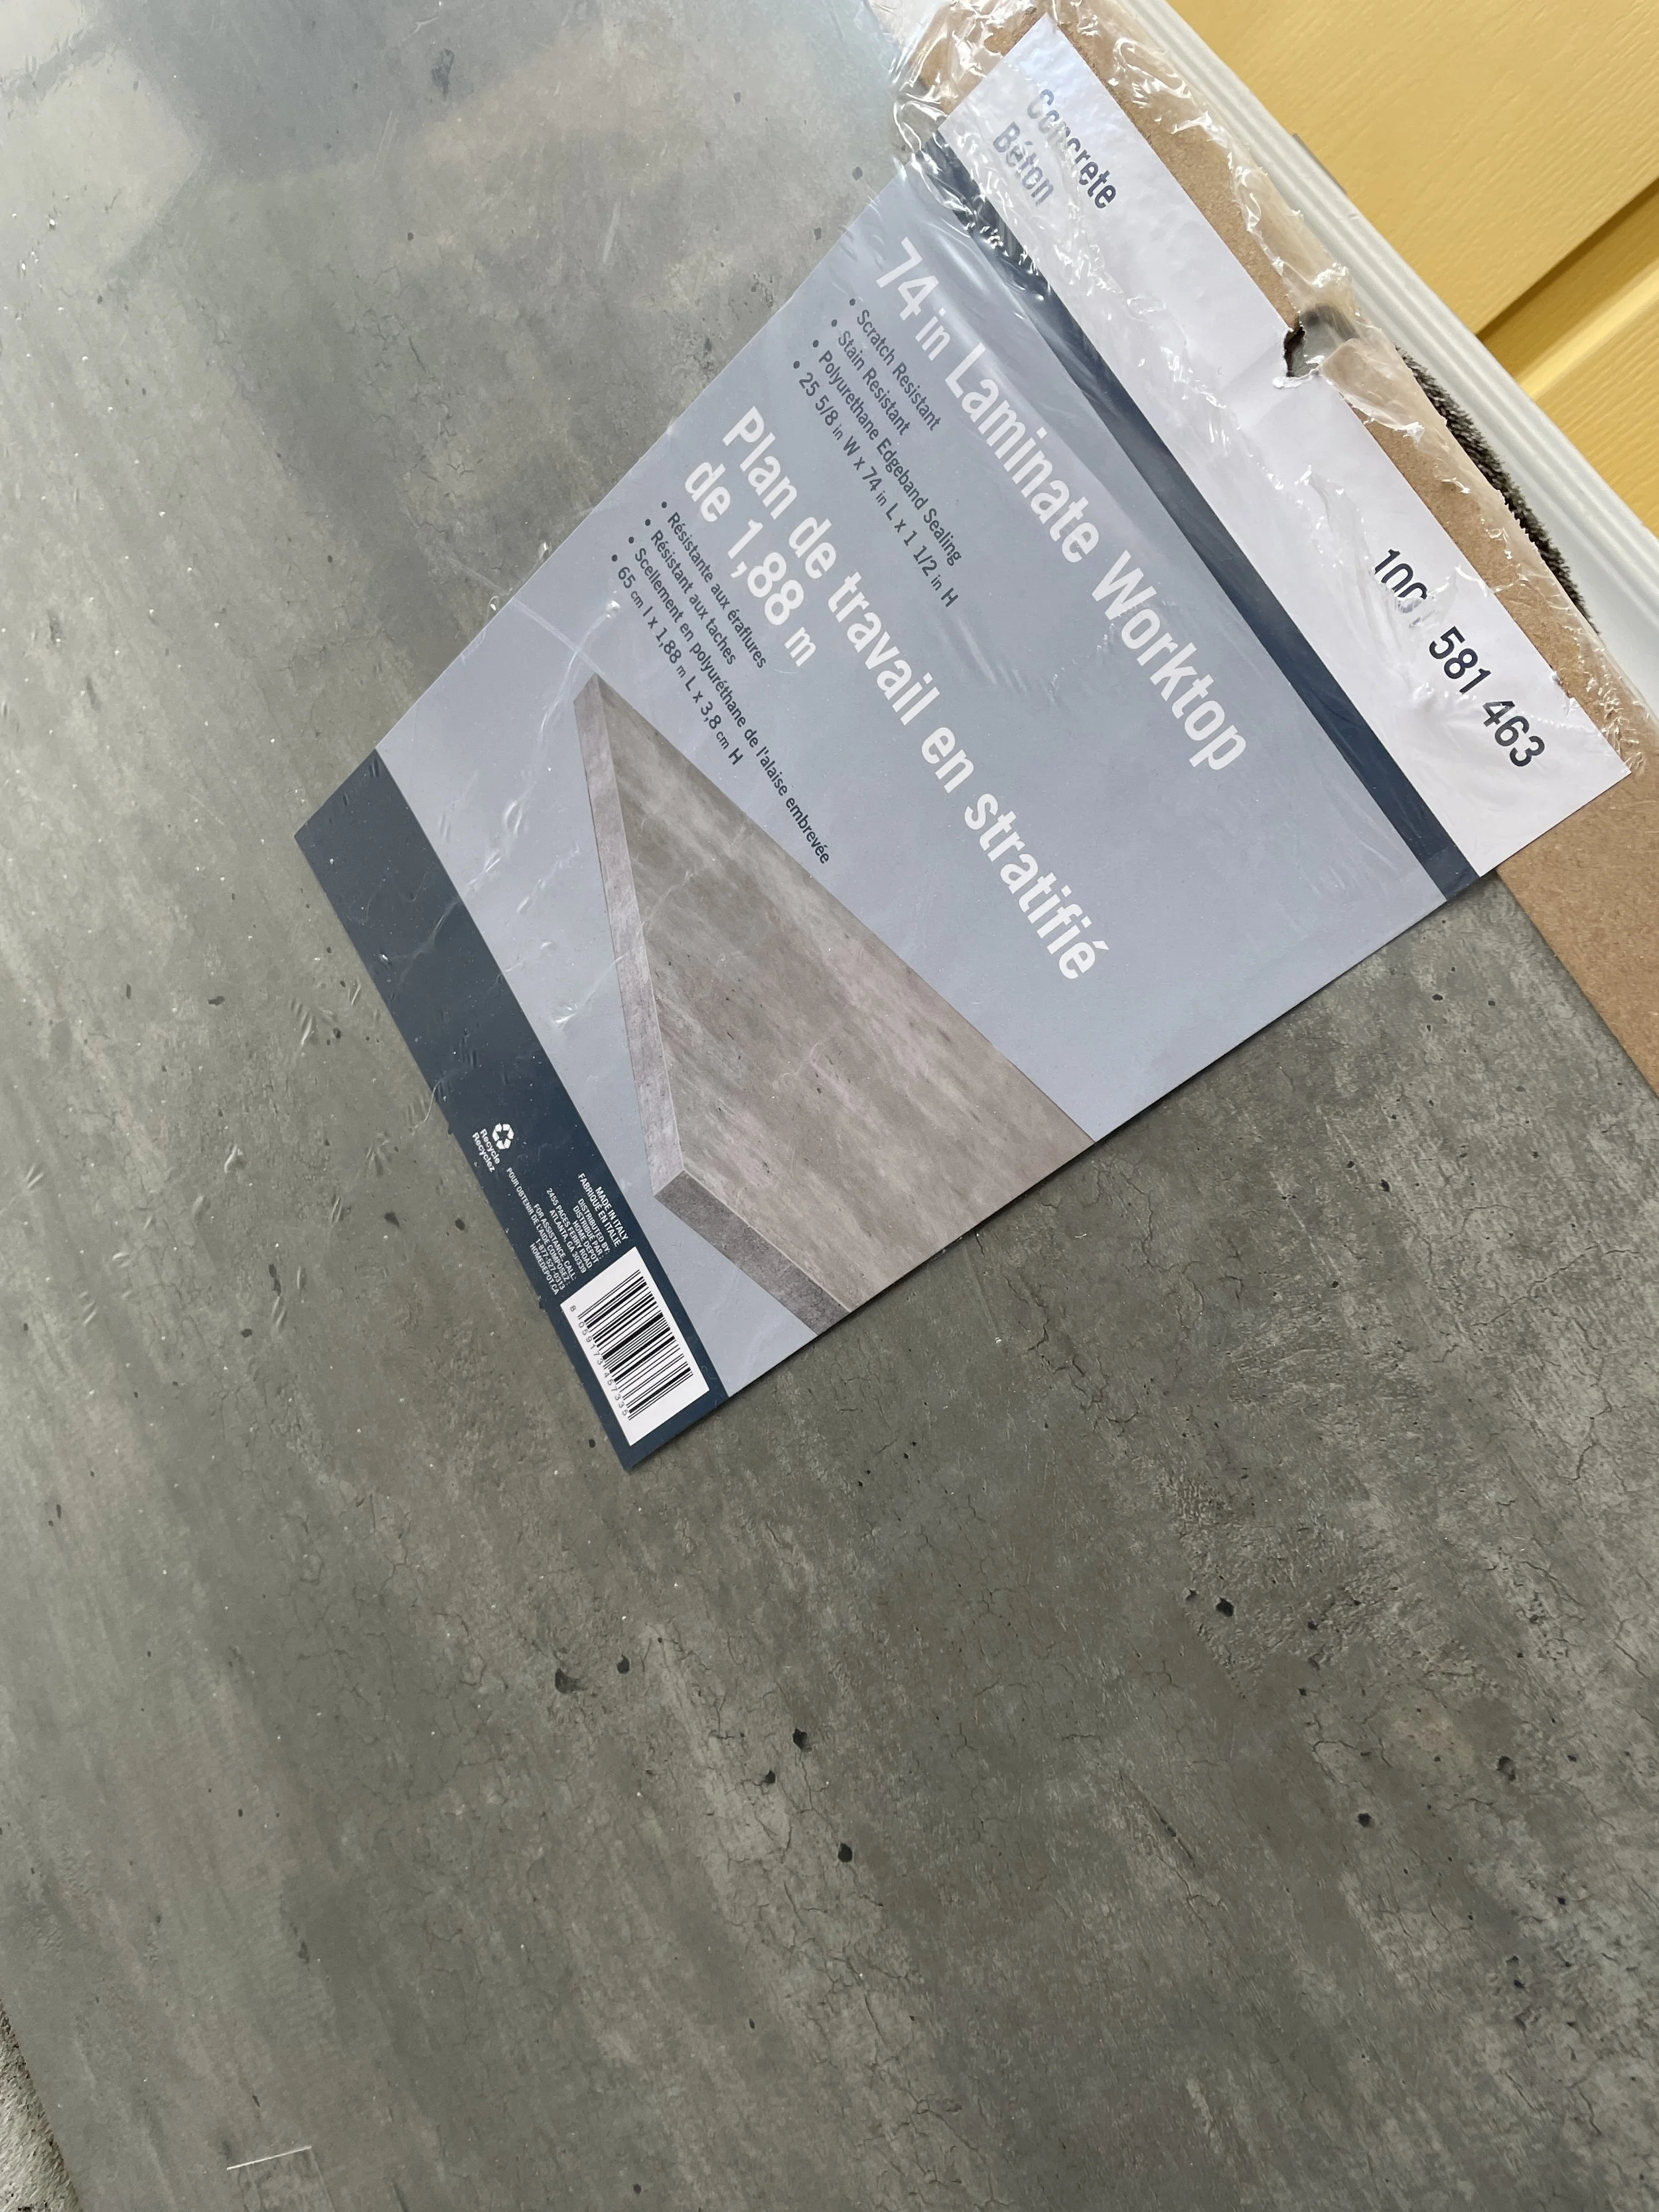
There’s been so much love for the laminate countertop we chose. It’s “Faux Concrete” from Home Depot and it was love at first sight. The only thing that worried us about the countertop was cutting it. We don’t have a table saw and it needed to be accurate. So as usual we set up a half assed cutting area in the garage and did a couple of test runs. One tip I would love to share is, cover your cut line with painters tape t protect it from chipping as the saw blade goes through. After one practice cut my hubby decided to go for it and it’s perfect!!!

After installing the countertop, we were on a roll. I hung four half strips of wallpaper and then we got busy installing the backsplash.
We have partnered with Golden Select and chose these gorgeous Glass Mosaic tiles from the “Lisbon Collection. These are currently available at Costco.com and are coming to Costco.ca in June 2022.
The first step in installing this backsplash was to attach the “trim” which basically keeps the tile level and the rough side of the glass tile protected. We used wood glue and our nail gun for this part of the job.
Next up was finding the centre point in the space we are tiling and the centre point on the first sheet of tiles. We recently purchased a laser level and it came in extremely handy for this task.
Once the centre points were determined we started applying the thin-set. This is the product that we used and it was the perfect amount for this job.
This was only our second backsplash and third time doing tiling but it went smoothly! Once we got the first three sheets of tile on, we found our groove, I tiled and hubby measured and did all the cuts on the wet saw. All in all, it took us just under two hours.
We let the tile set in the thin-set for 72 hours before we grouted but to be honest, we were tired!
I do believe grouting is an art, one that we are still mastering! We chose “Bright White” grout and it was the perfect choice. Of course we had to buy much more than we needed but we did the math and only mixed what we knew we would need. One important thing to remember if you are install glass tiles, be sure to use an UNSANDED GROUT!

Just be sure you follow the instructions and time lines for wiping off excess grout before it dries. And then wiping it again in two hours. I also did a third clean after 24 hours.
We are always our own worst critics, so of course we see small things we could have done differently. But if I don’t point them out, you won’t notice. And we couldn’t be happier with how it turned out!
We are working on a how to video for all of you contemplating a backsplash, but don’t think you can. Trust me, if we can do it, so can you! It’s such a feeling of accomplishment!
Now it’s time to head to the One Room Challenge website and see where everyone else is at at the midway point of the challenge!
Thanks for being here!
Michele