Laundry Room Renovation - Reveal
Some days it felt like we wouldn’t get this reno done, some days I felt like throwing in the towel but thanks to perseverance, a supportive and hard working hubby, we pulled off this laundry room renovation in eight short weeks!

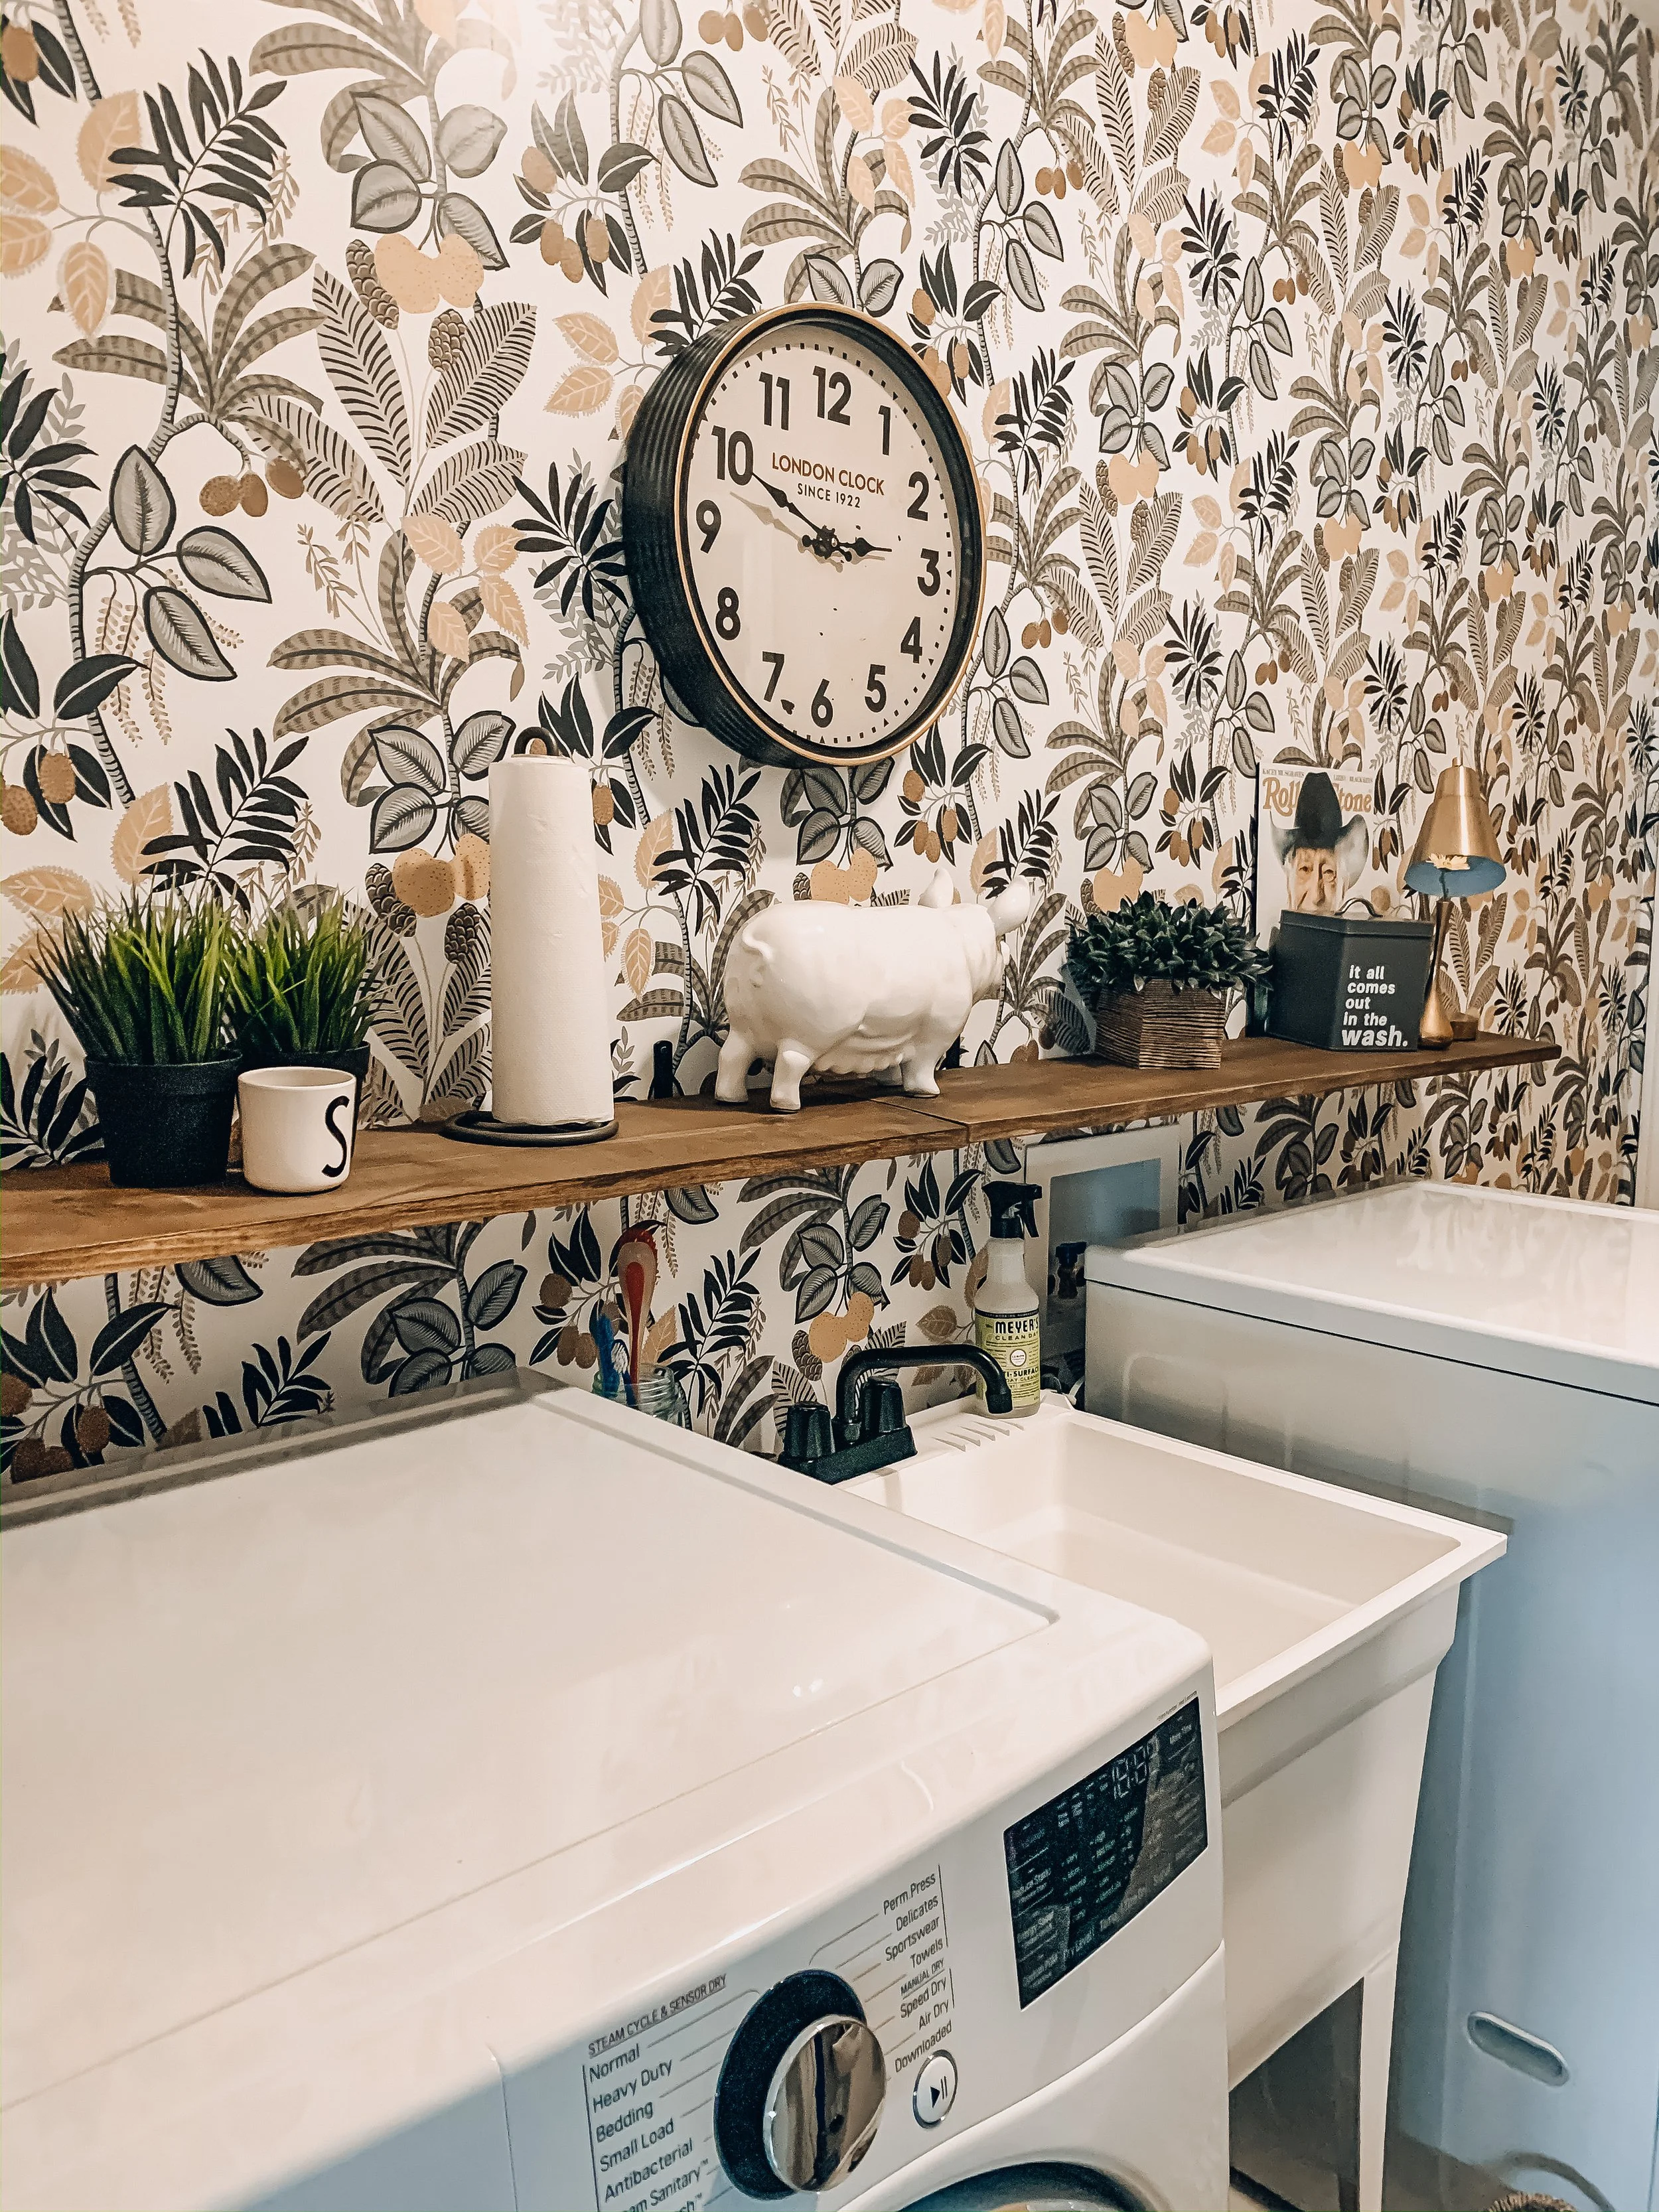
We moved into this new build home less than two years ago to a laundry room that looked like this. It was a long and narrow space with too many doors and a terrible design plan. In 2020 I gave it a little “lipstick on a pig” glow up by wallpapering an accent wall, painting doors and adding some shelving. She looked cute but still wasn’t functional.
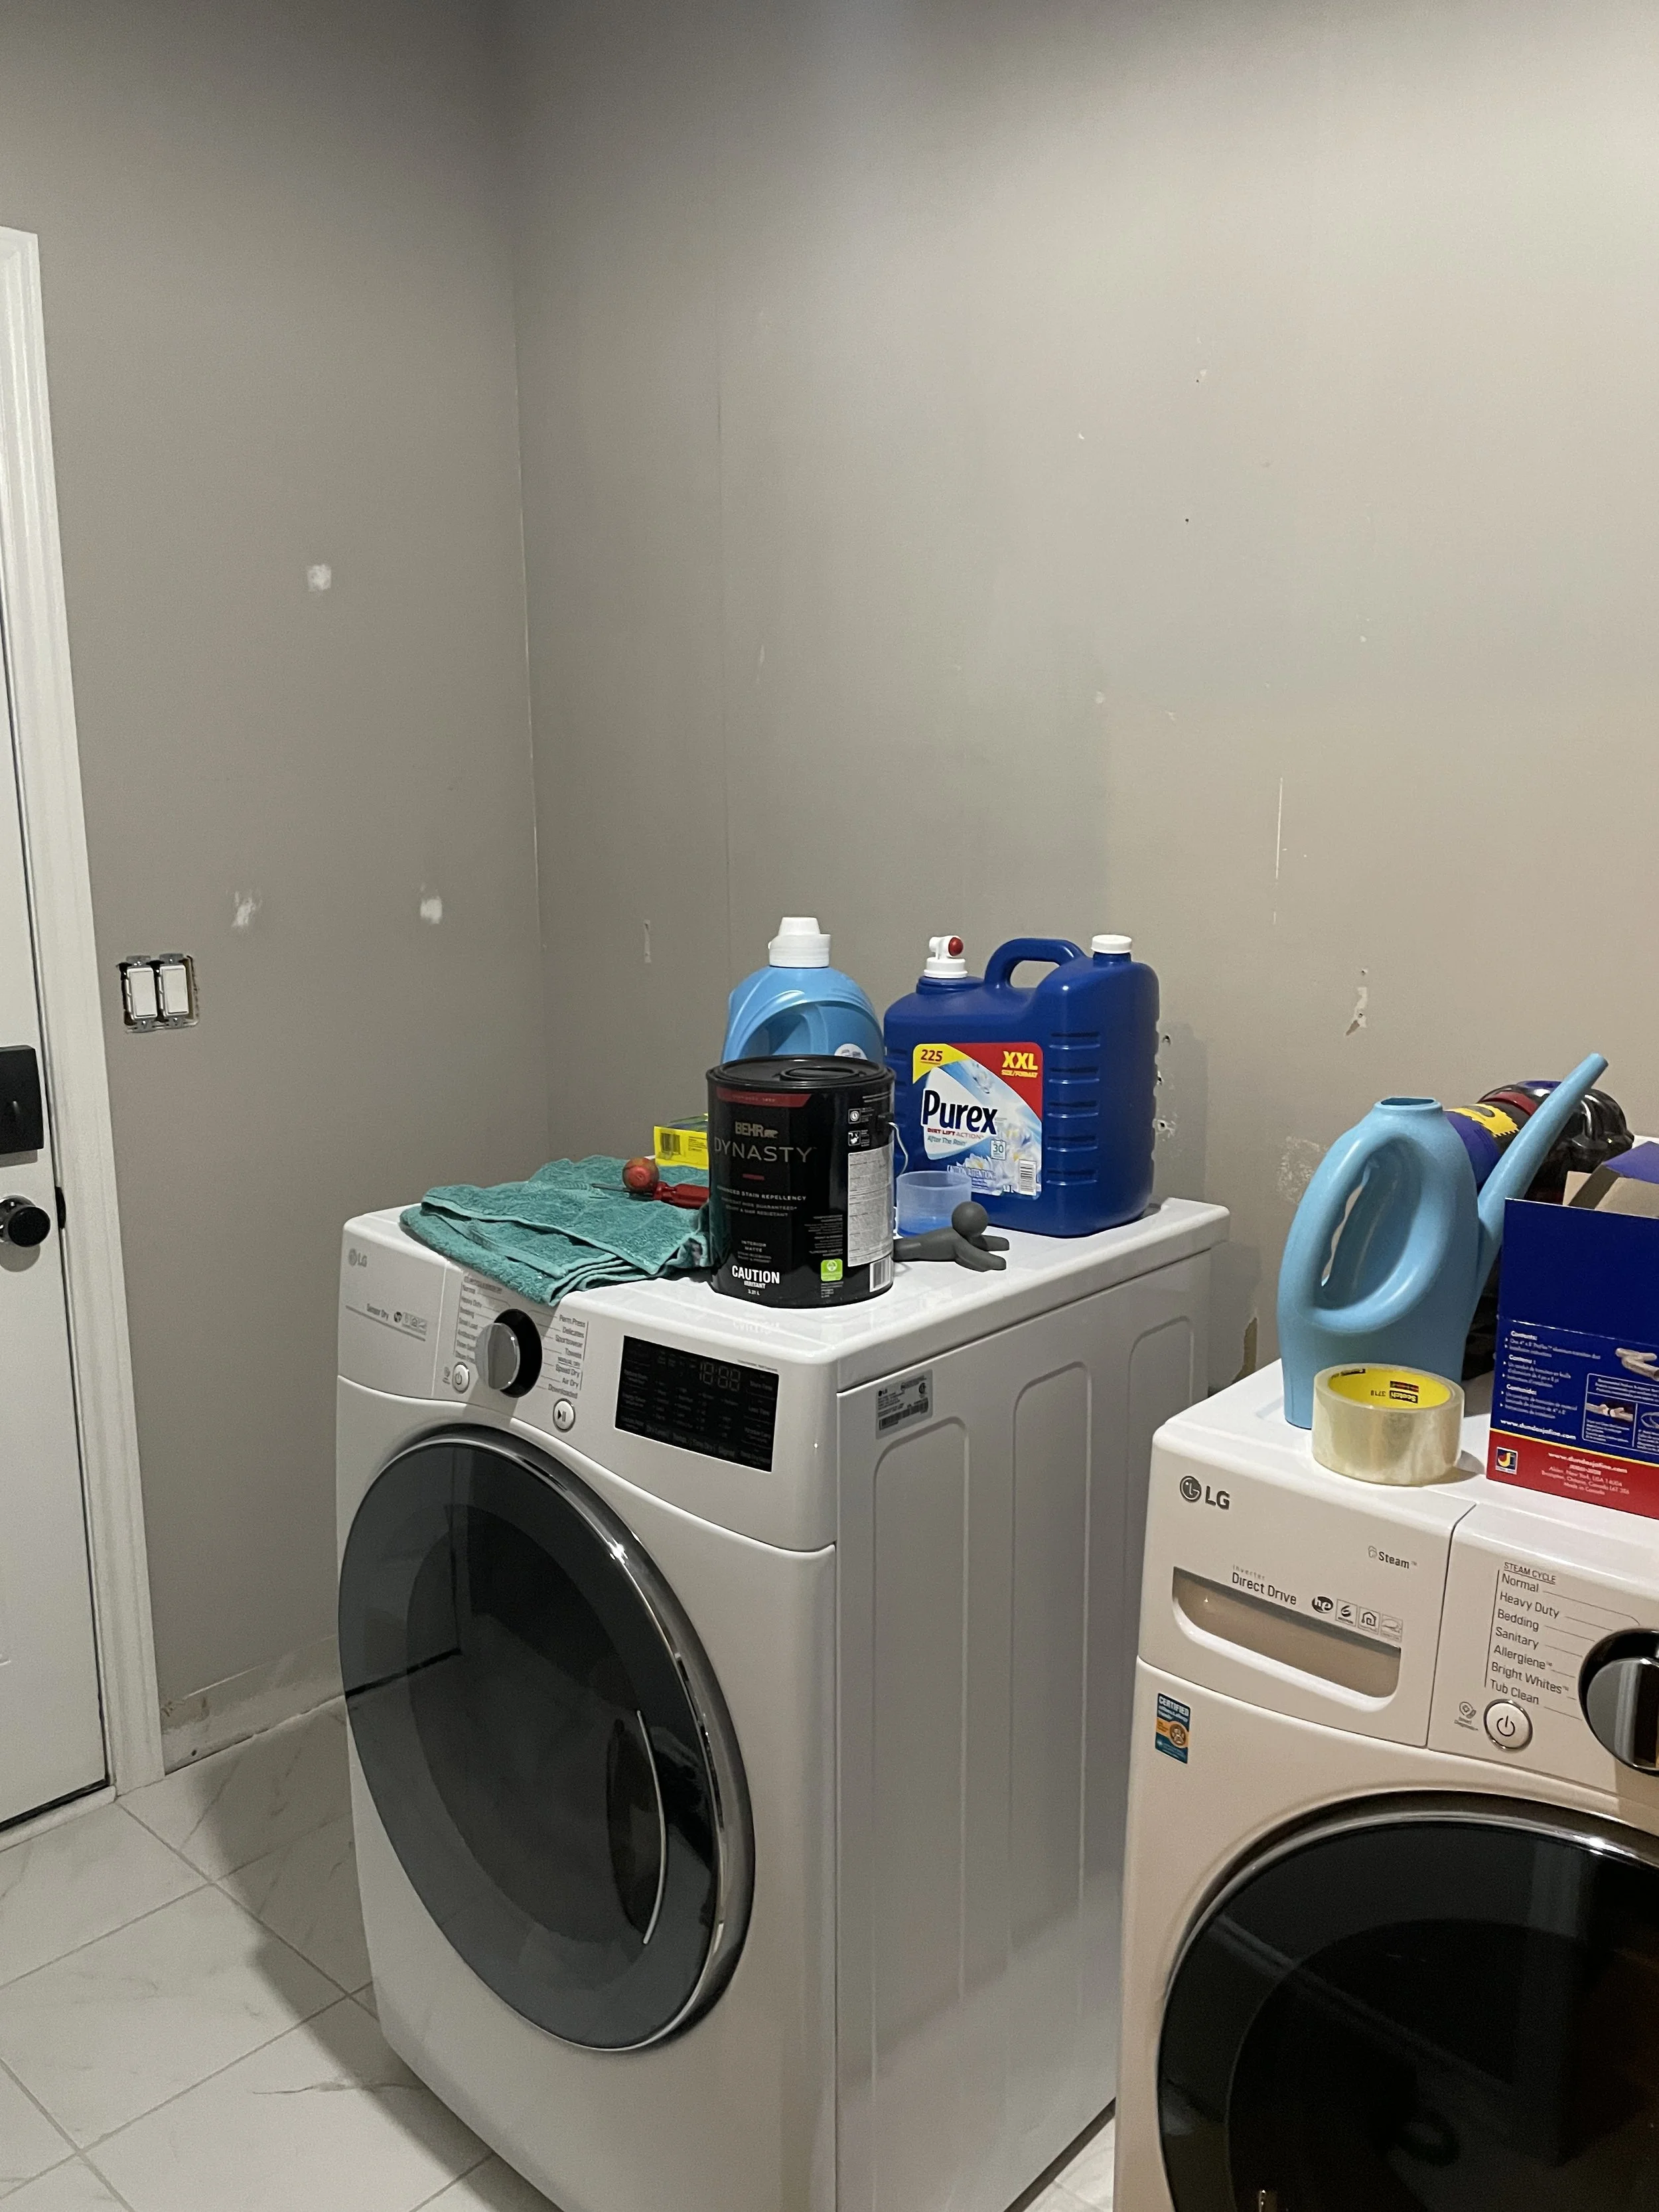

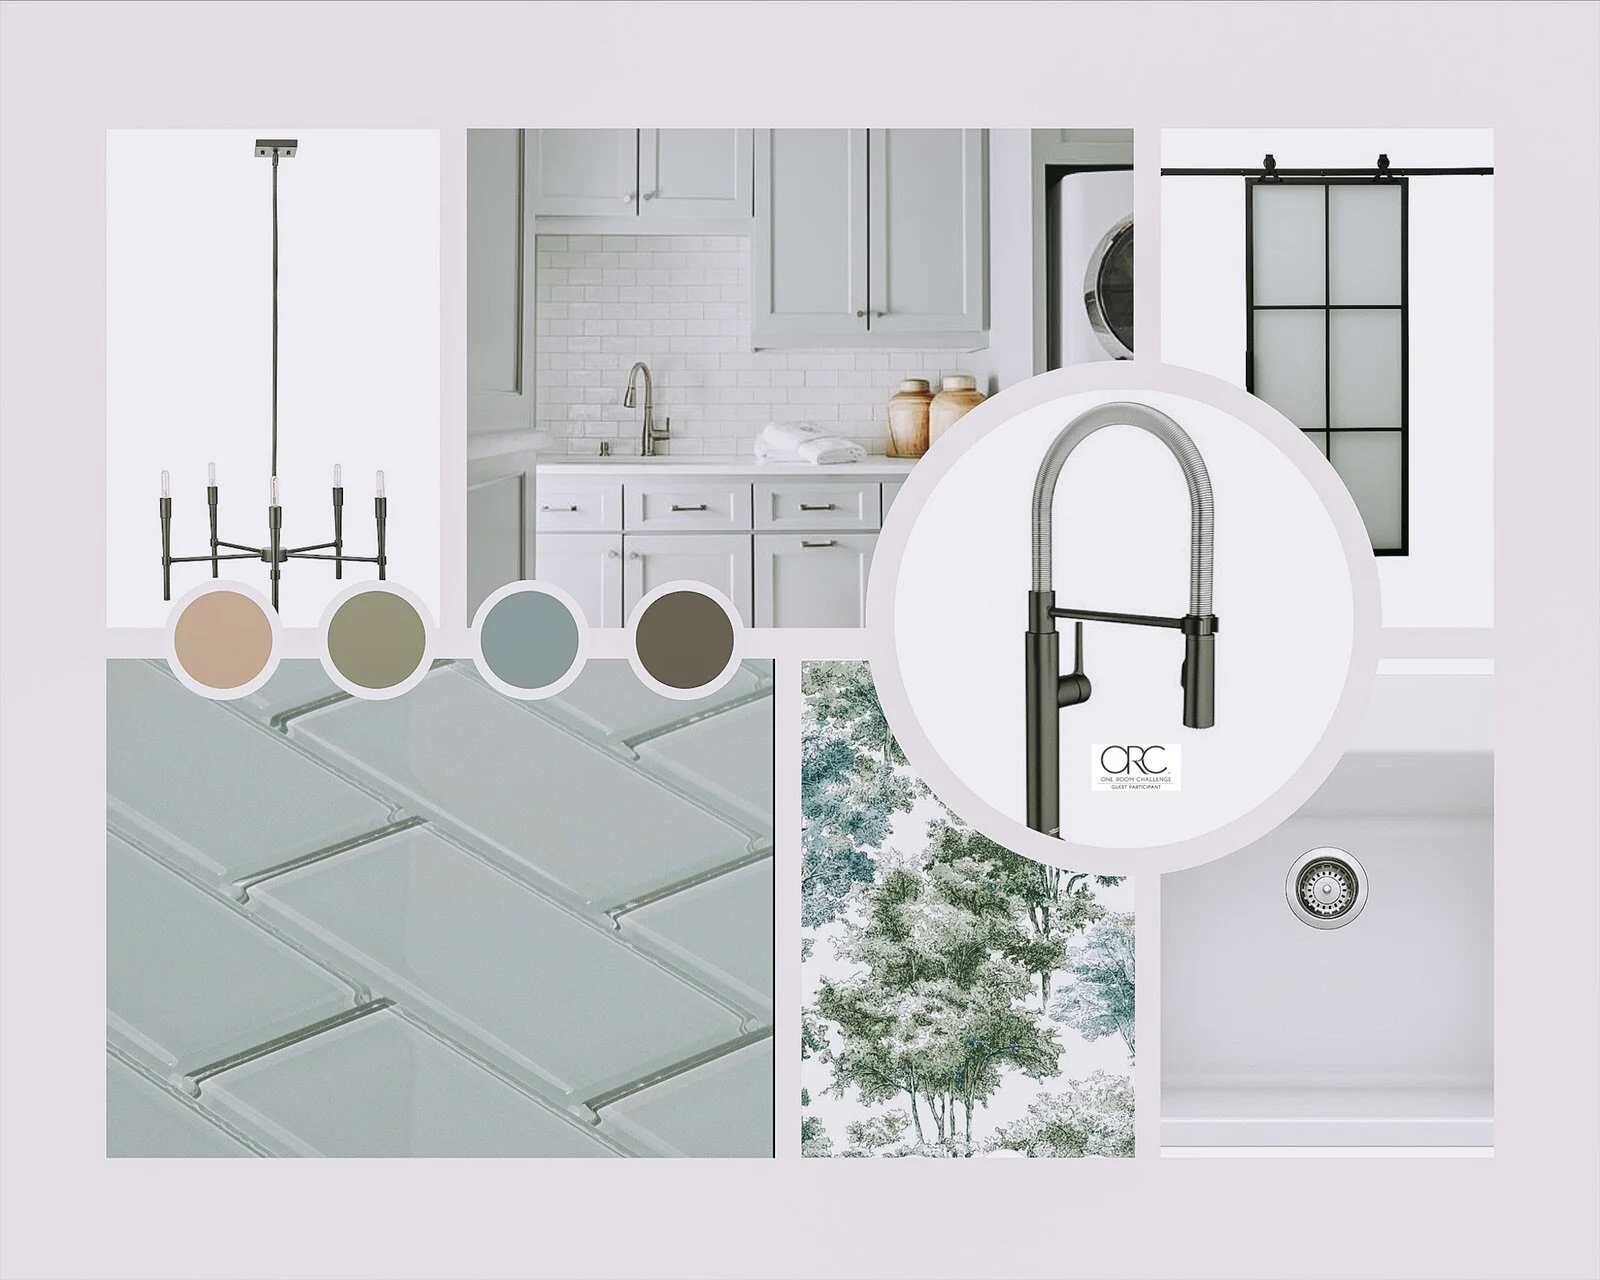
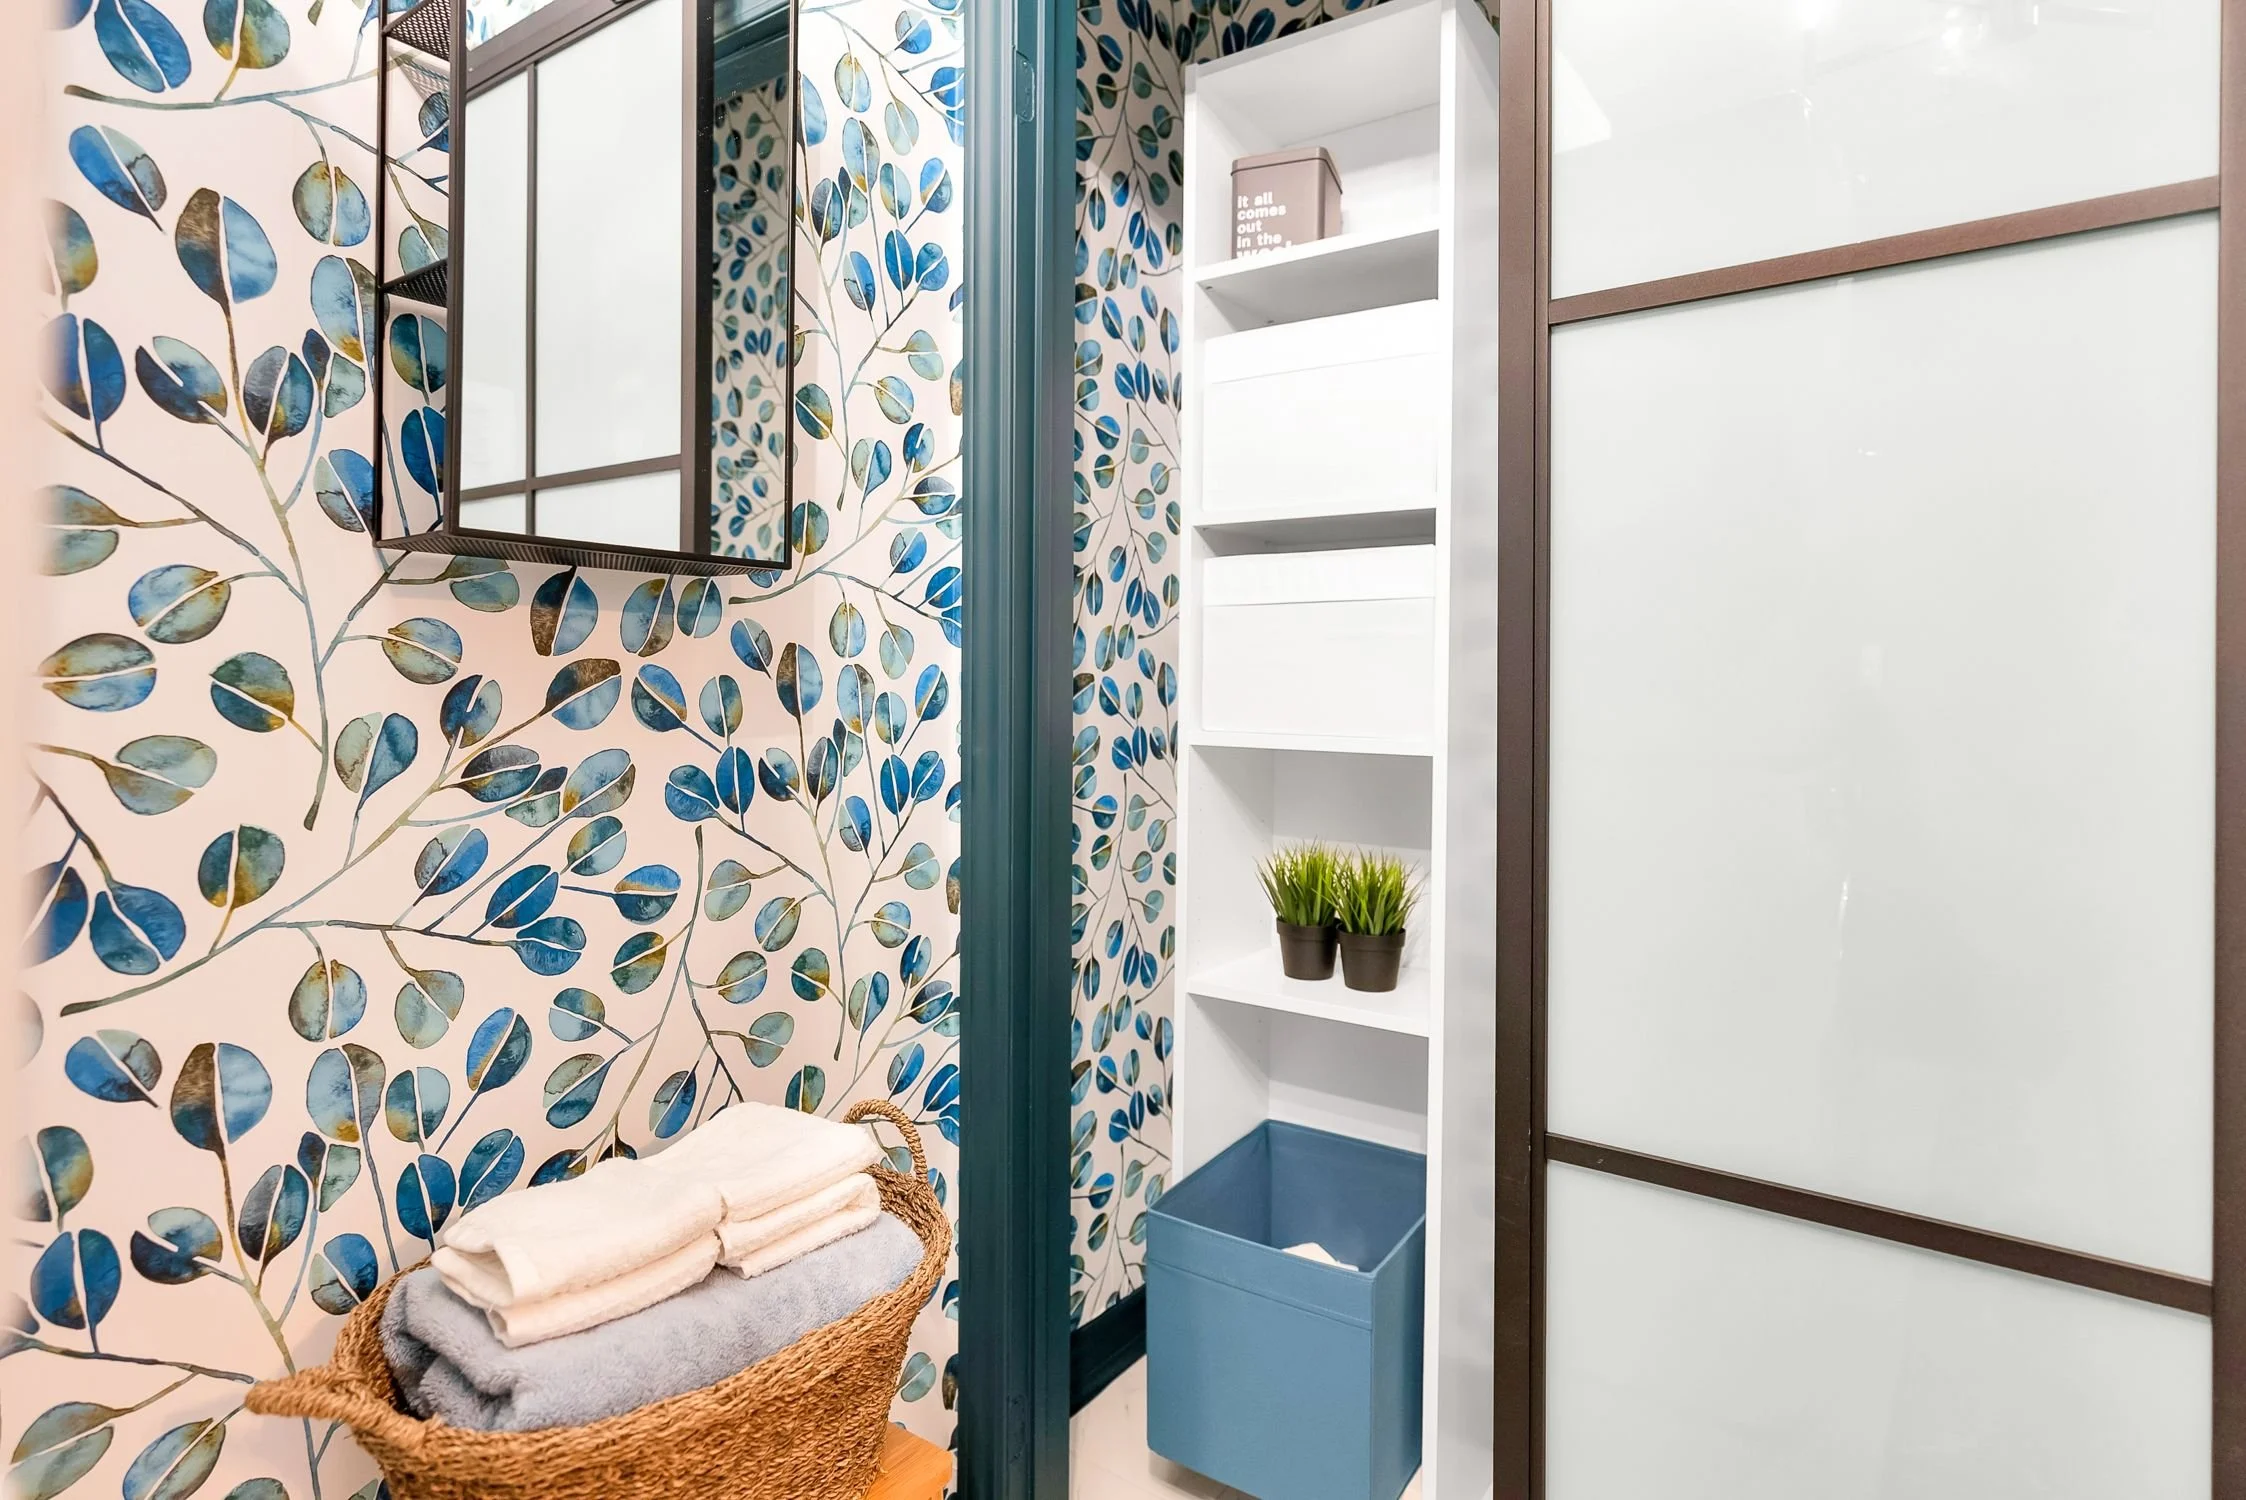
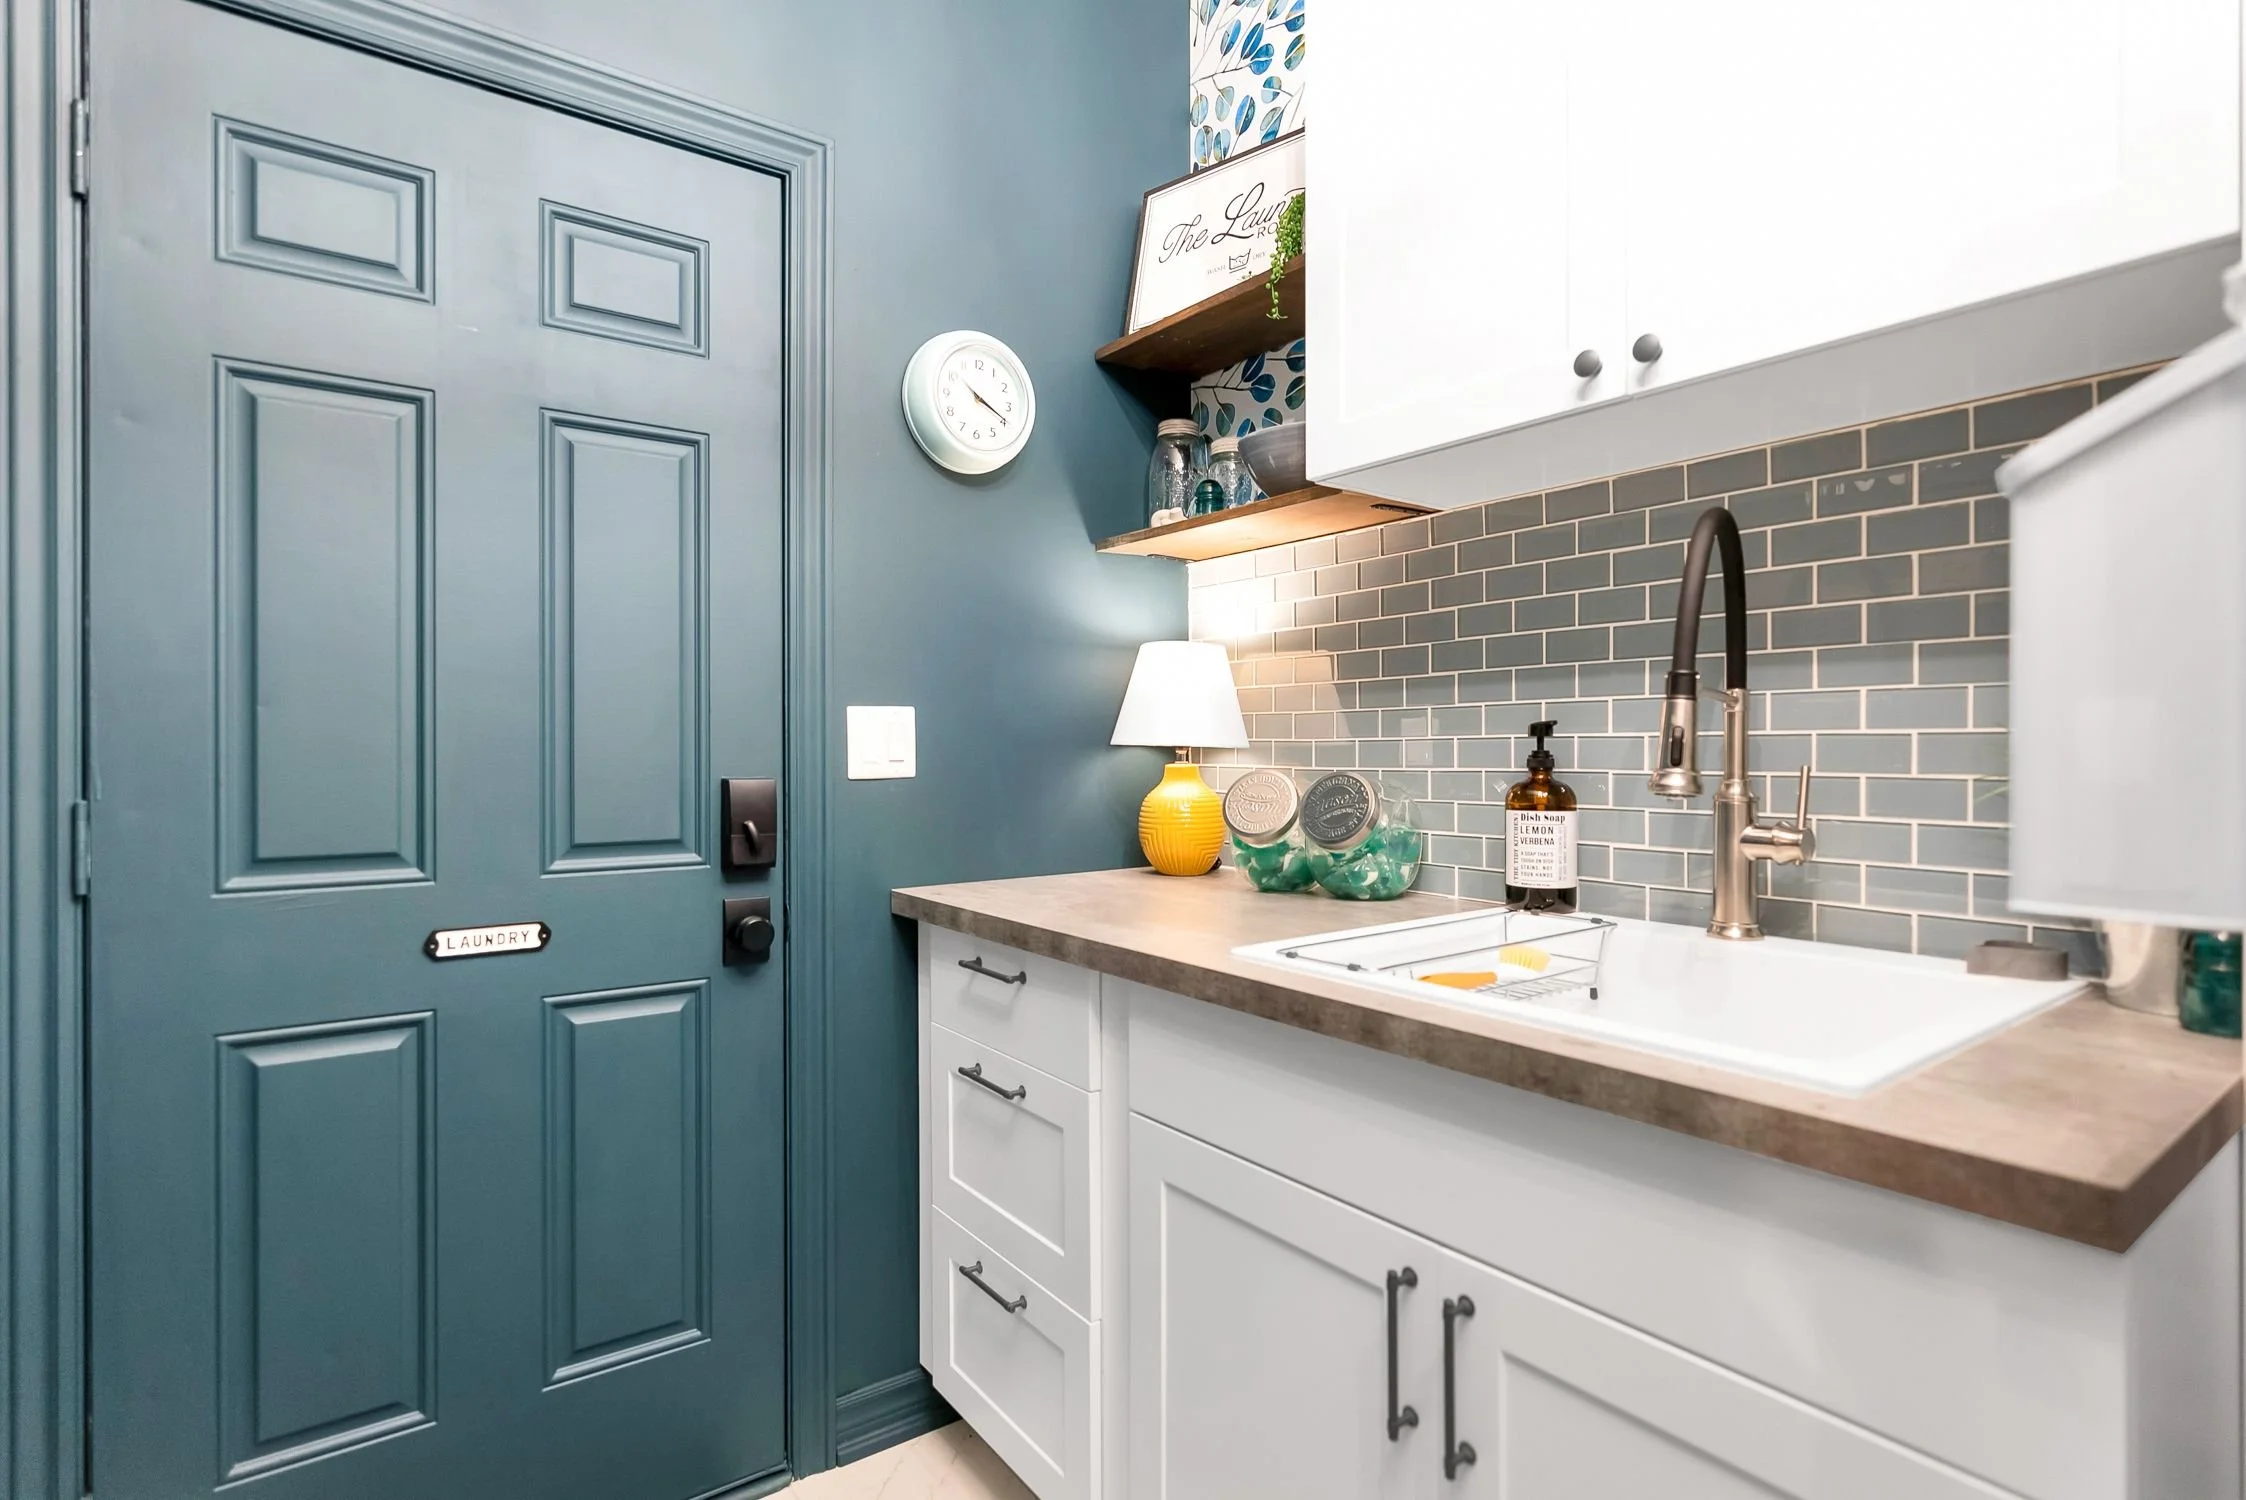
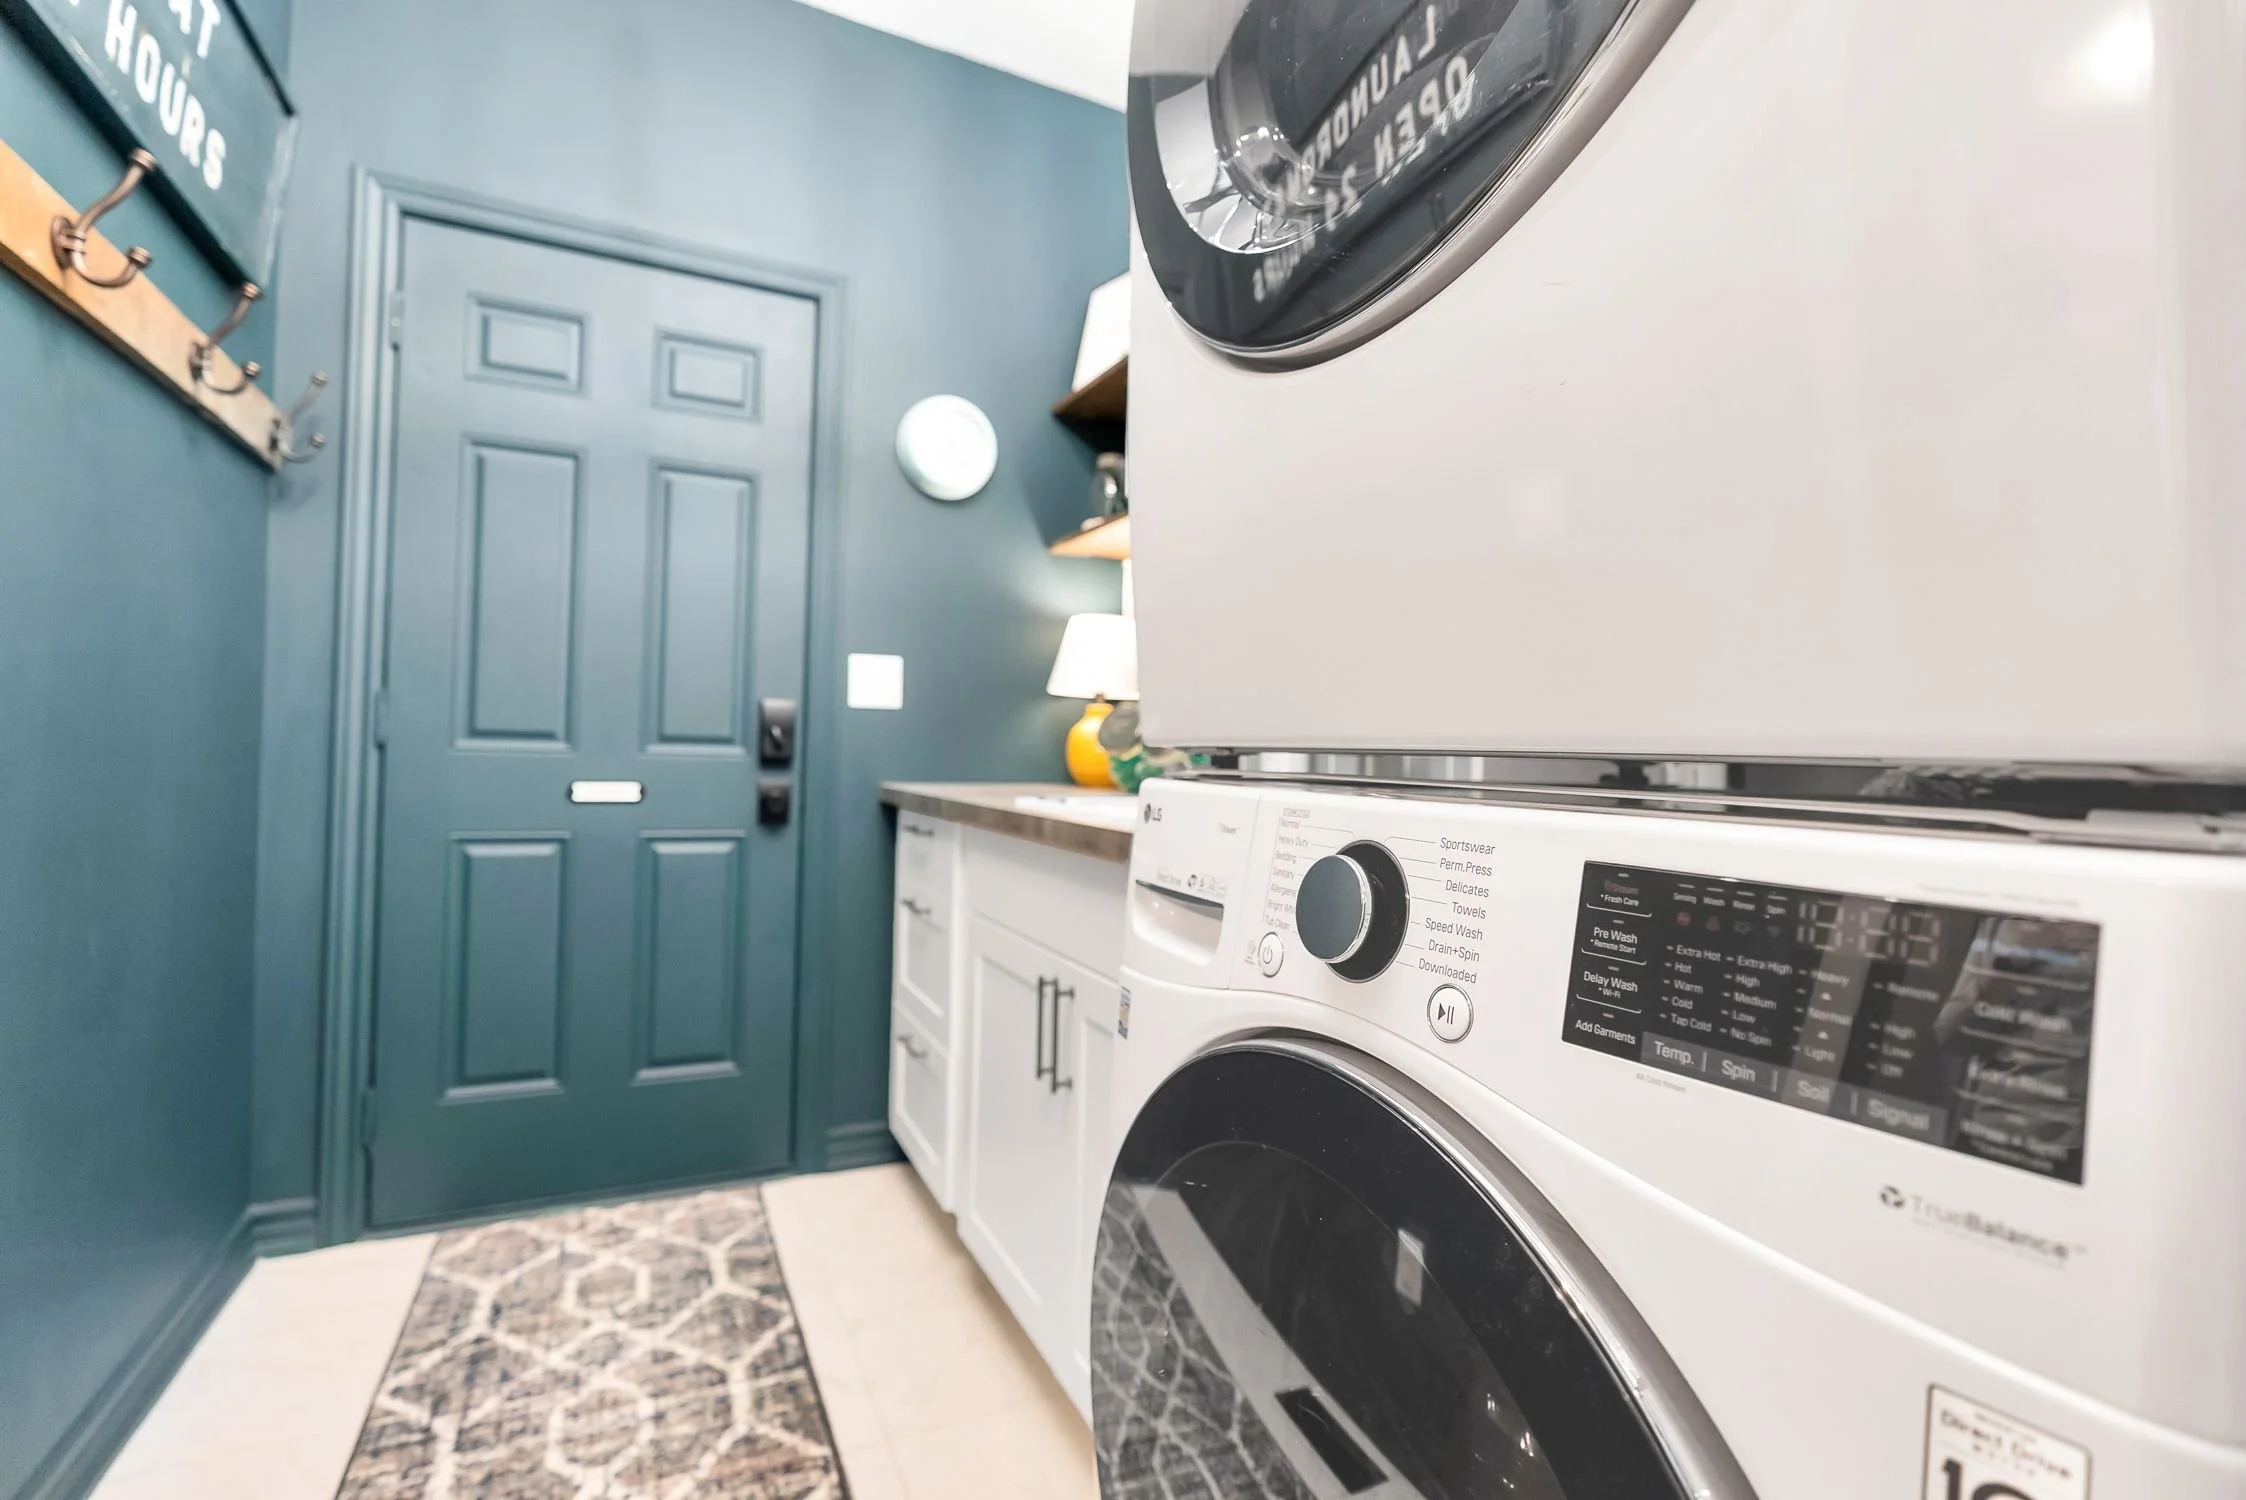
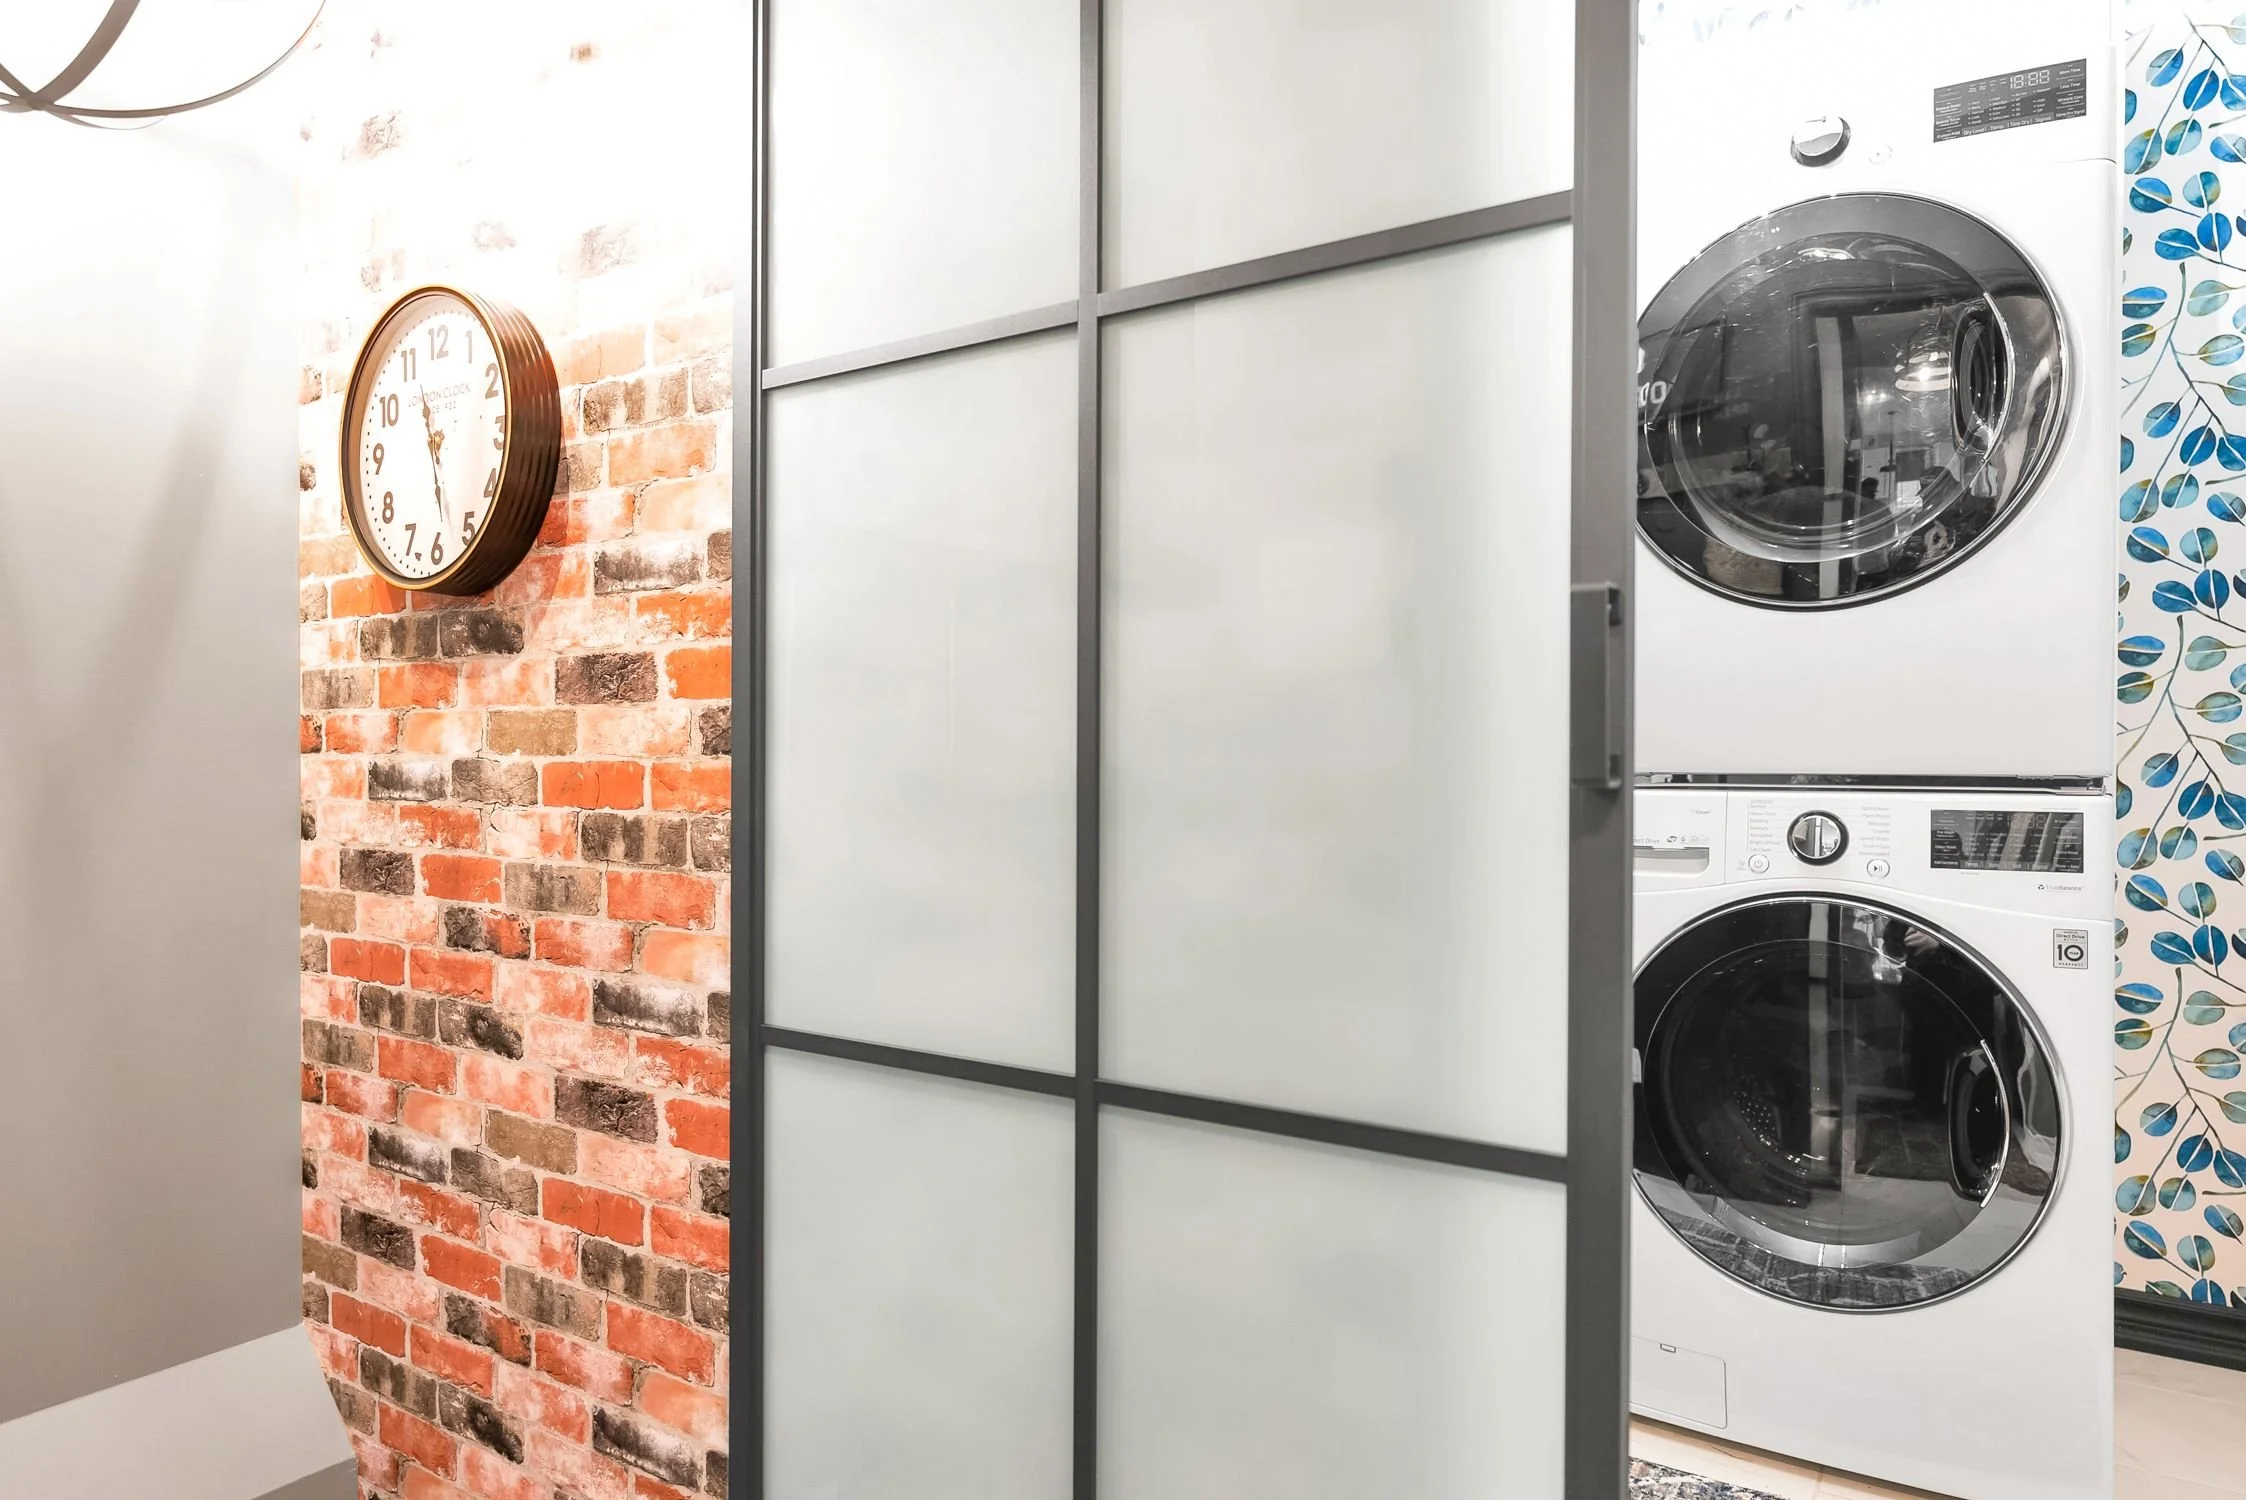
Cue the Fall One Room Challenge. Design plans were made, Partnerships secured and we got to work. We removed doors, we stripped wallpaper and started painting while awaiting delivery of our peel and stick wallpaper from Roommates Decor. I chose the paint colour based on my original wallpaper choice. I used “Thermal” by Behr in their new Dynasty paint finish. Great coverage, super durable and scrubbable. Unfortunately after the paint was on the walls I was notified by Roommates that my wallpaper was no longer available. This could only happen to me! They kindly gave me the option to pick a second choice….which I had to do quickly, online, with no samples, while trying to match to the paint colour already on the walls! I ended up choosing the Cat Coq “Eucalyptus” in teal. It’s a great match, but I’m still pining over my original choice. What I love about the original paper I chose is the green tones in the pattern and the old world feel. BUT, not one to cry over spilt milk, I’ve embraced this pattern and it’s definitely a fun print for a laundry room.
While awaiting delivery of the wallpaper, we did begin the installation of our preassembled Hampton Bay cabinets from Home Depot. We had a sink base and a tower of drawers for our lowers, and just before install, we had to use our hole sale and cut holes through the lower parts of the cabinetry to run our dryer hose. This was needed because we were moving the washer and dryer to the opposites end of the laundry room and stacking them. This part of the reno went fairly smoothly, even though it was only our second time installing cabinets. We had recently built a wet bar in our basement using these same cabinets from Home Depot. We are big fans and feel they are overlooked and affordable!
Next up, while still waiting for the damn wallpaper, we decided to cut and install the laminate worktop/countertop we chose for this space. Also from Home Depot, and less than $100, this Faux Concrete look laminate countertop is PERFECT for our laundry room. The only problem was, it was too long AND we don’t have a table saw. We set up saw horses, dug out clamps, watched some You Tube videos and decided to do some practice cuts since we had about two feet to spare! We did learn to cut the countertop upside down, tape either side of your cut line and to NOT let the cut off fall. All of these tips will save the countertop from chipping. We used our skill saw and only needed to do one practice run before we did the real cut and it was successful!
Once cut, installing the countertop is simple, make sure to have some shims on hand in case you need to level it up.
Now we were at a standstill awaiting wallpaper. We didn’t want to proceed with the backsplash or installing the upper cabinets until the wallpaper was on. As luck would have it, it arrived on a Saturday and I immediately got busy, wallpapering half of the feature wall, just far enough along so we could get going on the backsplash. AND our boys would be home in a few days and we needed help to stack the appliances!
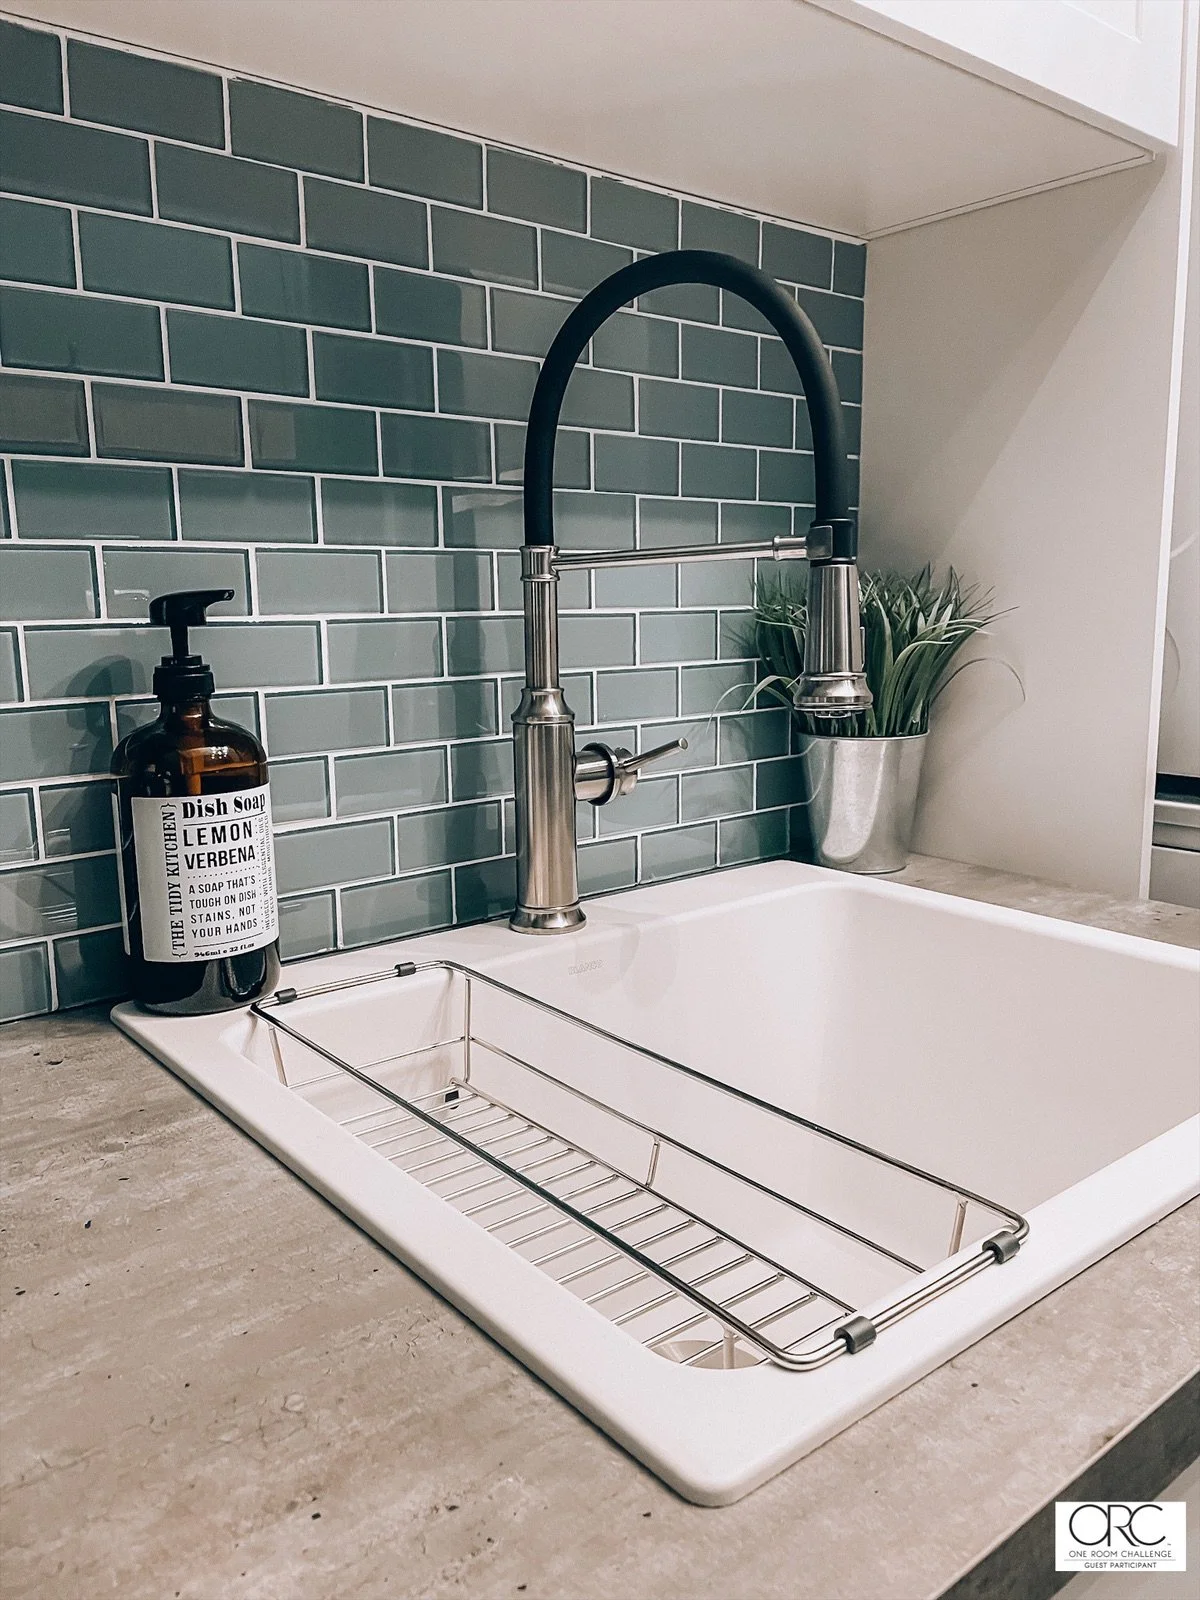
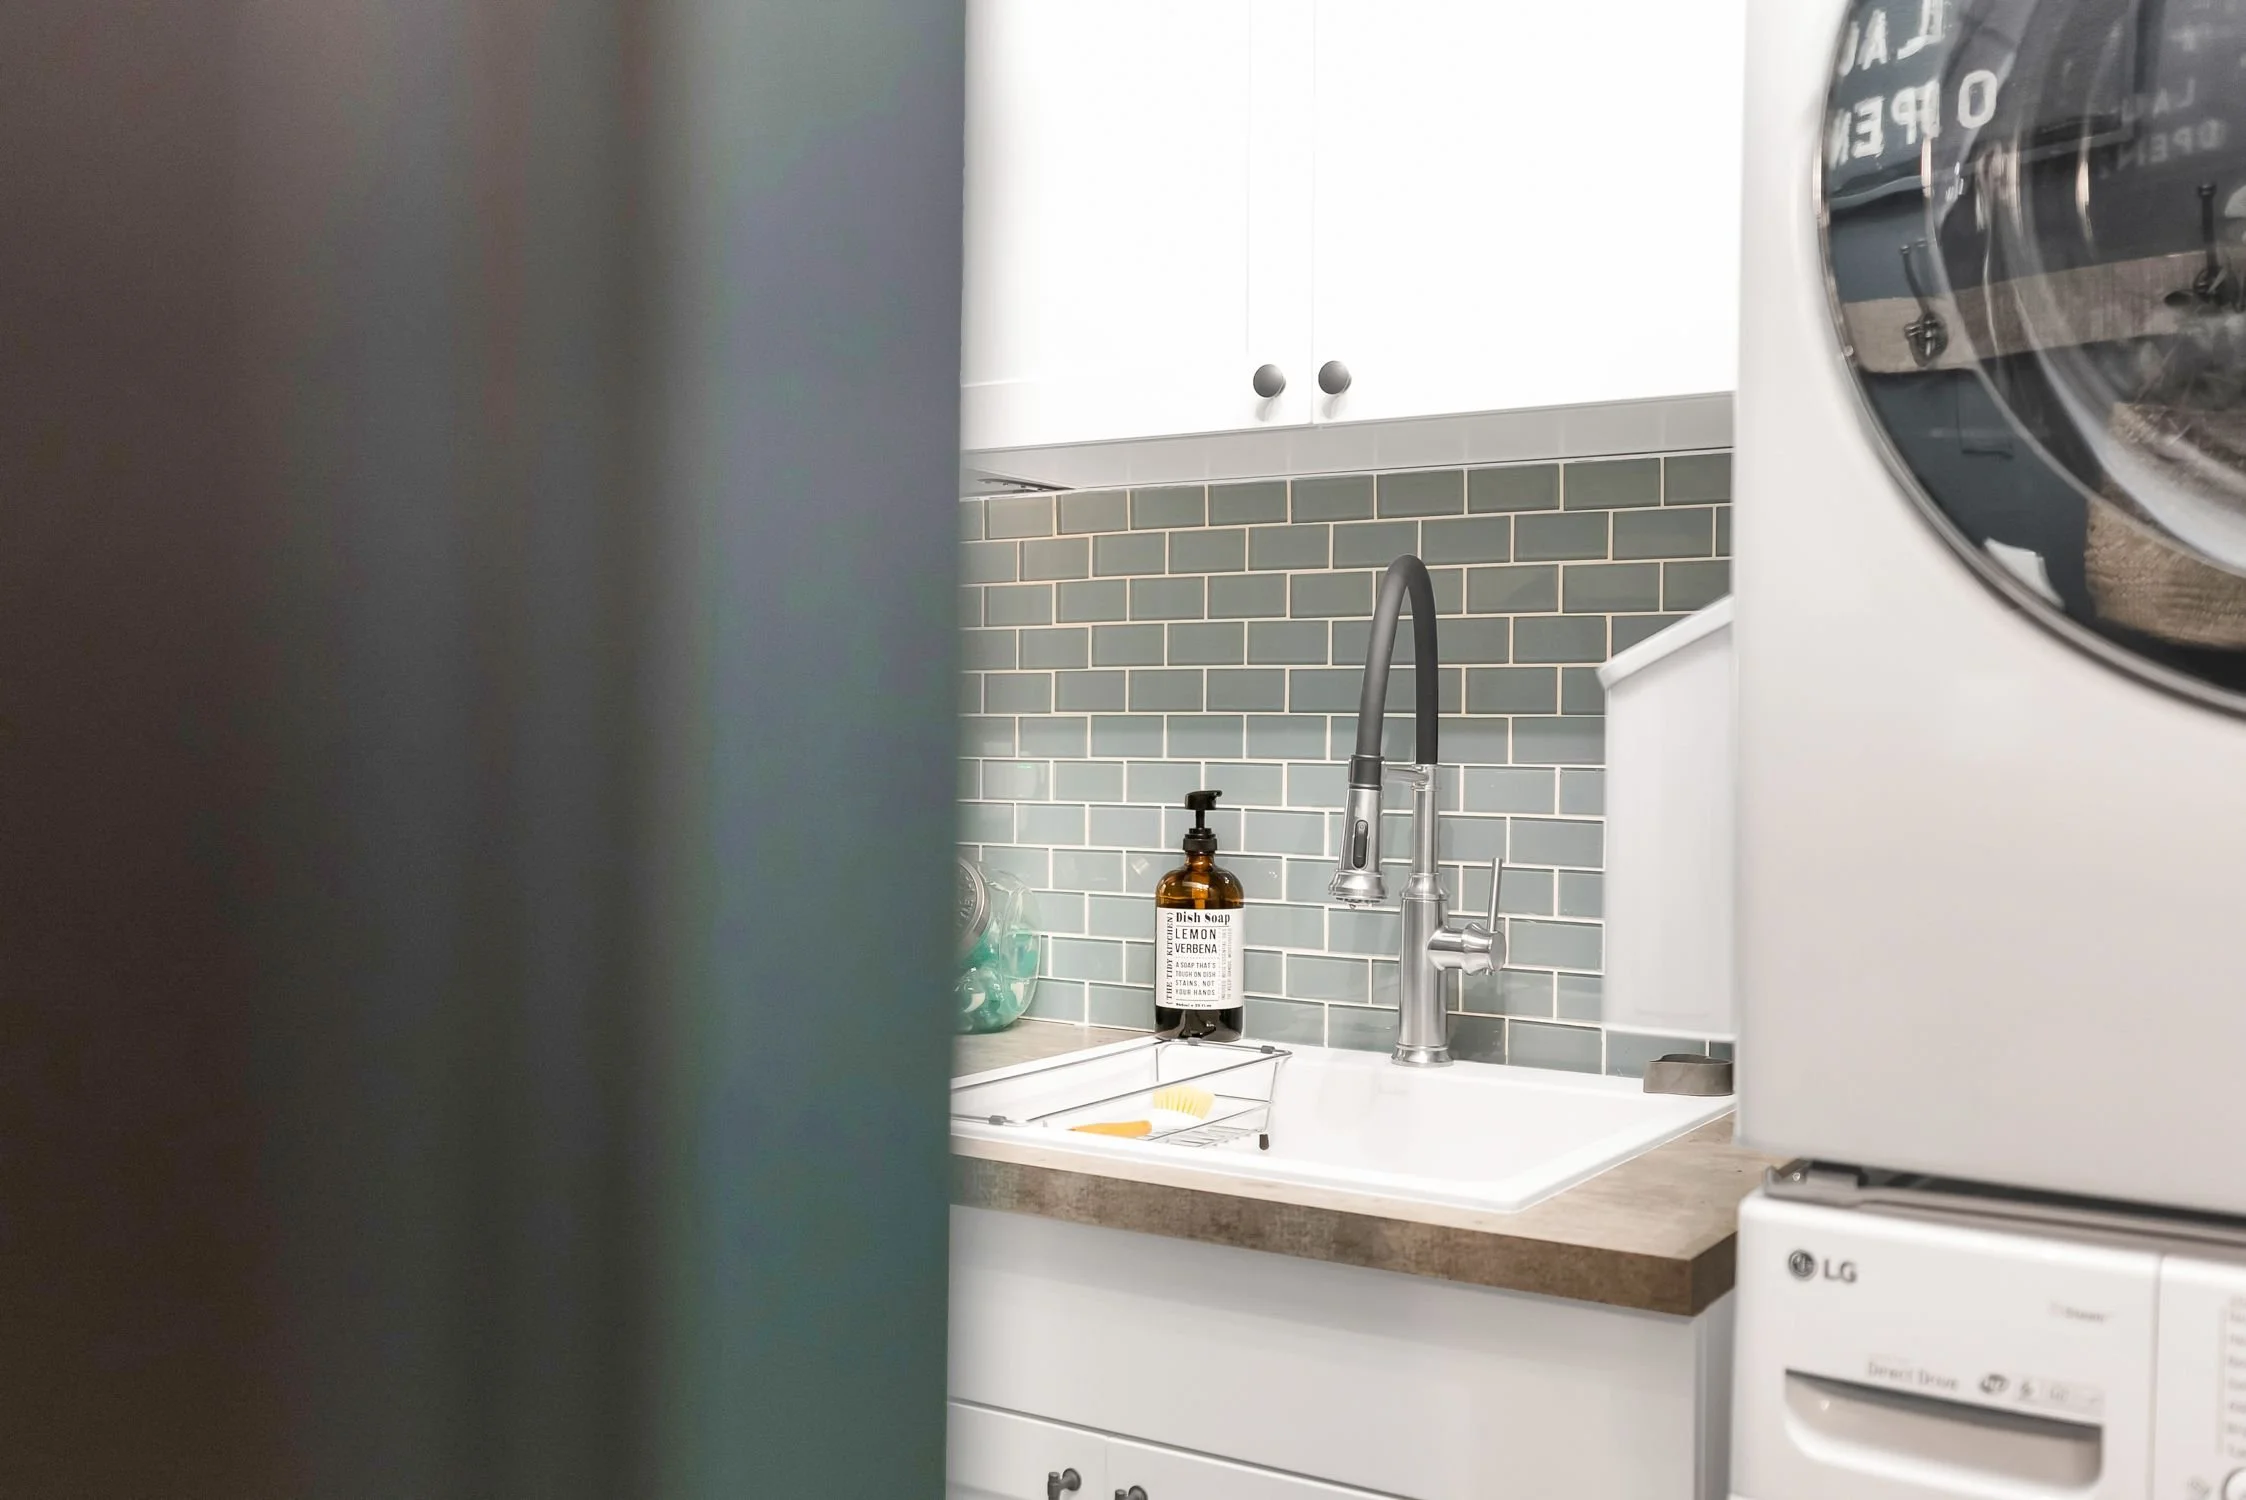
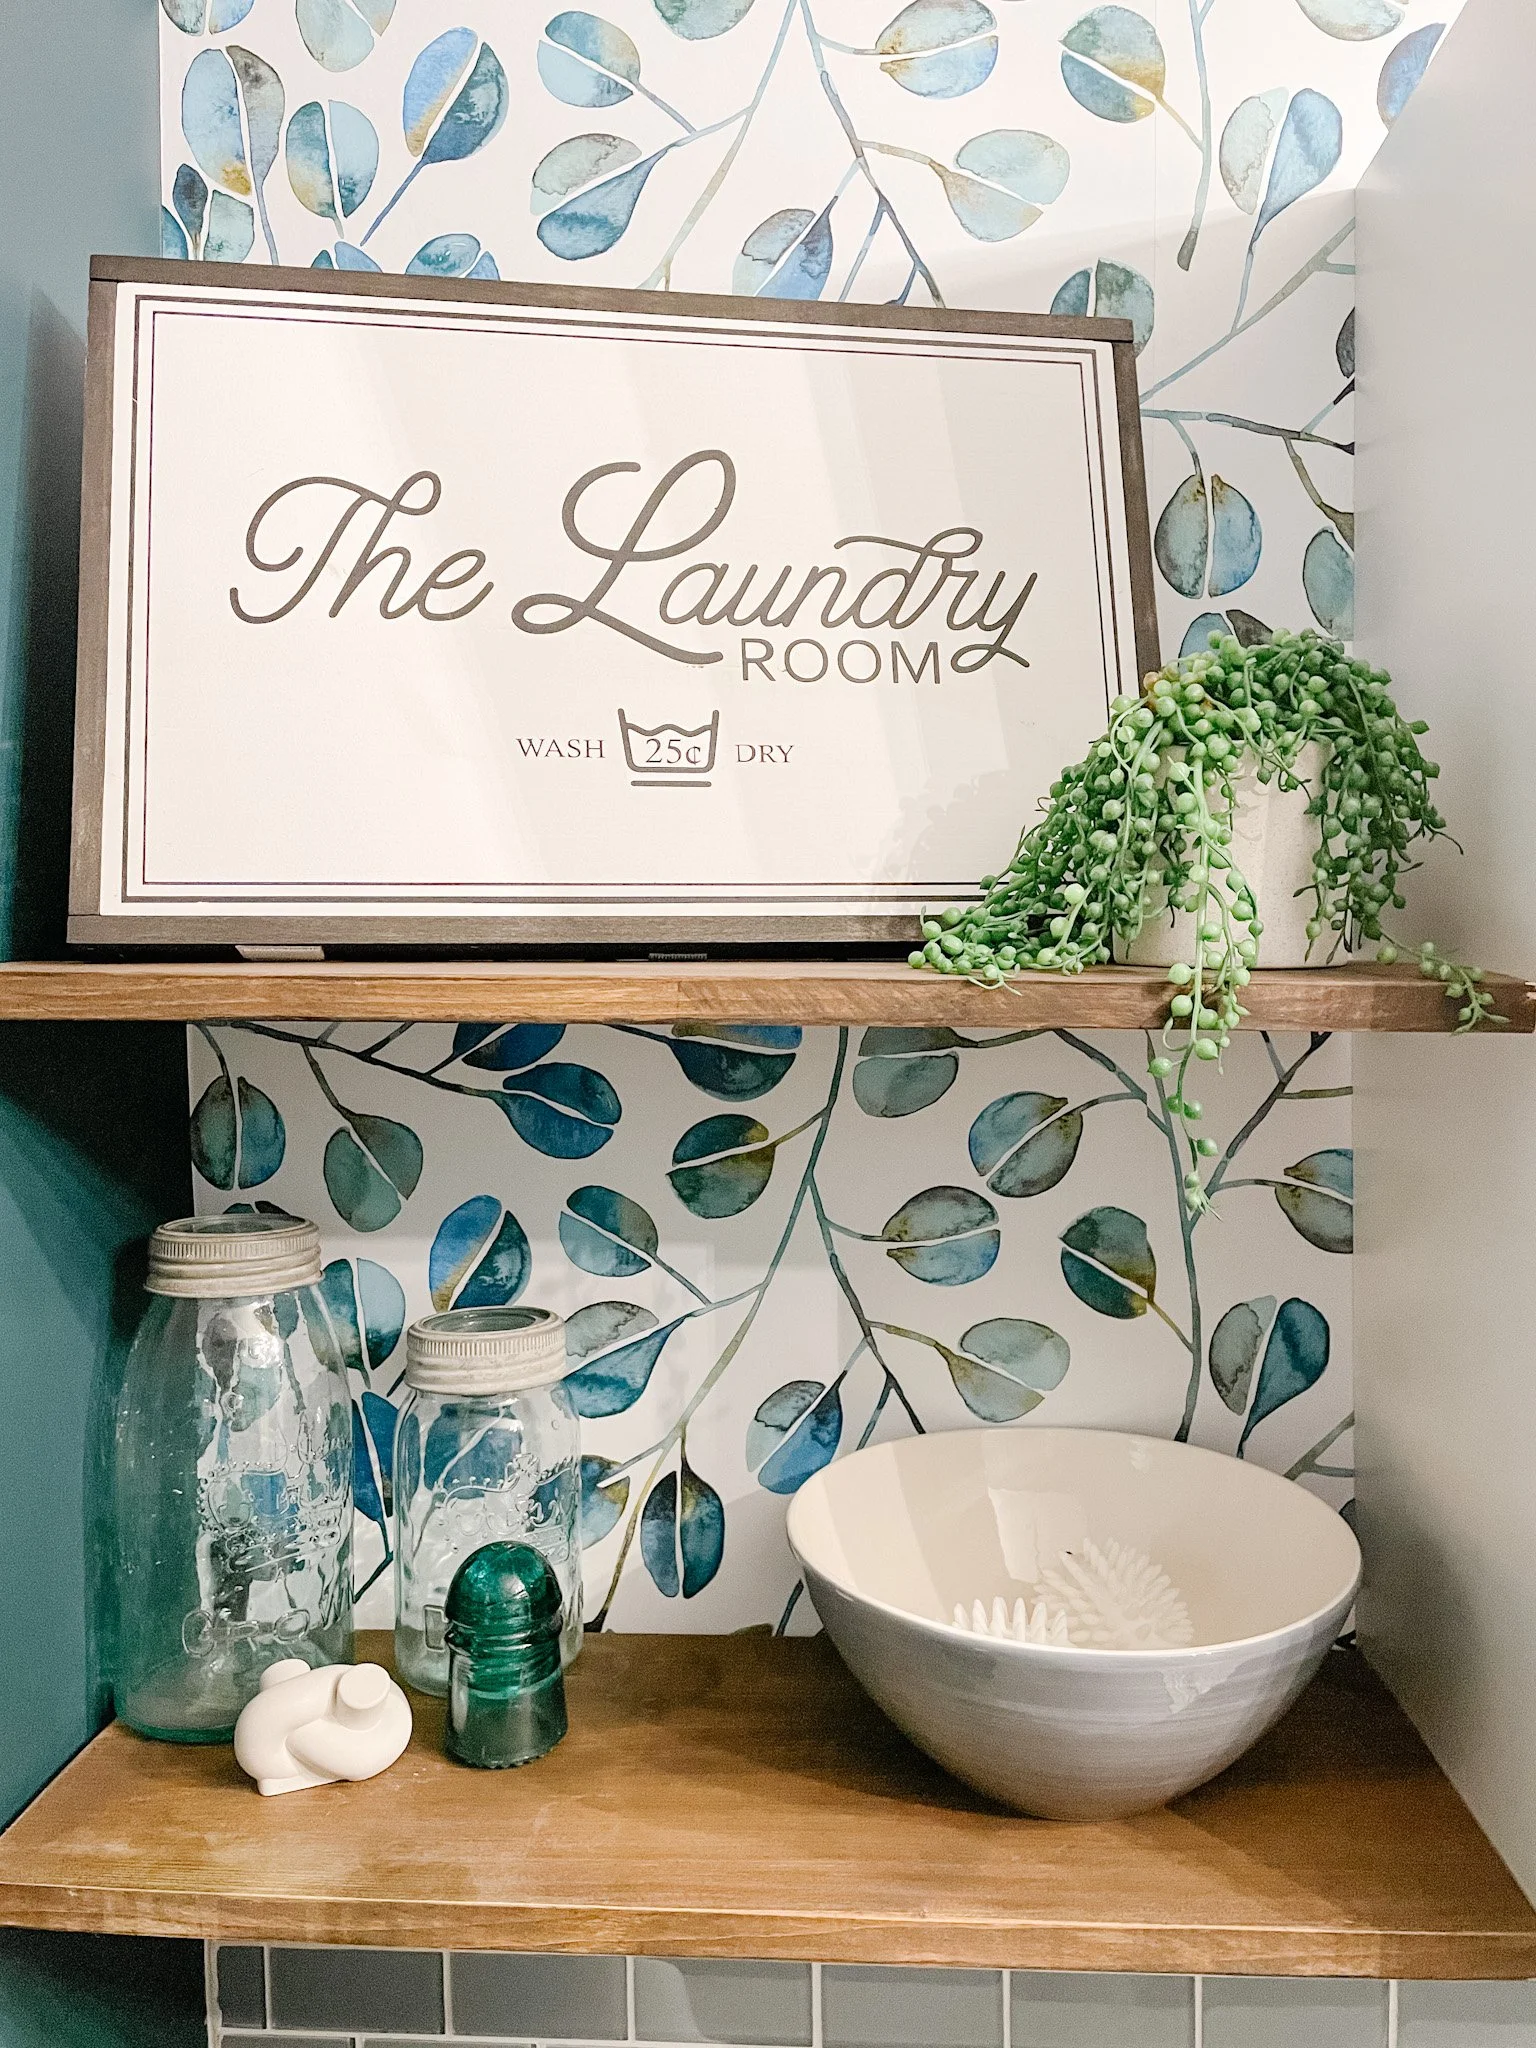
For our backsplash, we chose these beautiful Glass Mosiac Tiles by Golden Select - coming soon to Costco Canada! We knew what size the sheets of tiles were and planned our backsplash accordingly so we would be using two full sheets up and down, and only need to do cuts on the ends. We started out working together applying the thinset and tiles and quickly decided I could tile and Alan could get the wet saw set up and cut the pieces that needed to be cut. Team work is dream work! We did this backsplash in under two hours on my birthday!!! This was the first time I had ever tiled and I’m pretty damn proud of myself.
We let the tiles set for three days before we grouted. We used a bright white grout and I LOVE how it all turned out.
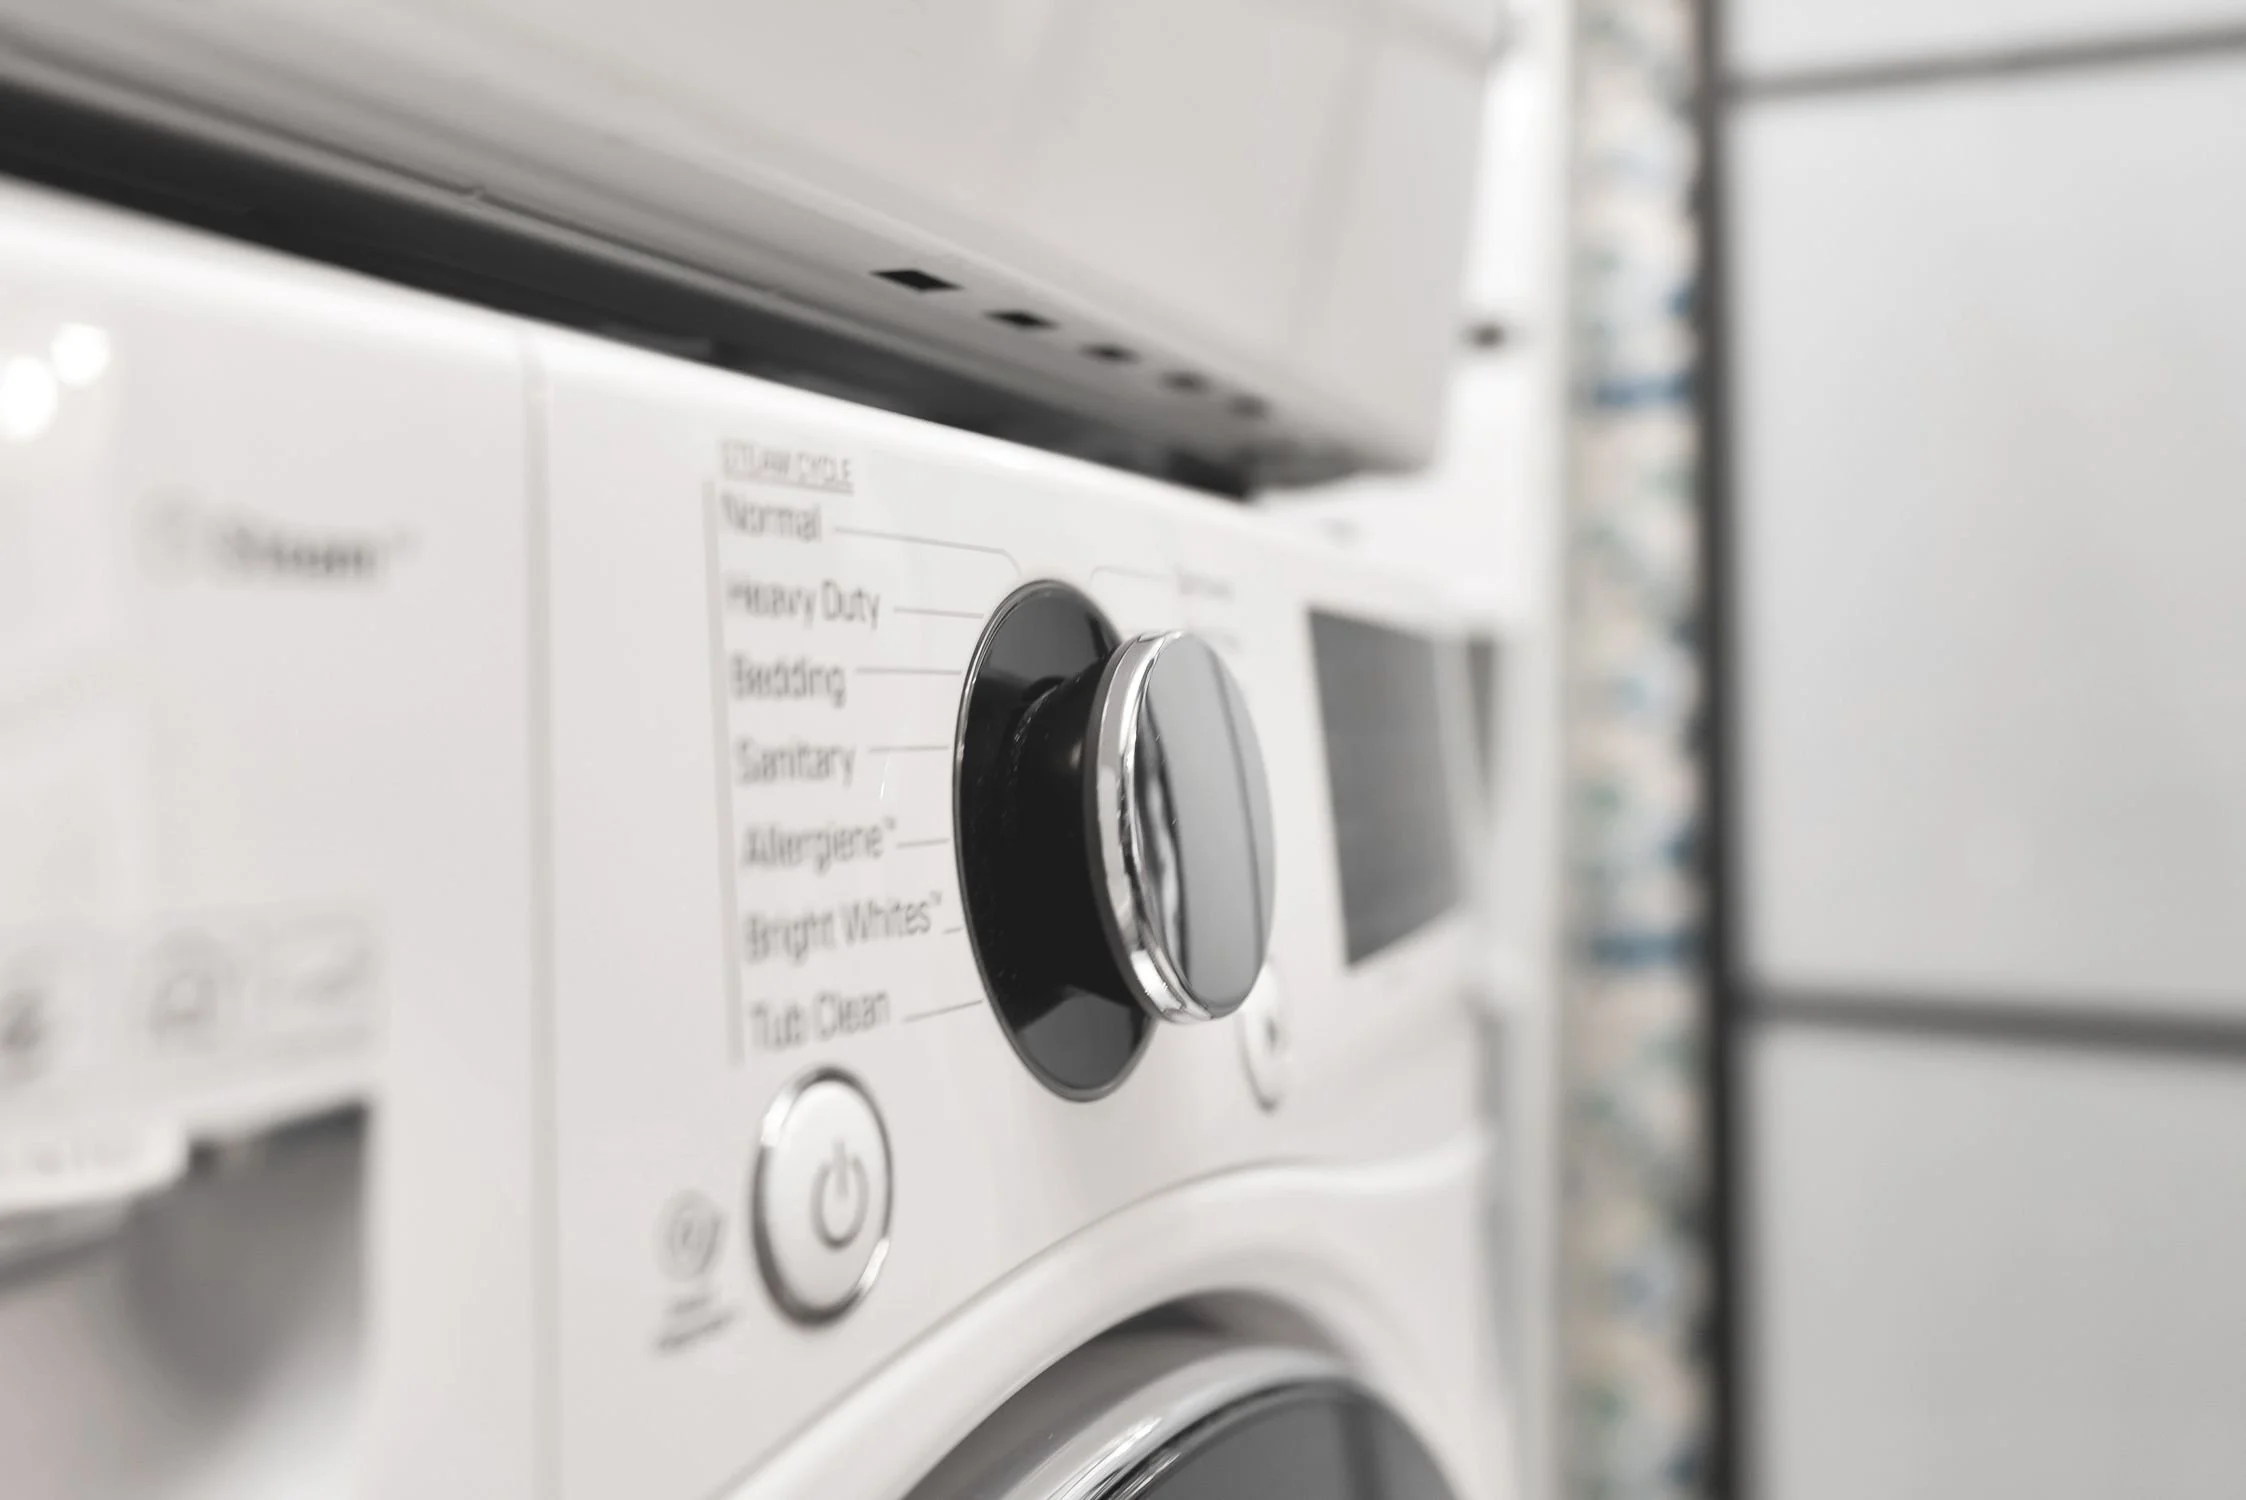
Next up was installing the stacking kit and upper cabinets. The stacking kit we ordered from Amazon for under $60. It came in silver and once installed and the appliances stacked, I immediately knew I had to spray paint it white or it would drive me crazy! As you can imagine, everyone was THRILLED that we had to unstack the appliances but a quick couple of coats of spray paint made all the difference. You don’t notice it at all!
Let’s talk about the panels and bridge cabinet around and above the appliances. When I was first planning our laundry room and trying to stay within a low budget, I did not plan for upper cabinets, instead I planned for two end panels at $250 each, to totally hide the sides of the washer and dryer, with a deeper bridge cabinet then what we ended up with. While at my local Home Depot picking up our lowers, I knew there had to be a more cost effective solution. For $500 I could add a big upper cabinet above the sink and add some cute accessories I had my eye on in the Home Depot Look Book. I headed to the Millwork department and took pics of all their different sizes of white MDF and also the size of the small bridge Hampton Bay cabinets they had in stock. We came home and figured out we could add a 12x12.5x30 bridge cabinet, and purchase two pieces of MDF that were 96 inches high and 16 inches wide for $16 each!! We had them ripped down to 12.5 inches in width - the depth of the bridge cabinet, and voila! A savings of just over $200! Enough to buy a big upper cabinet and a few of the accessories I mentioned! We had to cut the length at home, which my husband did no problem. I wouldn’t make this change in a kitchen, but in the laundry room, if I didn’t tell you, you would think it was meant to be. And the small upper bridge cabinet? We’ll stash all the odds and ends we only look for once a year!
Now it was time to finish the wallpaper on the accent wall and I even wallpapered inside the closet. The closet that didn’t get totally finished in time thanks to backordered products and delayed deliveries, will be a functional linen closet, laundry storage and drying racks. It’s going to be a highly functional closet at last!
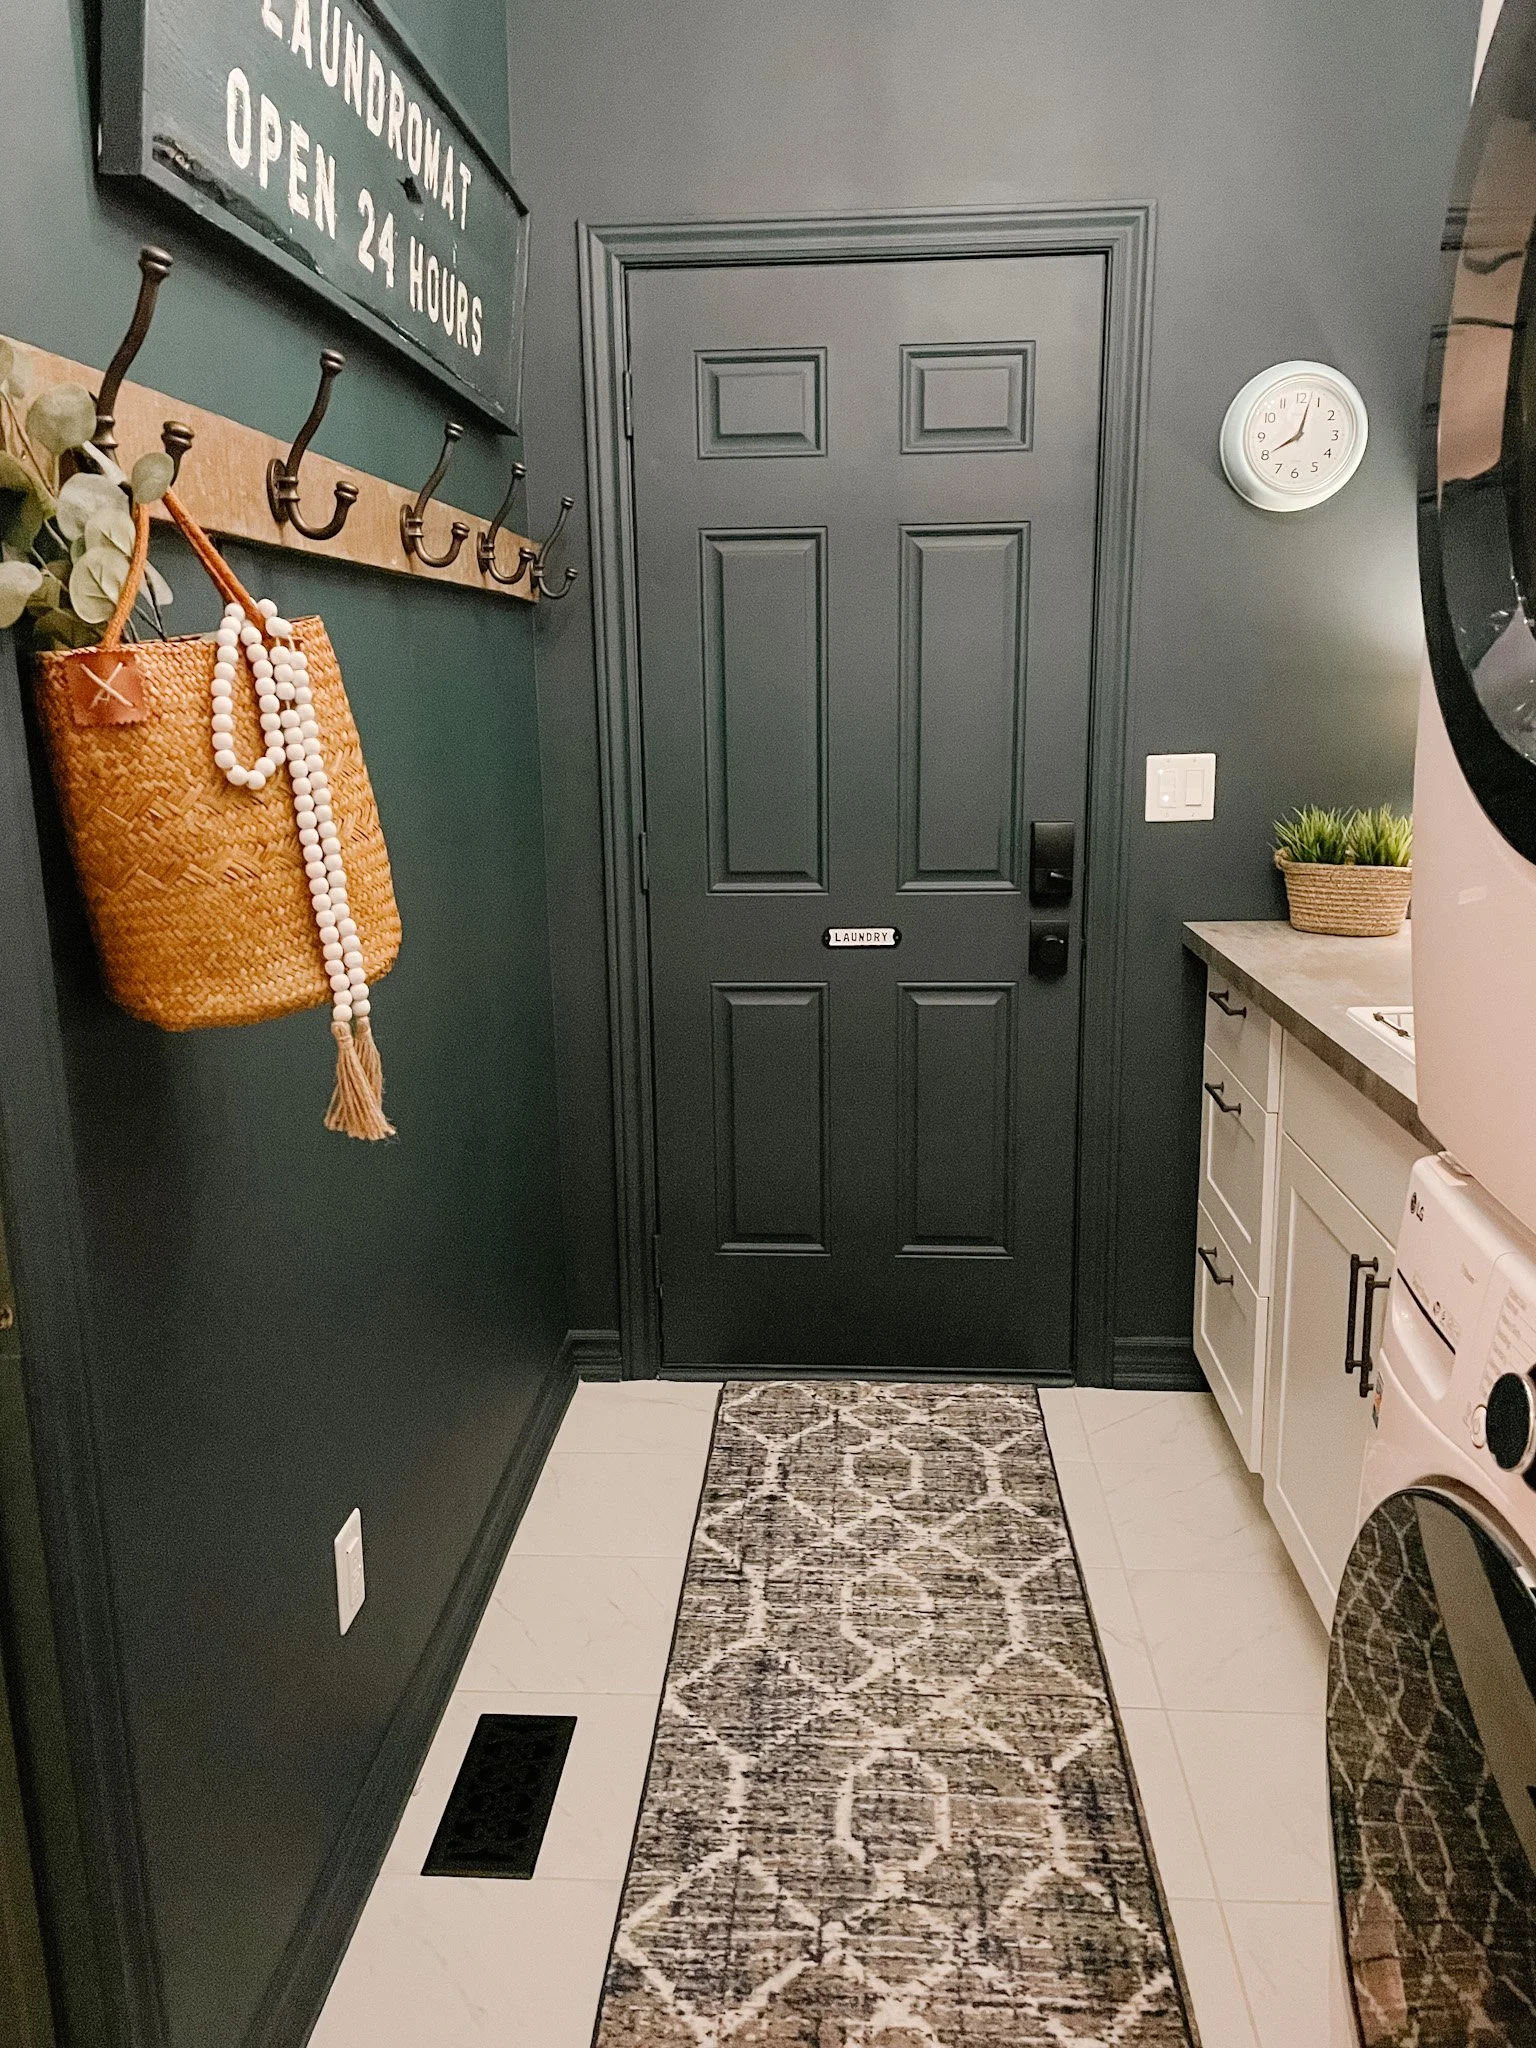
Now that painting, wallpapering and cabinetry install were done, it was time to think about installing our gorgeous barn doors from Renin. You heard me say this laundry room had 3 doors before, not including the door at the other end that goes into our garage - the only door we didn’t remove! This laundry room has no window and the hallway leading to it has no windows so I knew I wanted to bring in as much light as I could. Cue the Tribeca 6 Pane Barn Door Kits. We installed one on the entrance into the laundry room, and one on the closet opening and I am OBSESSED!!!!! Who knew doors could bring so much joy? The door on the closet purposely doesn’t cover the entire opening, that’s exactly how we wanted it. We can still easily access the whole closet, even stepping inside it, with the door as it is. We used a Diamond Bit to drill into our ceramic tiles to install the door guide….the first time we had ever done something like that! It was stressful but my husband, like always, watched a You Tube video and got it done. These Tribeca doors are also available in an 8 Pane style and available at multiple locations but most affordable at Costco Canada online!

Next we needed to install our cabinetry hardware. Of course we used our favourite pulls from Liberty Hardware - the Francisco Pulls. We have this style of pulls in our kitchen in Champagne Bronze, we used them in the Port Hope house in black and are using them in the laundry room in the Soft Iron Finish. For the uppers we are using Soft Iron Knobs. We use a handy template we purchased at Home Depot for drilling for cabinet hardware. It truly is the handiest gadget and saves much time and headache, highly recommend!
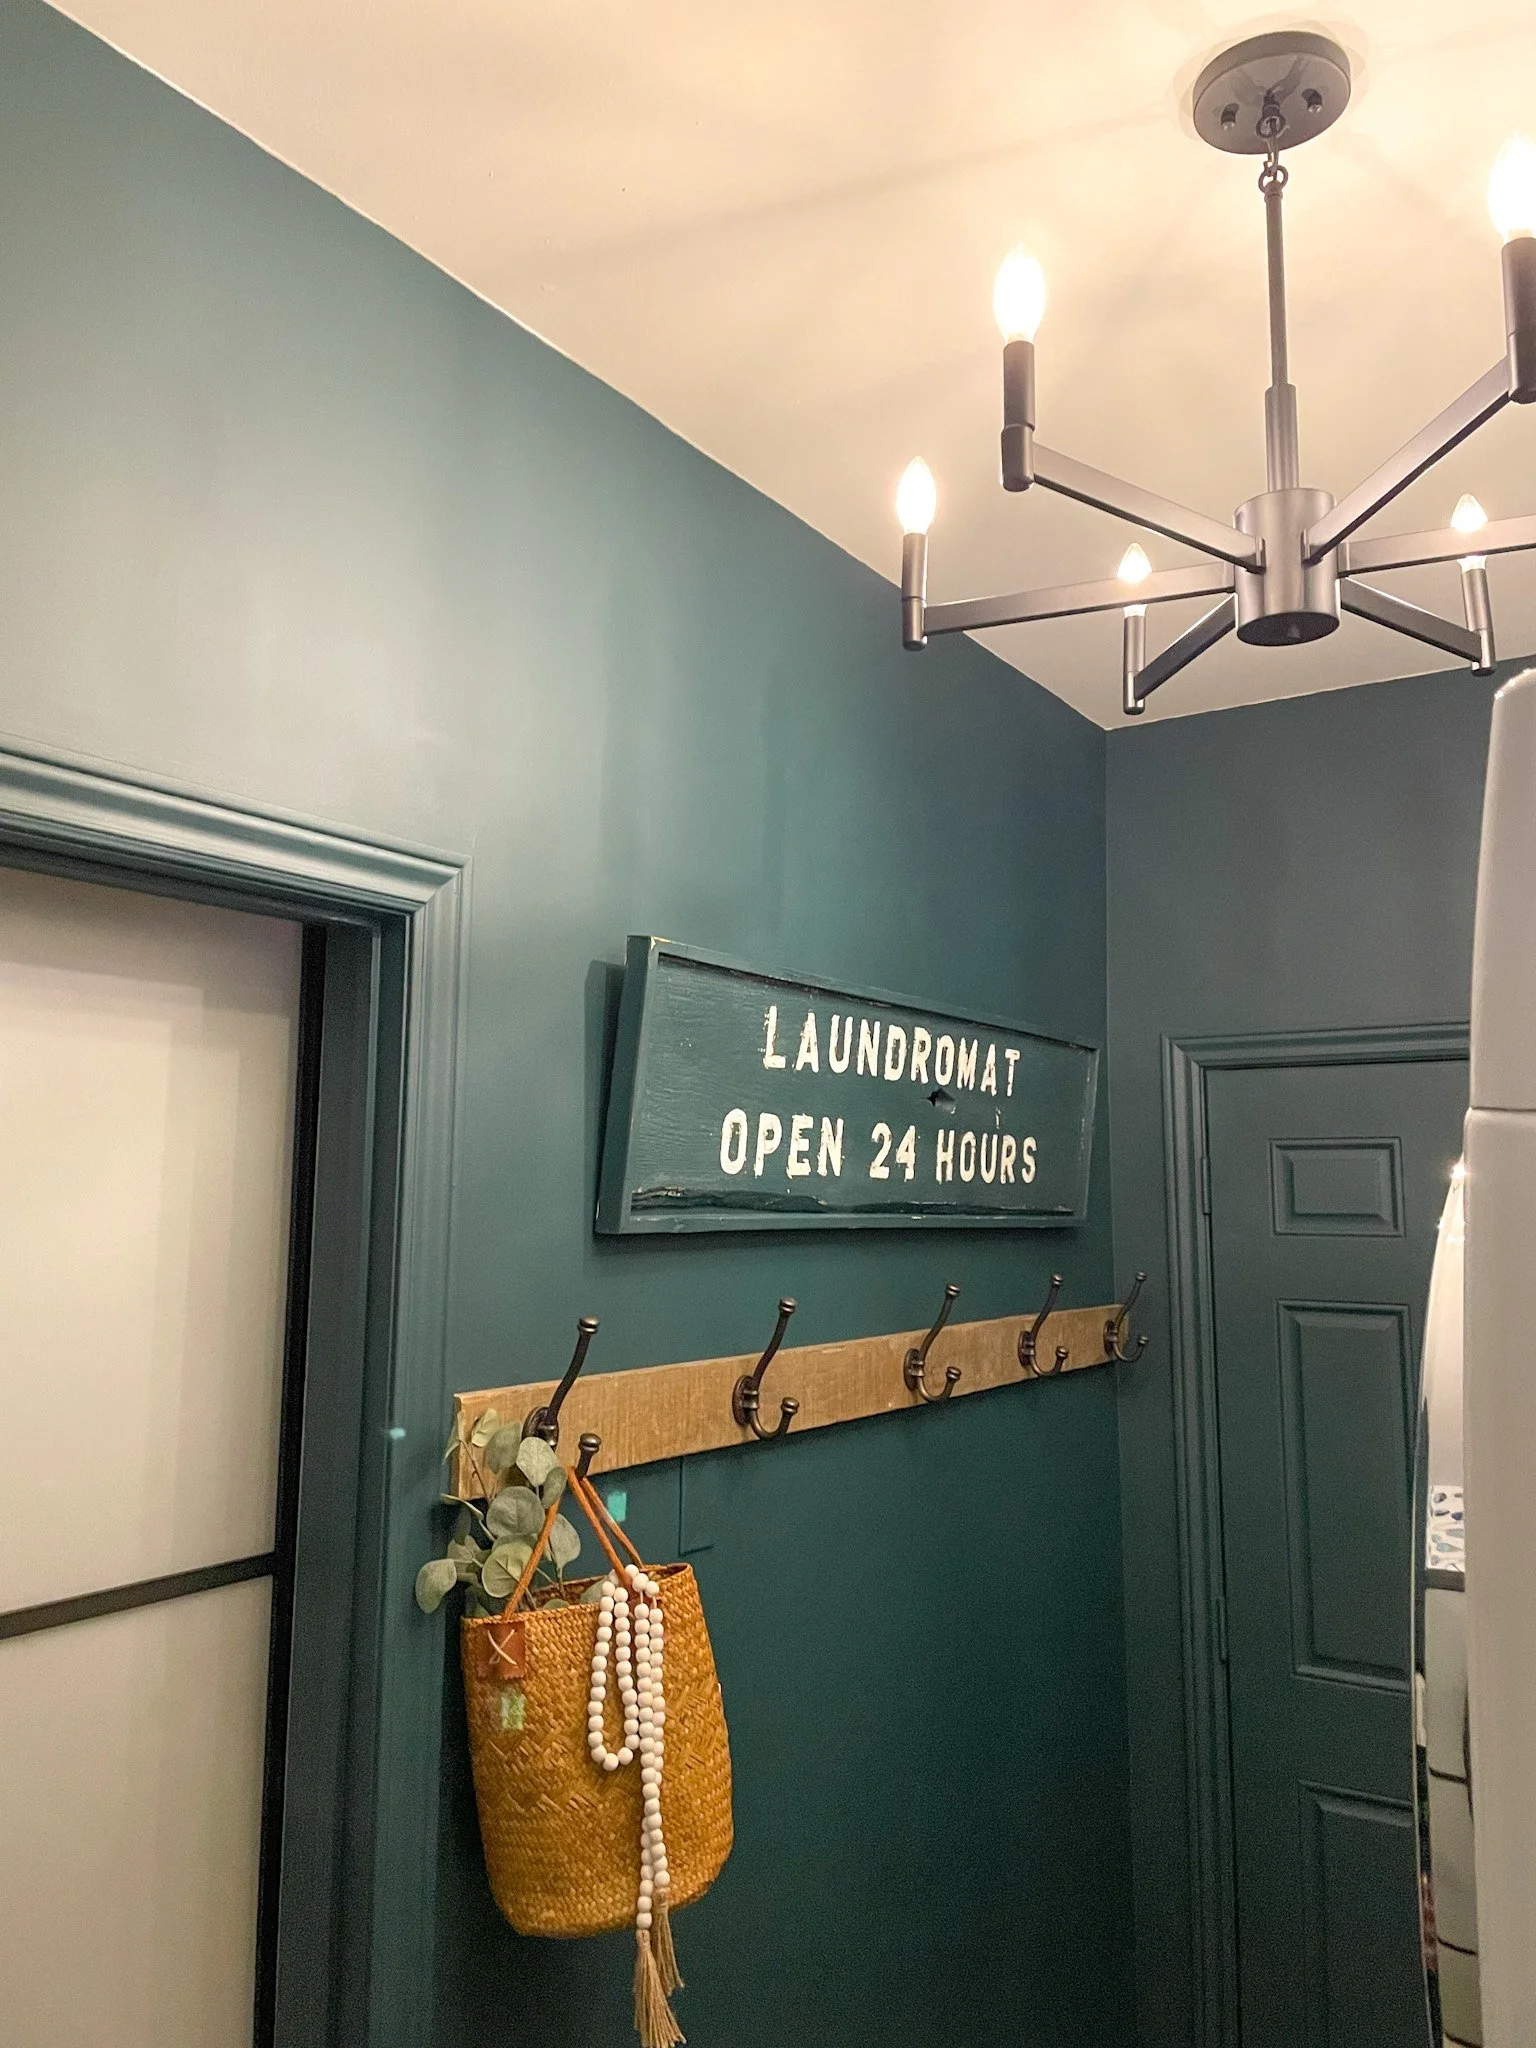
Next on the neverending list was installing our new light fixture. I knew we needed a fixture with multiple bulbs for this space! I was so tired of the room being a black hole! Thanks to our friends at Living Lighting Richmond Hill, we installed the Erzo 6 Light Chandelier by Kichler in our laundry room! Yep, you read that right, chandeliers in laundry rooms are a thing and you all need one! Not only is this room FINALLY lit, it adds the perfect touch of glam. We shared a little “how to install a light fixture” tutorial and it’s saved in a highlight reel on my Instagram page.


And now for the most difficult part of our reno - the plumbing. We always save the worst for last over here! We do not excel at plumbing, but thankfully my husband NEVER gives up. We added a Blanco Unit to our laundry room which included the Blanco Liven Laundry Sink in white, the Blanco Empressa Semi-Pro Faucet as well as some fun accessories. The installation process included cutting a precise hole for the sink, which we did using the provided template, easy to follow instructions and our new cordless jig saw. This was a bit stressful because you only get one shot. We measured and remeasured and remeasured some more! It paid off because the sink fit like a glove. The drain kit was easy to install, as was the faucet. The plumbing, not so much. But a couple of trips to Home Depot, a couple of false starts, and it’s all perfect! No leaks! Cheers to Mr. Uncluttered House, he gets all the credit for this part of the renovation.
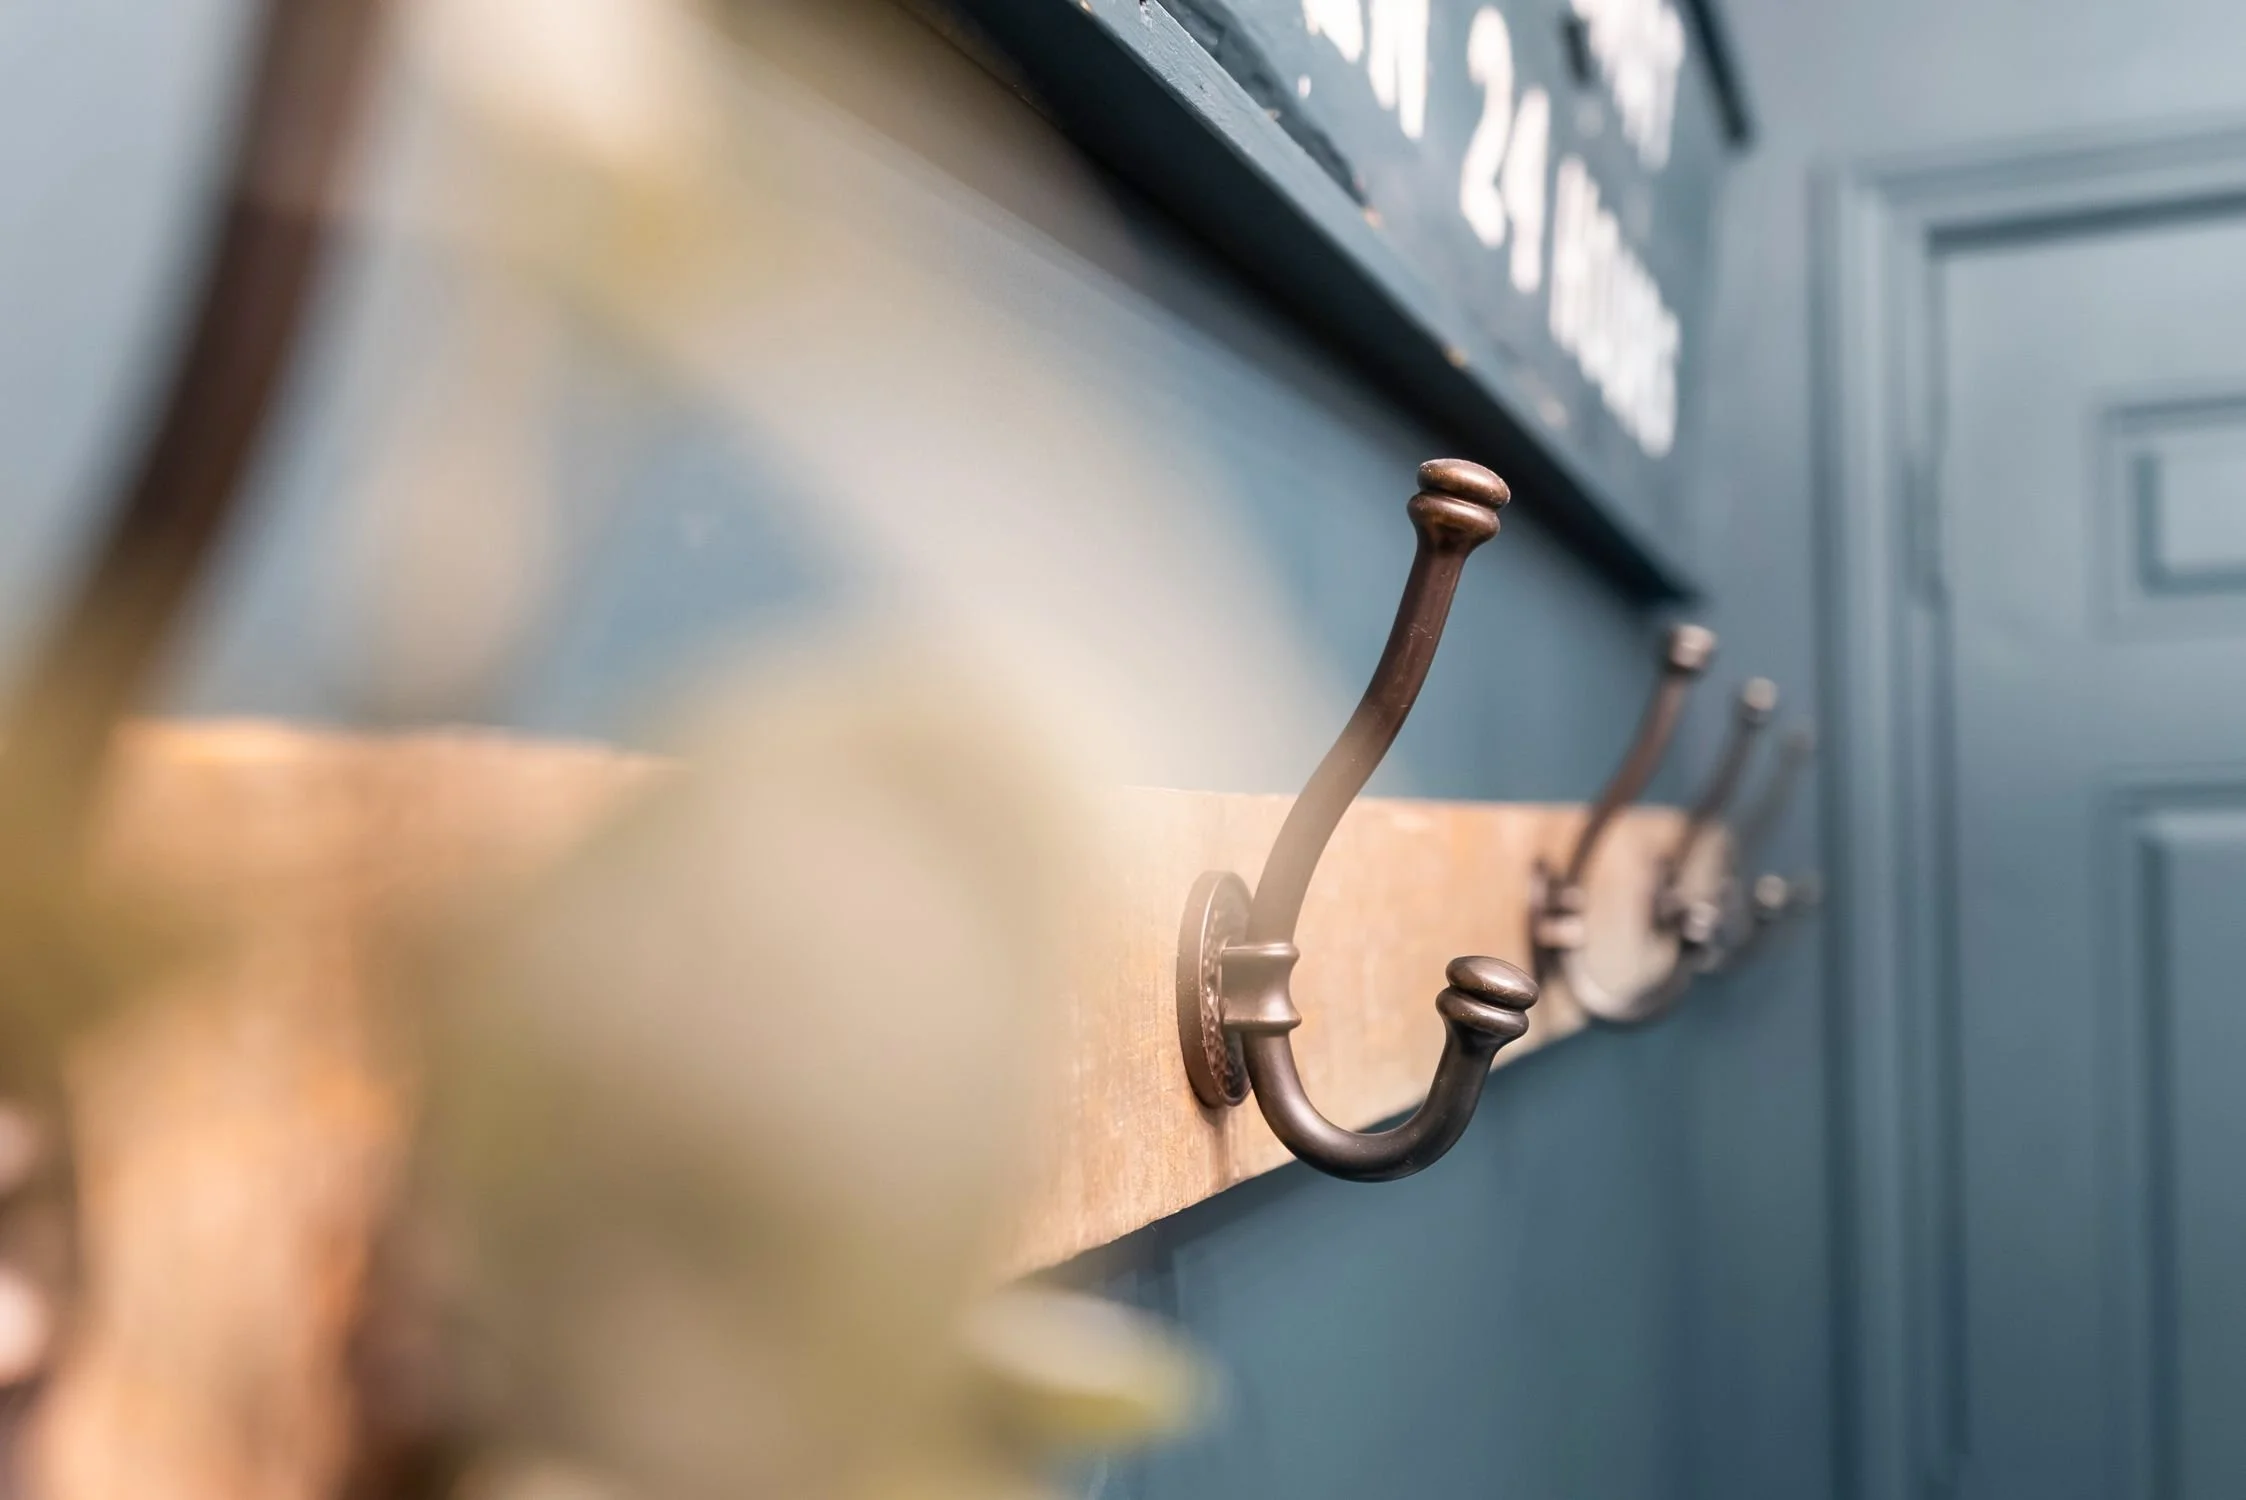
Now it was time for the fun stuff - caulking, trim, opening shelving that we reused from the laundry room glow up. We cut a length of pine in half and used my go to “L” brackets. They give your shelves the look of floating as you can hide the brackets with whatever you are putting on your shelves. We also reused a piece of barn board and hooks we have had in the laundry room since we moved in, because waste not want not right?
I framed and hung the sweetest water colour print that I bought from a fellow east coaster. Funny story, my friend Jenny (also doing the One Room Challenge) shared this print back in the summer and I immediately loved it! She told me it was done by her super talented friend Laura, who didn’t really sell her pieces but she would put me in touch with her via Instagram. As luck would have it, Laura had one of these pieces left and agreed to let me buy it and she sent it to me. I’ve been saving it to hang in my laundry room. Isn’t it perfect? And I love the east coast connection♥️
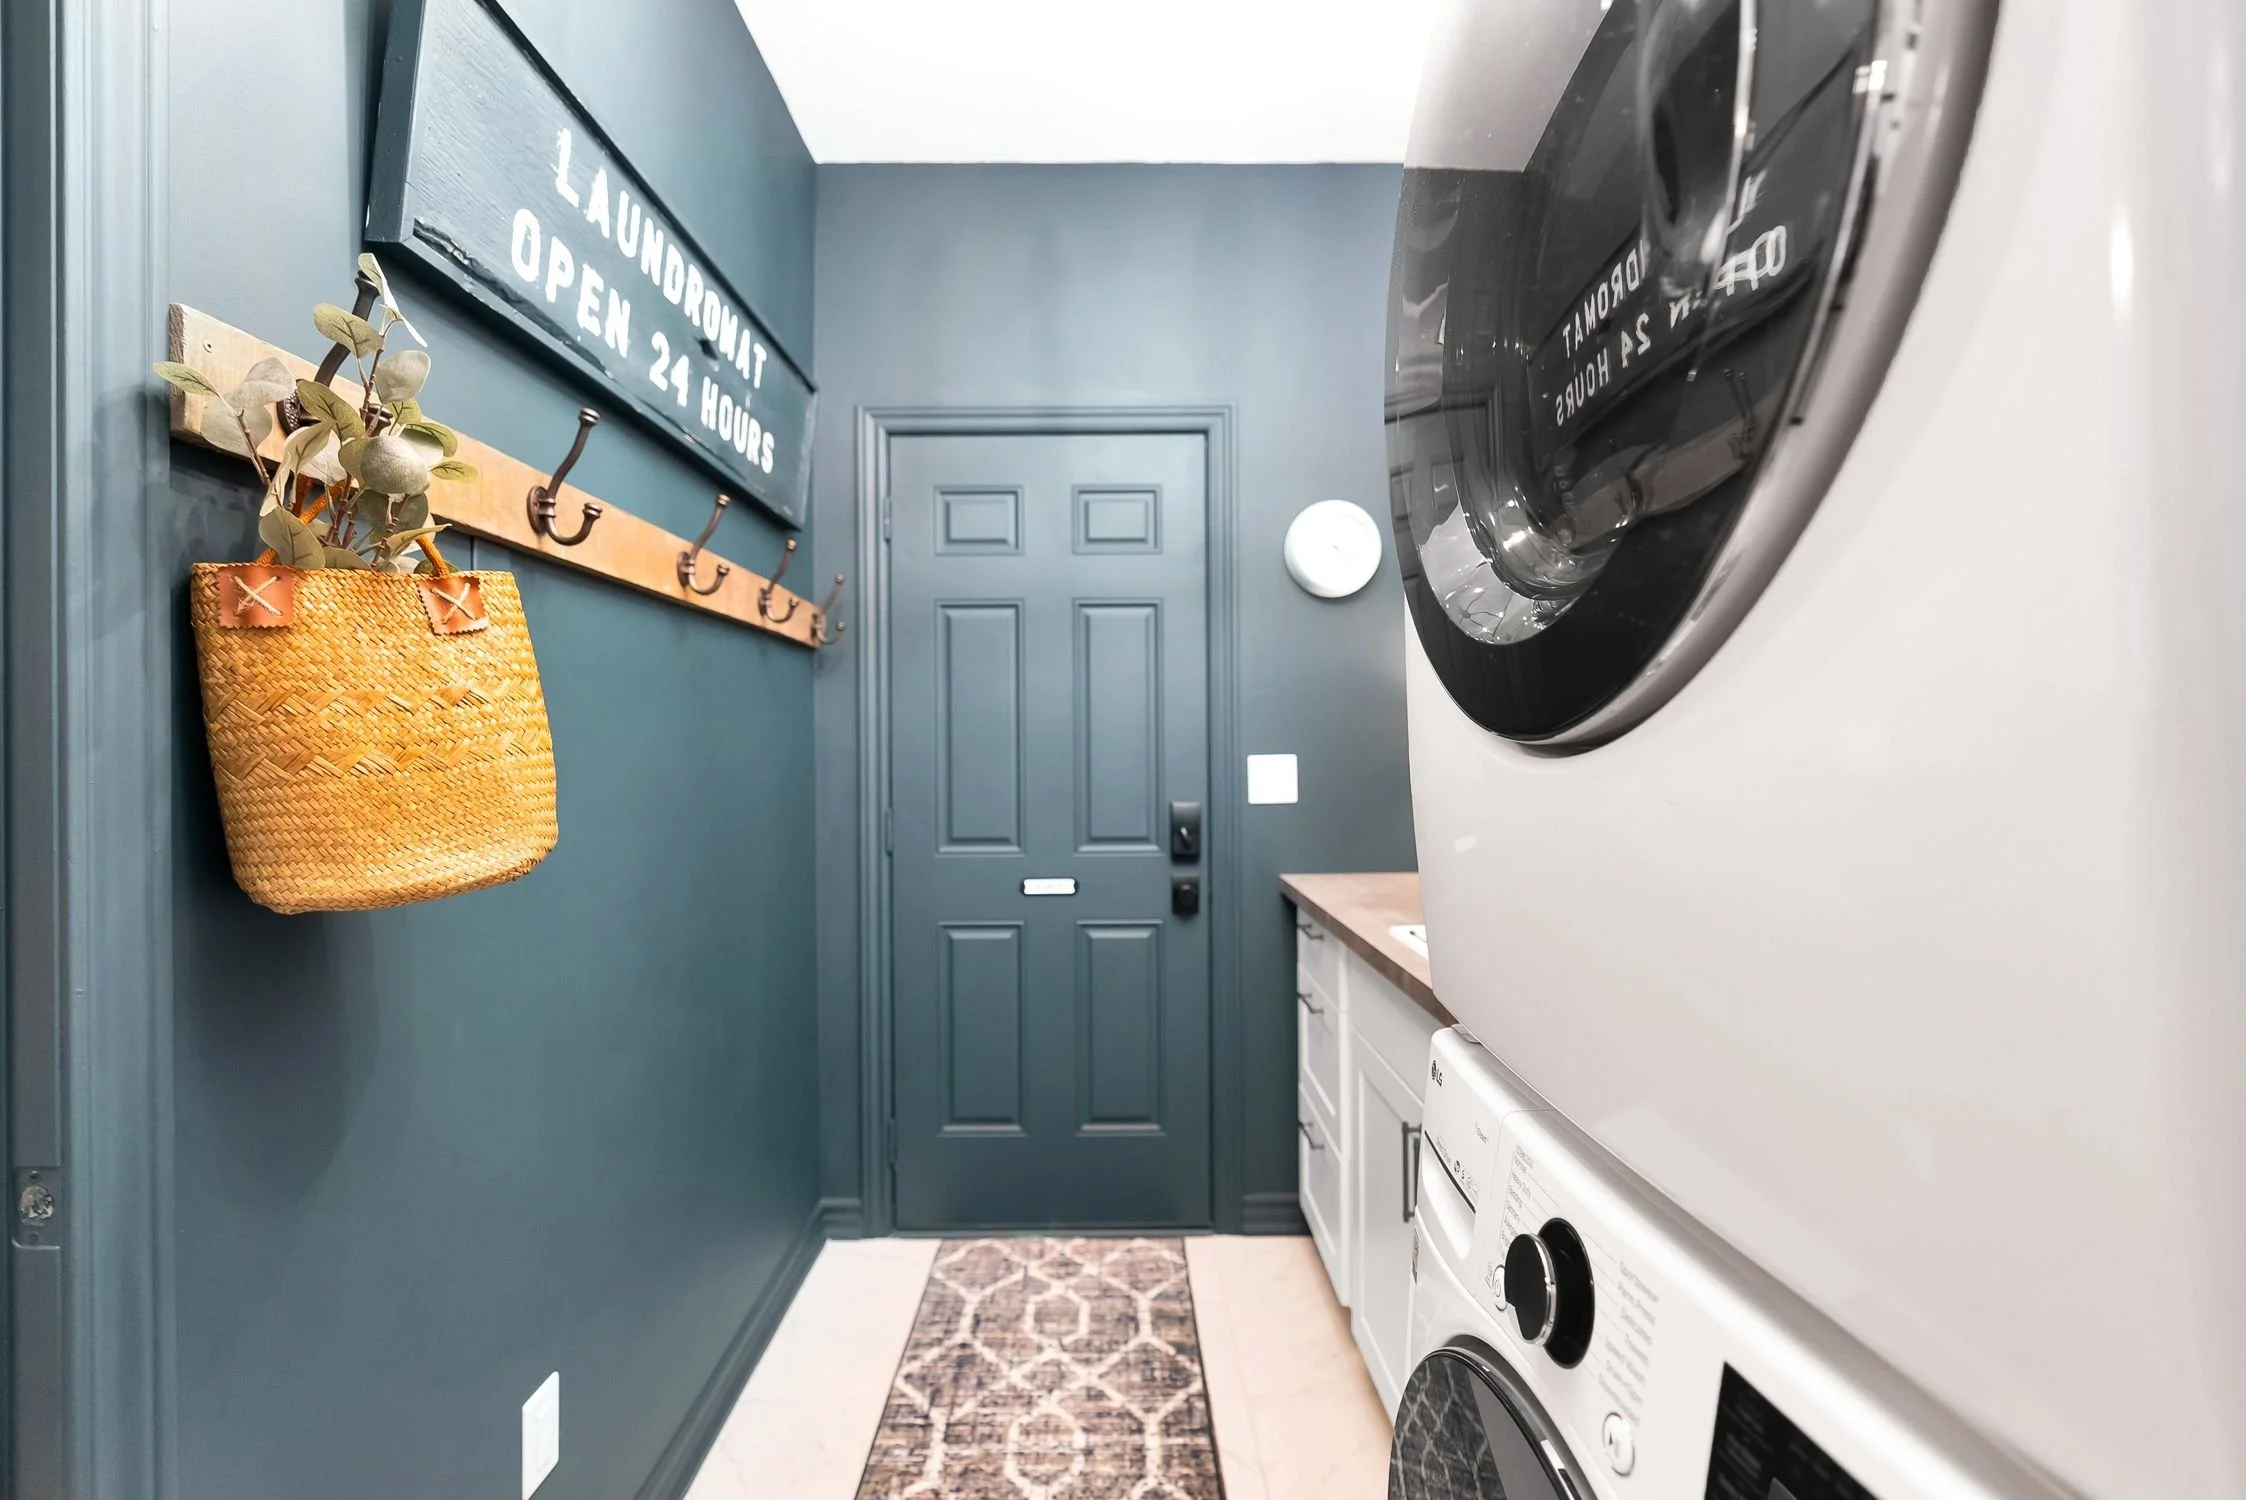
Naturally I asked my friends at Simple Love to make me a sign with some of their salvaged wood and as always, they obliged - even though they are so busy! I wasn’t sure what I wanted it to say, but settled on this and couldn’t be happier! I gave Marla some of my wall paint to use and the sign is not only perfect and fun, it brings that vintage/rustic edge to the space.
I found a lamp for $10 on Facebook Market Place and decided to try a rechargeable light bulb since there is not outlet on this side of the room. I ordered mine from Amazon and I love it! I charged it up inside one of my plug in lamps and it gives a cute bit of ambience in the laundry room, because who doesn’t need that kinda vibe while doing laundry? I also freshened it up with a new lampshade from Home Depot.
These rope baskets featured in the Home Depot Look Book were the perfect edition for both decor and storage. Especially when we get the closet fully converted to a linen closet.
I also added some battery operated puck lights to the inside of the closet. I used industrial strength Velcro to attack them and also to attack the remote inside the closet door. Did this closet need light? Not really but I love how the doors look when there is light behind them. It’s the little things!
I swapped out the brown plastic floor vent with this beautiful black iron vent from Home Depot, it’s the smalll details like this that sometimes have the biggest impact. I love how it looks with my gorgeous Mohawk Runner (and underpad). I originally had a very light vintage-y looking runner picked out and it became unavailable. My friends at Mohawk offered me this one in its place, and guess what? It’s PERFECT! It’s from their Scott Living line and is available at, you guessed it, Home Depot!

I’ve been hanging onto this Cubiko Mirror from Umbra Design until this reno was complete and I think it’s perfect. We go in and out of the house through the laundry room often so it’s nice to have a mirror to make sure you have nothing stuck in your teeth before you head out!
A visit to my local flea market had me finding some old Crown Jars and that add a little character and some Antique Insulators. I decided to use a couple of canisters I already had to hold my washing pods and I shopped my house for everything else.
I also found this fun, magnetic “Lint Holder” on Amazon. A sweet friend sent me a gift card for my birthday, which fell smack dab in the middle of the One Room Challenge so naturally I used it for a cute finishing touch. The identical one to my mind is now sold out but I have linked a similar one here.
And last but not least, we are heading into the wet, dirty season and we often come in and out through our garage door. Boot trays aren’t aways attractive or easy to clean but this rubber one from Home Depot is perfect! So perfect I think I will get another one for our front door!
We are so proud of this renovation! Other than finishing our basement, where we had help for certain jobs, this is the biggest reno we have ever done. And start to finish, we did it ALL ourselves! Our sons and my brother-in-law helped with heavy lifting along the way, but you guys, WE DID IT!! And we couldn’t be more proud. And none of this would have been possible without Mr Uncluttered House, he goes along with all my crazy ideas and spends all of his days off working on these DIY projects. Quite honestly, i’m not sure who is happier to be finished, me or him!
And of course a HUGE thank you to our sponsors! We love the brands we work with and never hesitate to recommend their products to you all. You guys know we only work with Brands we LOVE and TRUST.
Last but not least, a big thank you to the One Room Challenge and Better Homes and Gardens for hosting this event. For bringing us all together and giving us the courage to DIY. And please, check out all of the talented DIYers finishing their projects this week too.
Every aspect of our renovation is achievable for any of you. Our best advice….focus on one job at a time, do lots of research, talk to your hardware store specialists, watch you tube videos and Instagram tutorials by your fave DIYers. Believe in yourself. We are always learning as we go, and wouldn’t have it any other way.
Thanks for following along these last eight weeks, we appreciate you all more than you know!
Michele xx